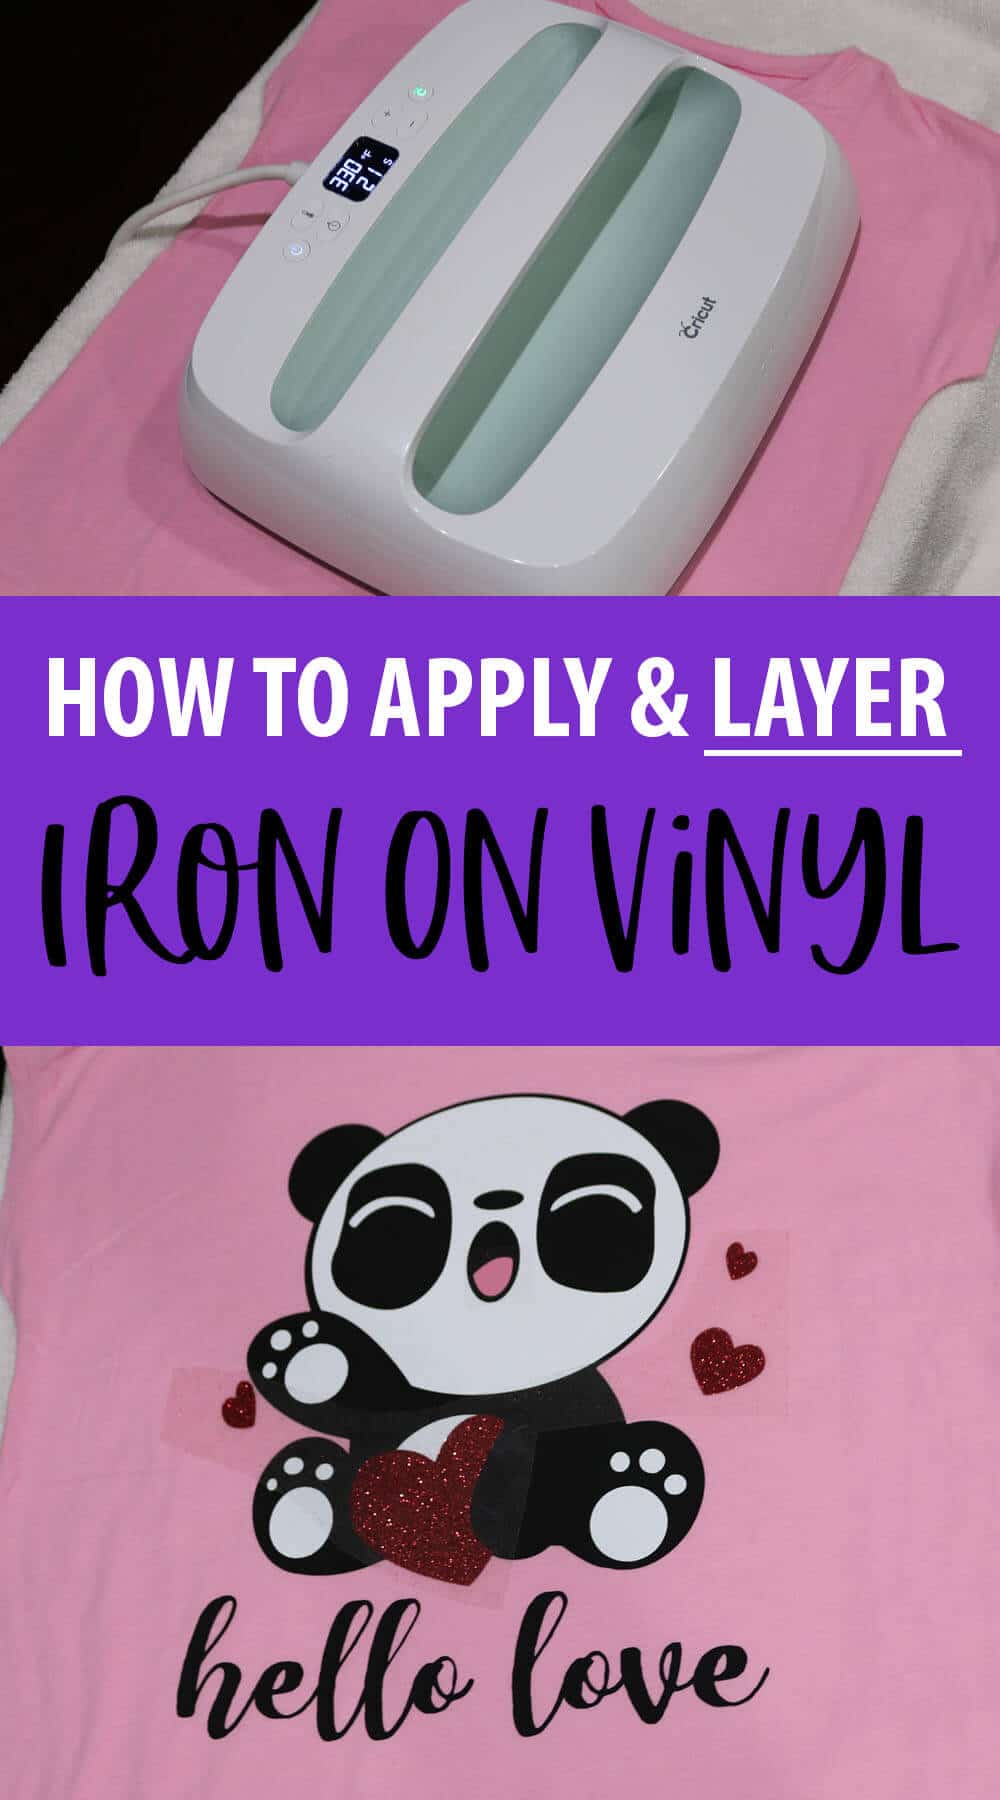
How to Use Cricut Iron On Vinyl & Layering Vinyl
In this step by step tutorial, I will show you how to use Cricut Iron on vinyl (HTV) to make shirts (or other projects) and how to layer iron on vinyl. Learn tips and tricks to align and weed your vinyl.

What is Iron On Vinyl?
Cricut iron on vinyl is a special type of adhesive vinyl which activates with heat. This vinyl is most commonly used with fabrics, but can also be used with wood, paper or metal. Iron on vinyl is also branded as heat transfer vinyl (HTV), Everyday Iron on Vinyl and EasyWeed vinyl. All of these vinyls work with this tutorial, including glitter, foil and holographic iron on vinyls.
Cricut Iron on Vinyl Project Supplies
For this tutorial, I will be using Cricut everyday iron on vinyl in black, white and pink; as well as red glitter iron on vinyl. But, if you are creating a different project, any type of heat transfer vinyl will work.
- Heat Transfer Vinyl
- T-Shirt or other type of Cricut Blank
- Cricut Explore or Cricut Maker
- Green Standard Grip Mat
- Weeding Tool
- Cricut EasyPress or Iron
- Valentine Panda SVG or use a free svg file from my library
If you are new to Cricut and Design Space, you should check out other need to know Cricut Tutorials.

How to Cut Iron On Vinyl
To get started, open up Cricut Design Space. If you already have an svg file to use, upload this file now. You can also find a full library of graphics and fonts to use through Cricut Access.
Once your image is in the canvas area, you will need to resize your image. You can resize your image by clicking on your image and then using the arrow to make your image larger or smaller. Or, type the exact dimensions in your tool bar.
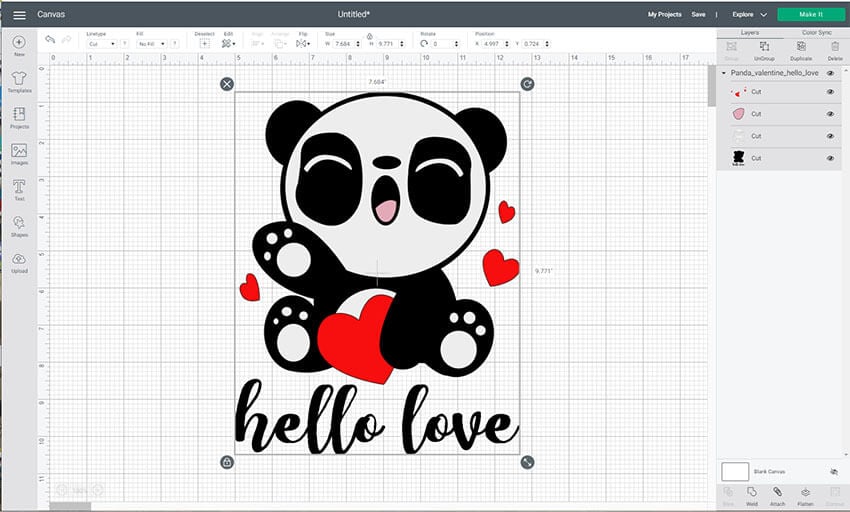
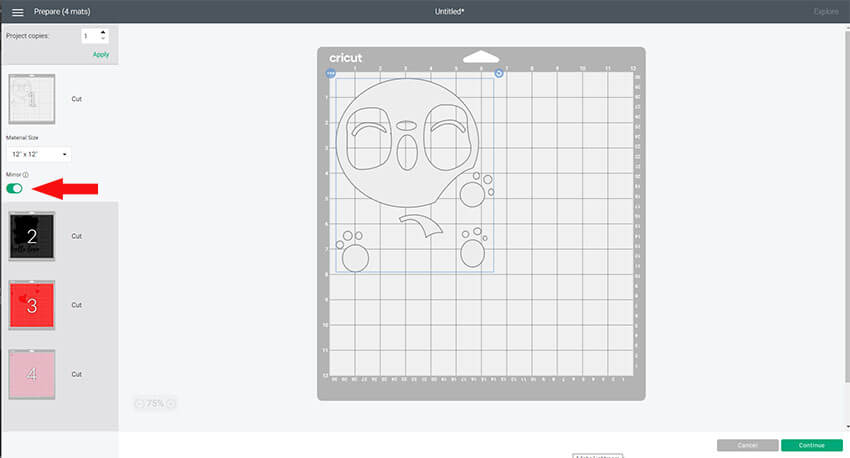
Then, click on the green button “Make It” in the top right hand corner of your canvas area. This will bring up your mat preview screen.
Note: Whenever using cricut iron on vinyl, you need to make sure to mirror your images. If your cutting project is on multiple mats, you will need to turn the mirror on, on each mat.
Then, click continue.
Connect your Cricut machine and select iron on materials. If you are using a Cricut Explore, you will set your dial to iron on.

If using a Cricut Maker, you will select from a list of materials.

Place your iron on vinyl with the finished side DOWN on your cutting mat. The finished side is the glossy side of your vinyl. Make sure to press your vinyl firmly on the mat. The Cricut Brayer helps with this, especially if you are using an older mat.
Insert your mat into the Cricut and press the flashing arrow button on your Cricut. This will load your cutting mat into the machine. Then, press the blinking “C” button and this will begin to cut your vinyl.

Once this is finished, press the arrow button on your Cricut to release your mat.
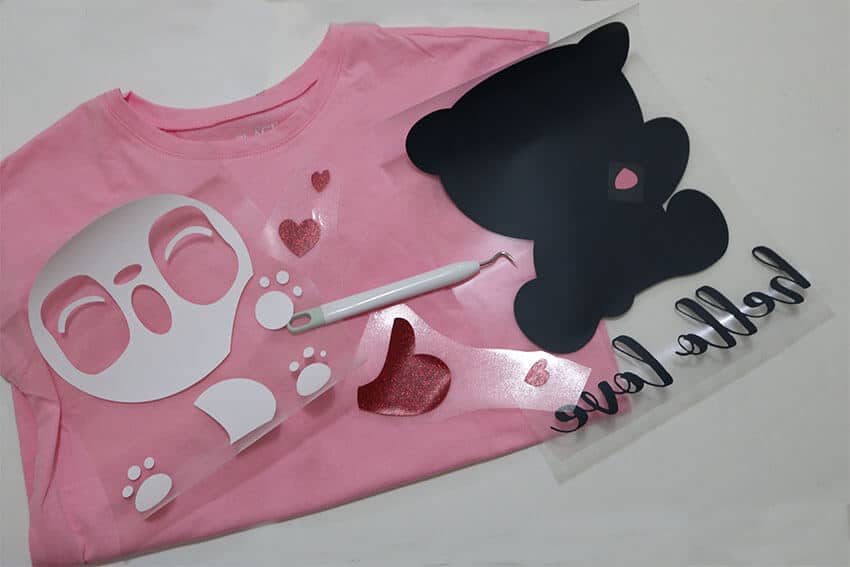
Weeding Vinyl
Before you attach the iron on vinyl to your fabric or material, you first need to weed the excess iron on vinyl. Weeding is the process of removing the parts of the vinyl that you do NOT want to transfer to your project. Before I start weeding the vinyl, I like to cut off any excess vinyl to use for projects later on.
I typically start weeding in the corner of my project. Using a 45-degree angle, slowly pull the excess vinyl away from your project, being careful not to rip anything in the process.
When you have more intricate parts, like smaller designs or script font, you will need to use a weeding tool to help weed all the excess vinyl. Having a well lit space, or lightbox helps if you are having trouble seeing the cuts on the vinyl.
How to Apply Cricut Iron On Vinyl
Now, it’s time to adhere the vinyl. You can do this using a household iron or the Cricut EasyPress. I prefer using the EasyPress because the heat is distributed evenly, so you don’t end up with some sections that aren’t properly attached. The iron can also leave behind an iron texture on your finished product, where the EasyPress does not.
How to Adhere Cricut Iron On Vinyl with an Iron
When using an iron, you want to set your iron at a high heat setting (linen setting is a good setting to use). You also want to turn your steam off and make sure the basin in completely empty of any water. You absolutely do NOT want any steam.
Before you place your design on your material, flatten your material with your iron. This will remove any wrinkles and heat up the material, enhancing the adhesion process.
With your design in place, you can either place the iron directly on the vinyl or place a thin piece of cotton material in between. Either way, you do NOT want to slide the iron around. Press the iron down, holding firmly for about 20-30 seconds. If your image is larger than the iron, pick the iron up, move it to another section and then hold firmly for another 20-30 seconds. Continue to do this until you have covered your full design.

Let your image cool a little bit, as this gives the adhesive a little more time to set. With the adhesive still slightly warm, peel back the plastic sheet. The vinyl should stick. If the vinyl starts to pull up, put the plastic back down and apply more heat.
Once done, remove the plastic completely. If you have more than one color in your design, place your next vinyl piece in place and repeat the steps.

As you can see from the image above, there is texture left behind from using an iron. The vinyl also isn’t consistent around the edges as you can see some areas pulling up. After multiple attempts with an iron, I felt it was best to invest in an EasyPress and it has been a GREAT decision!
How to Adhere Vinyl with the Cricut EasyPress
I use the large size EasyPress when making shirts, dresses, blankets and most of my iron on projects. If you are considering purchasing an EasyPress, I recommend going with the large size so that it will fit all of your projects. For your itty bitty projects, you can use an iron or the EasyPress mini.
Before getting started, use the heat guide for specific instructions for your project.
- Select your Heat-Transfer Material
- Select your Base Material
- Choose either the Cricut EasyPress Mat or Towel option
- Apply

Once you apply your settings, the heat guide will show you exactly what temperature and other instructions for your specific project. For this project, I will set the heat for my EasyPress to 330 degrees.

Make sure to pre-heat your EasyPress. You will know it is ready when the “C” button is green. Pre-press your material to flatten and help with the adhesion process.
Once your vinyl is in place, place your EasyPress directly on top of the vinyl. No need to add any extra pressure. Use the timer on the EasyPress for 30 seconds. When done, flip your material over and press for 15 seconds on the opposite side.

Let your image cool a little bit, as this gives the adhesive a little more time to set. With the adhesive still slightly warm, peel back the plastic sheet and remove it. If you are only using one color for your vinyl project, then you are done at this stage. As you can see, the EasyPress gives a smooth and even finish, unlike with the iron.

How to Layer Iron on Vinyl
When layering vinyl, you will place your second color of vinyl, directly on top of the first layer and press again using the same heat settings and directions as with your first layer.

It is fine to adhere vinyl onto vinyl. However, I don’t recommend doing more than 2 layers. In this case, the red heart adds a 3rd layer in the panda’s white stomach area. To solve this issue, use the slice tool to remove the white area where the heart is.
To slice your image:
- Ungroup layers if they are grouped (if using this panda svg, the layer will be grouped together).
- Rearrange layers so the layers you are slicing are together. The material that goes on top, should also be on top in your layers.
- Select both layers by holding down shift.
- With both layers selected, click slice.

Now that your images are sliced, delete the part of the white vinyl that you no longer need. Weld the red images back together.

The white layer where the heart overlaps, is no longer there.

Line your Cricut iron on vinyl so it fits perfectly within the section you just sliced. You can now layer iron on vinyl without having too many layers on top of each other.

How Long Does Iron On Vinyl Last?
Regardless of which heat option you use, EasyPress or iron, you need to wait at least 24 hours before washing. To wash, turn your project inside out and tumble dry on low. Your shirt should last at least 50 washes before showing signs of cracking or peeling.
Make sure to save this Cricut iron on tutorial to your favorite social media site. This way you can help out other Cricut users, and easily find this tutorial again if needed.