

Funny Anniversary Card Templates
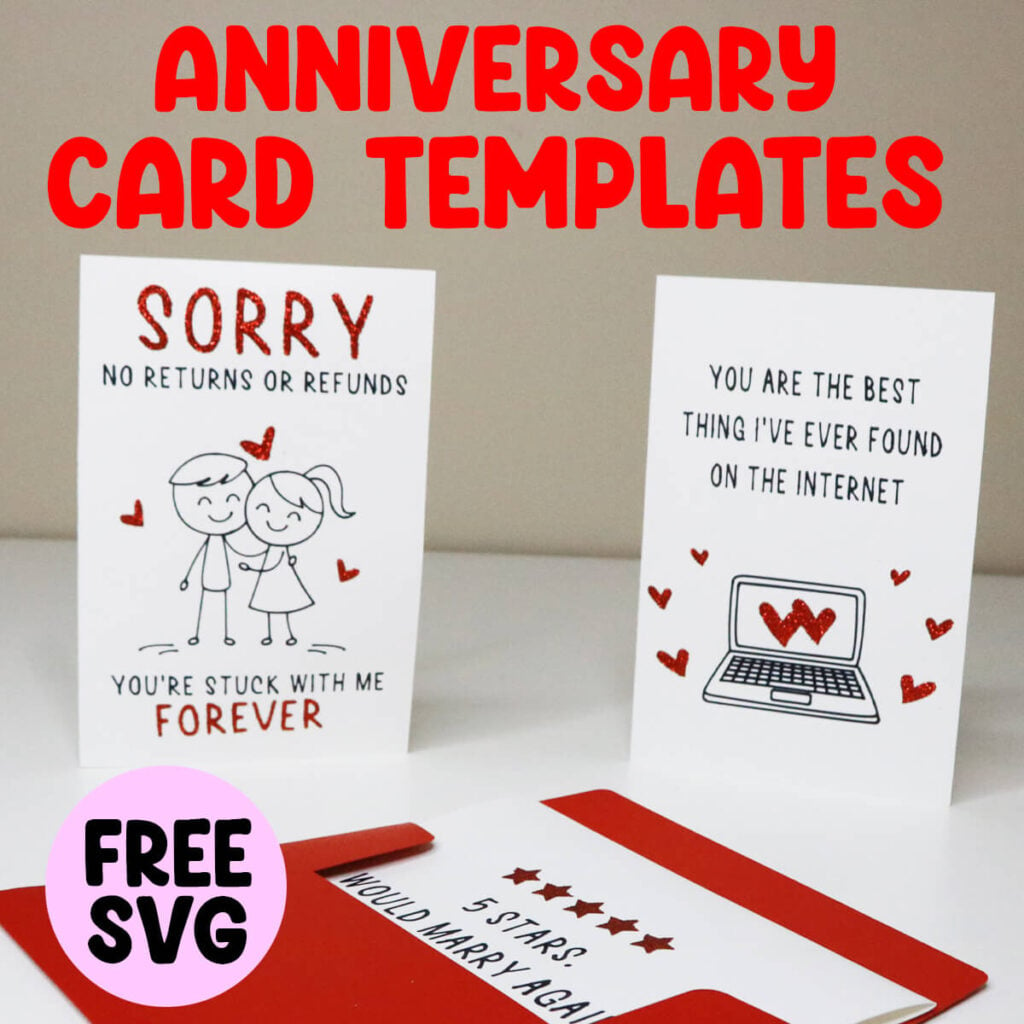
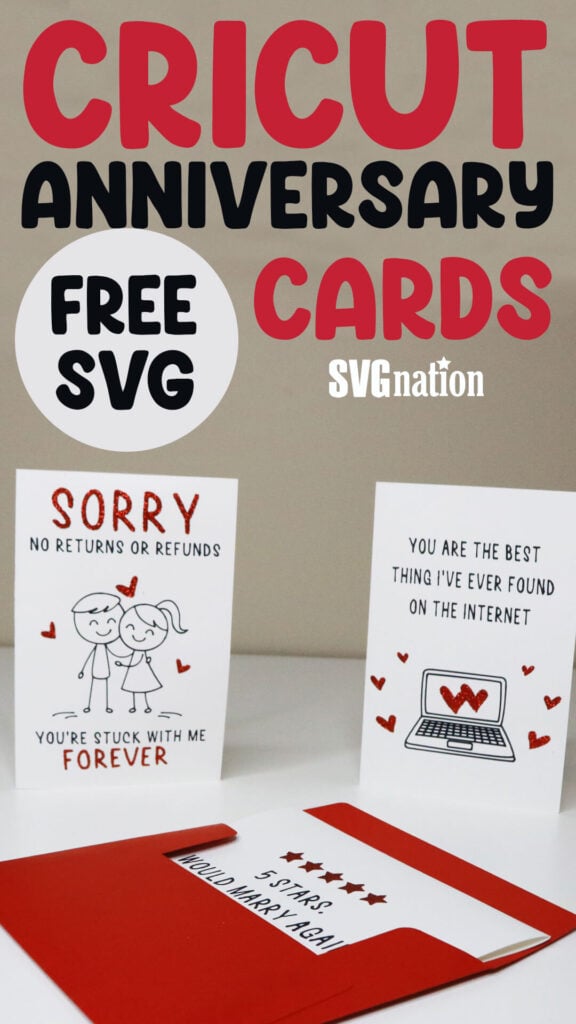
If you love giving handmade cards with a sense of humor, these Cricut Anniversary card templates are the perfect way to celebrate your relationship. These are some of the easiest cards to make on my blog because your Cricut does most of the work by writing on them.
This post contains some affiliate links for your convenience. (Which means if you make a purchase after clicking a link I will earn a small commission but it won’t cost you a penny more)! Read my full disclosure policy.
Looking for more anniversary card ideas? Find more traditional anniversary card templates, including a pop-up card with these cricut anniversary cards. Or add your favorite memories to this DIY photo card.
Learn how to make Anniversary Cards with Cricut Pens
These anniversary card templates use Cricut pens to do most of the work for you. Pair them with a little red glitter iron on vinyl (yes you can iron on vinyl to cardstock) to finish them off. Just follow along with this step-by-step tutorial and I’ll sure you exactly how I made these.
Watch the step-by-step video tutorial to learn how to turn these anniversary card templates into gorgeous cards with your Cricut:
To Make these Anniversary Cards, You Will Need:
- White Medium Weight Cardstock (12″x12″ or letter size)
- Red Glitter Iron on Vinyl
- Mini Heat Press
- Cricut Pens – I recommend this pack because you get so many colors and they are duel tip so you get the fine point pen tip and the marker.
- A good paper craft glue – this Bearly Art craft glue is what I usually use.
- Brayer Tool for smoothing out the glue
- 4″x6″ Envelope – I have a free free 4×6 Cricut envelope template if you need one
- Cricut cutting machine – Use this Cricut Comparison Guide to find the right model for you!
Download these Humor Anniversary Card Templates
You can download these free humor Anniversary card templates from my members only free library (design #42 under Card Templates or search “Silly Anniversary Card SVG”).
Don’t have a password? Unlock my free members library here.
Share the love and easily come back to this tutorial anytime just by saving this on Pinterest… Plus this helps to keep my SVG files and Cricut tutorials free!
Step 1: Upload the Anniversary Card SVG File to Cricut Design Space
Upload the anniversary card card SVG to Cricut Design Space. If you need help with uploading SVG files, then check out my tutorial here. Then click on “ungroup” to ungroup your layers.
Step 2: Modify Pen and Score Layer
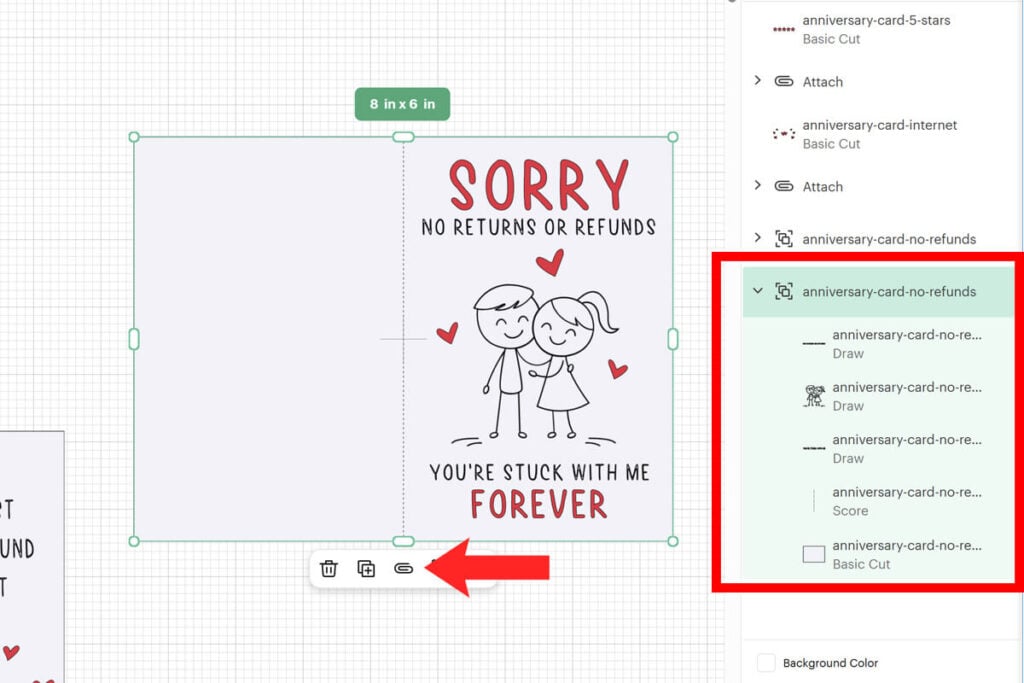
I’ve uploaded all 3 anniversary card designs to show you which items you are modifying. For the red arrows, you will change the operation for these layers to “Pen”. And for the black arrows, you will change the operation to “Score”.
If you want to use multiple colors of pens, just assign the pen color to each of the layers so your Cricut will know to swap out pens. I’m using a black fine point pen for all of my writing, but a black marker would work well with the 5 stars card because it is a larger font.
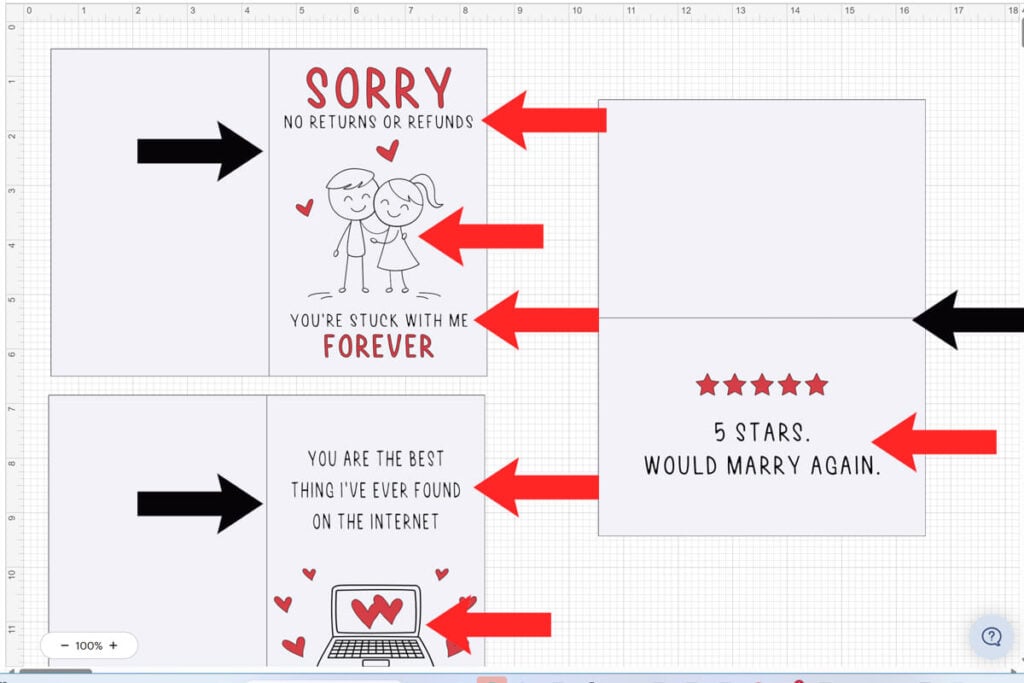
Once the modifications are made, make sure to attach all of these to the card. All of these elements will already be in a group together, but make sure that all the pen layers, the score layer and the card layer are selected together and then select “attach”. The red designs should NOT be included in this.
Step 3: Cut Everything Out
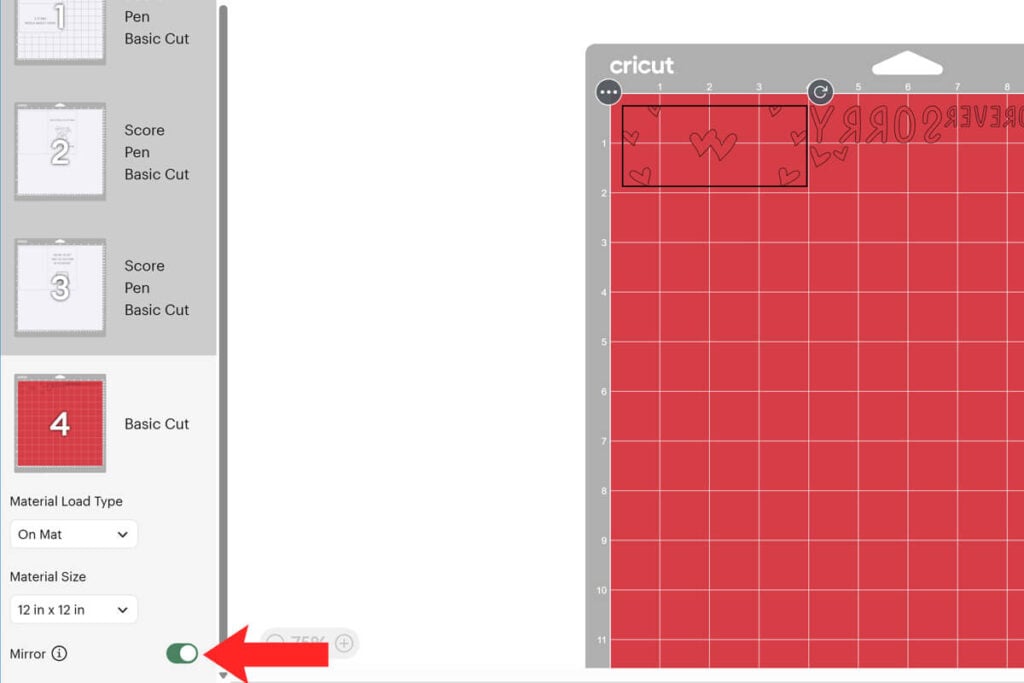
The card modifications are super simple, so now it’s time to cut everything out. For the red layers, I am using a red glitter iron on vinyl which I recommend. If you are using an iron on vinyl, make sure to mirror this layer, otherwise leave it as is.
Other options for the red layer are to cut the items out with cardstock and glue them on. Or change the layers to pen as well and use a red marker.
Step 4: Attach all the Card Elements
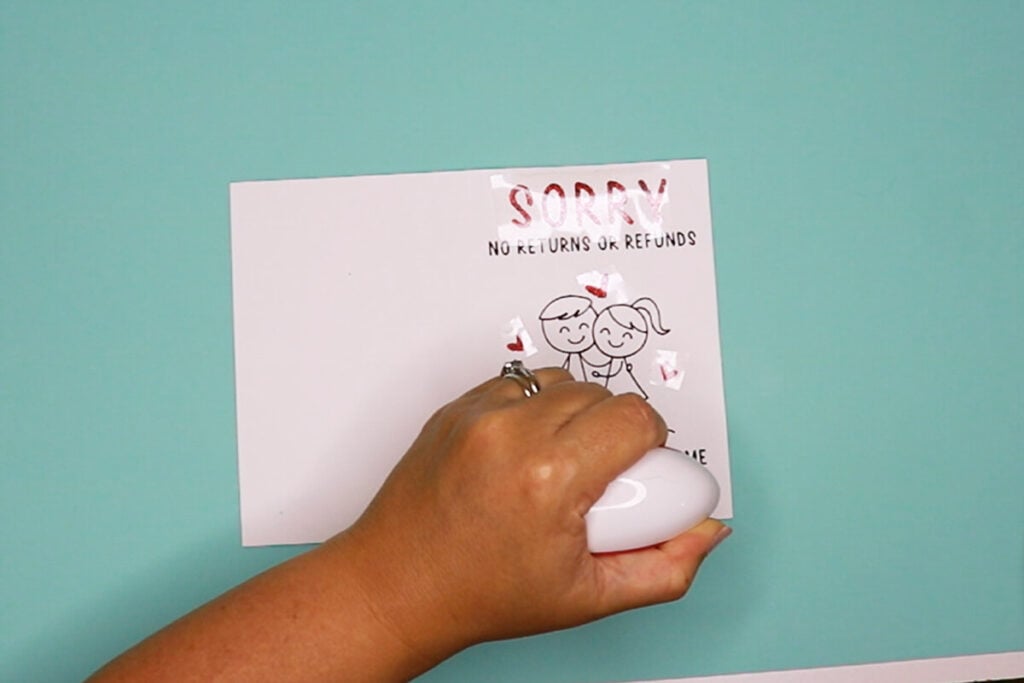
The last step is to attach the red designs. If you chose to use red markers for this, then this step has already been done for you. If you cut these layers out in cardstock, then glue them on in their places. But if you’re using iron on vinyl like I am, then you’ll need to attach this using a mini heat press.
First weed the vinyl and then place the vinyl in the correct place on the card. Using a mini heat press, press for only 3-5 seconds. This doesn’t take much heat at all. If the designs lift as you peel off the carrier sheet, then just press for a couple more seconds and try again. Since I am using a glitter vinyl, I have my setting set at medium heat which is 2 lines. But for regular iron on vinyl, I recommend the lowest heat setting.
Anniversary Card Envelope
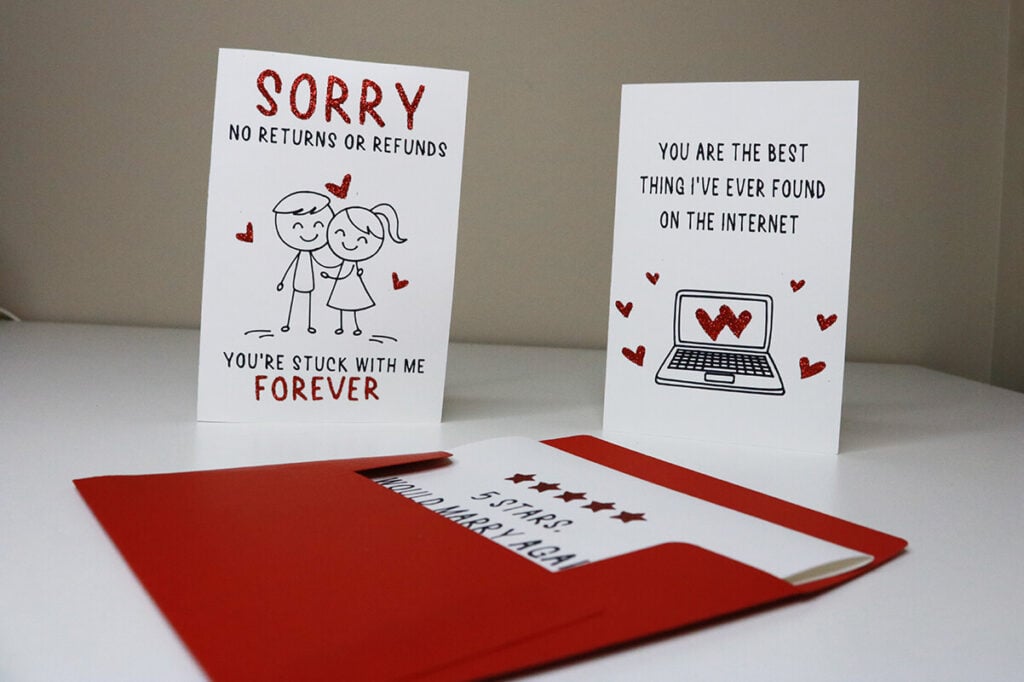
These anniversary cards will fit in any standard 4″x6″ envelope. If you don’t have this size on hand, you can grab a free 4″x6″ envelope template from my blog to make your own. A red envelope pairs perfectly with these card designs.
I hope you enjoy these anniversary card templates and that they bring a little humor to your special day.
