
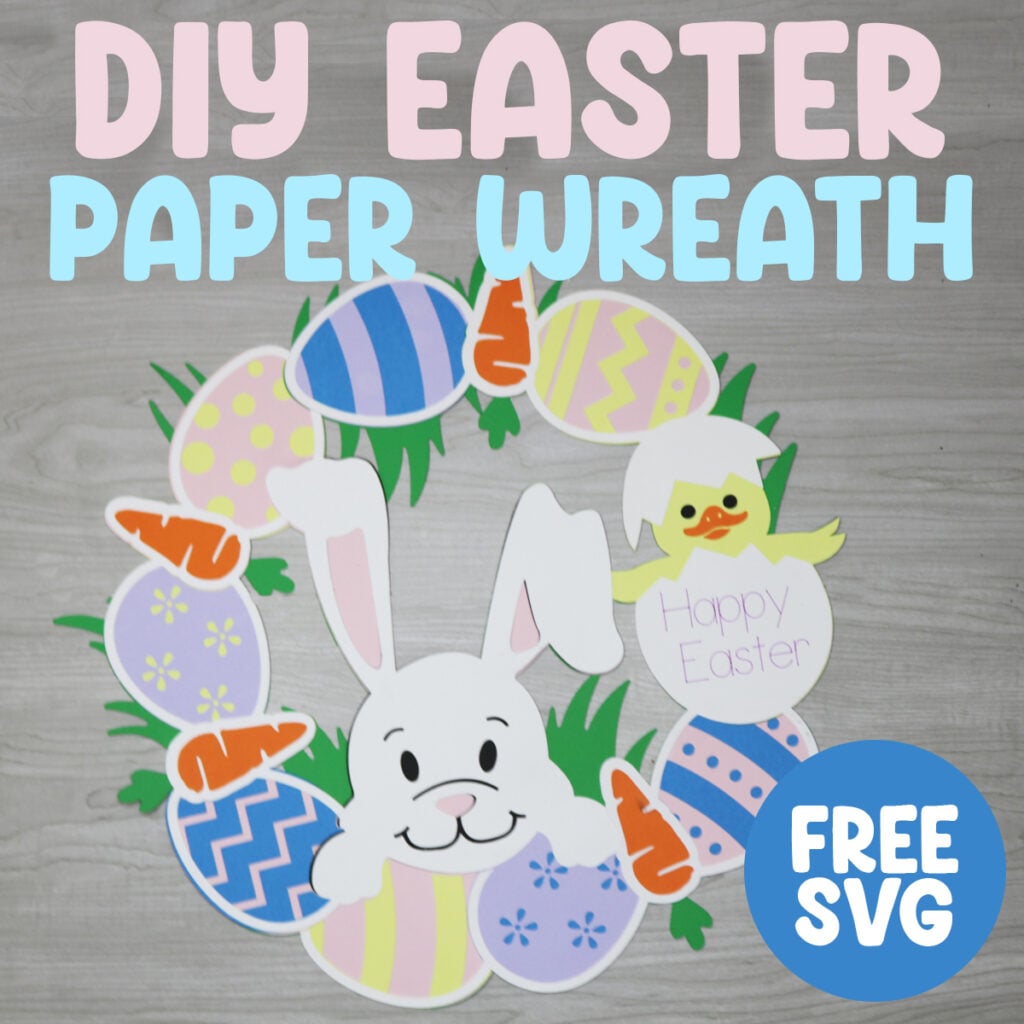
Easter Wreath SVG

Looking for the perfect Easter craft to brighten up your home this spring? This Easter Wreath SVG is a must‑have for Cricut and Silhouette makers who love creating festive décor with a personal touch. This layered paper wreath is perfect for decorating bedroom doors, classrooms or even the office.
This post contains some affiliate links for your convenience. (Which means if you make a purchase after clicking a link I will earn a small commission but it won’t cost you a penny more)! Read my full disclosure policy.
Want more Easter craft ideas? This Bunny Banner SVG is the cutest banner to decorate your house with. Or try these popular Easter candy holders that everyone loves.
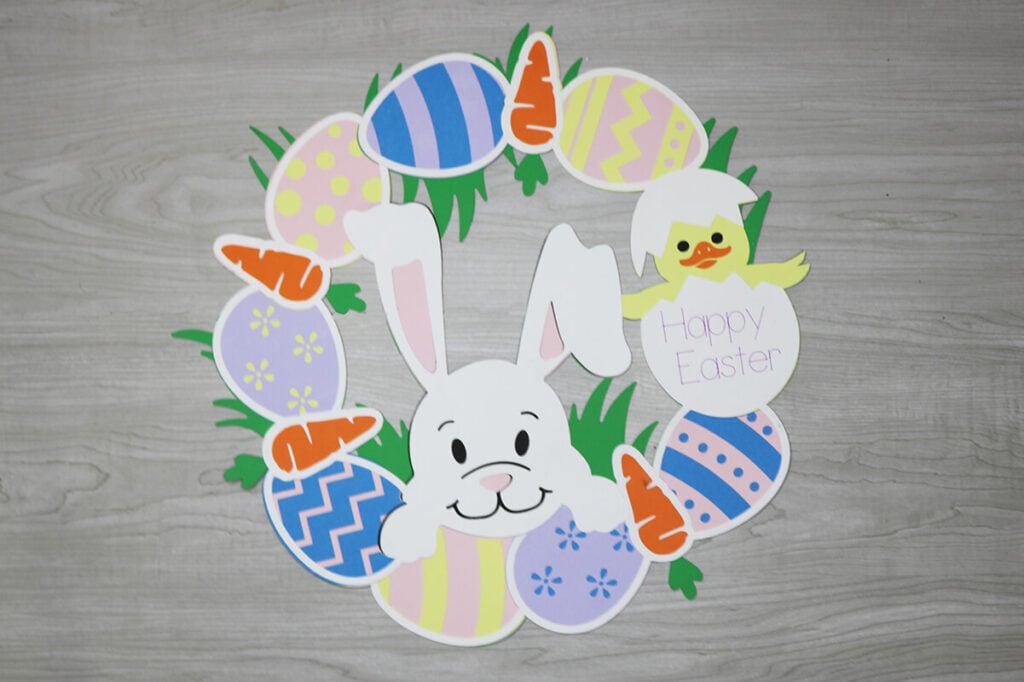
Learn how to make a Paper Easter Wreath with a Cricut
This Easter Wreath SVG is a fun, fast, and festive way to bring spring into your home. Whether you’re crafting for yourself, gifting, or selling, this design gives you endless ways to personalize your project. Grab the file, fire up your cutting machine, and let your creativity bloom.
Watch the step-by-step tutorial to learn how to make this layered Easter wreath with your Cricut:

To Make a Paper Easter Wreath, You Will Need:
- A variety of cardstock, this is a great variety pack to get you started with paper crafts and will have all the colors that you need for this Easter wreath.
- Cricut Maker or Explore Cutting Machine and your light grip cutting mat.
- A glue with a fine point to it – This Bearly Art craft glue is what I am using.
- Scoring Stylus (which is what I will be using in this tutorial) or Scoring Wheel (Maker only). The scoring tool is optional, but helpful.
- Cricut Pens to write on the wreath.
- Fishing String or a thin string for hanging your wreath.
Download The Easter Wreath SVG
You can download this free Easter Wreath SVG from my members only free library (design #16 under Easter Files or search “Easter Wreath SVG”).
Don’t have a password? Unlock my free members library here.
Share the love and easily come back to this tutorial anytime just by saving this on Pinterest… Plus this helps to keep my SVG files and Cricut tutorials free!

Step 1: Upload the Easter Wreath SVG to Design Space
Create a new project in Cricut Design Space and upload the Easter wreath SVG. Click on “Ungroup” to ungroup your layers. For help with uploading SVG files to Cricut Design Space, you can check out my tutorial here.

Step 2: Add Text to the Easter Egg (optional)
If you would like for your Cricut to write on the wreath for you, then use the text tool to add your text. Adjust the font to a writing font. Or you can use a thinner font and change the operation to pen.

Then select the text and the egg beneath it together and select “attach” to attach the text to the layer it will write on.

Step 3: Cut Everything Out
Cut everything out with your Cricut. If you are using pens to write on your wreath, make sure to add the pen to your Cricut per the instructions in Cricut Design Space. You’ll also want to make sure that the mat preview shows the writing in the correct place. If you do not see it in the correct place, it will not write where you want it to write so you will need to go back and attach it.

Step 4: Assemble the Easter Wreath
To assemble the wreath, start with gluing the 4 green layers together so it makes one big wreath. There are little sections that overlap so you can glue it together by overlapping those sections.
Then tie fish string or another type of string through the holes so you can hang your wreath when you are done. Make sure you do this step before moving on to the next.

Next, glue the 1st layer over the green. Each of the colors will line up in the correct spot and each piece will fit together perfectly like a puzzle.

Then glue the 2nd layer on top. These pieces all line up perfectly as well and everything should fit together like a puzzle.

For the final layer, glue the white layers on top and then add the orange carrots on top of the white layer. And then your Easter wreath is ready to hang.
Tips for Beautiful Results
To customize this Easter wreath even more, try some of these helpful suggestions:
- Use foam tape for extra dimension
- Mix pastel and bright cardstock
- Add metallic accents for shine
- Try patterned paper for the eggs
When you’re done with this Easter wreath, make sure to post these in my crafting group here. I absolutely love seeing your crafts and can’t wait to see your Easter crafts.