
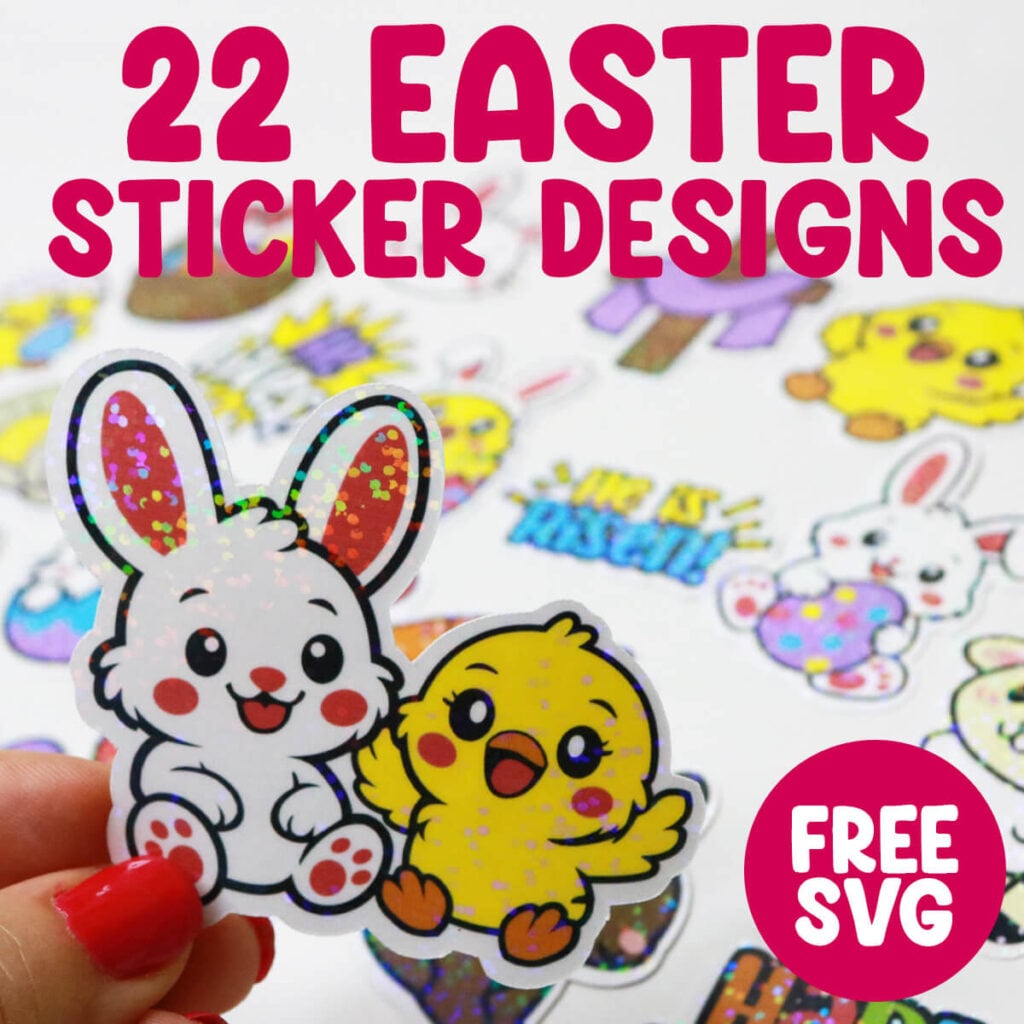
Cricut Easter Printable Stickers
Looking for a fun and easy way to celebrate Easter with your Cricut? Printable Easter stickers are the perfect craft for spring! Whether you’re decorating planner pages, filling Easter eggs, or adding flair to party favors, these cheerful designs bring joy to every corner of your celebration.
This post contains some affiliate links for your convenience. (Which means if you make a purchase after clicking a link I will earn a small commission but it won’t cost you a penny more)! Read my full disclosure policy.
Want more cute stickers and Easter craft inspiration? Search all of my free Sticker SVG files. Or search all of my Free Easter SVG files to find Easter card templates, gift ideas and more to make with your Cricut.
Learn how to make Printable Easter Stickers with Cricut
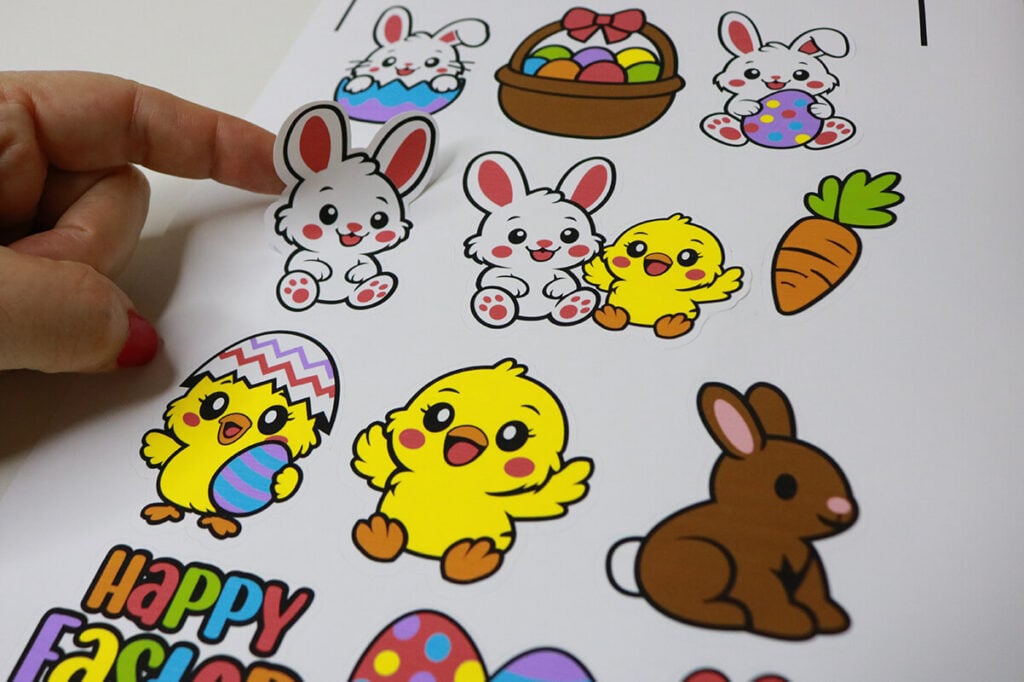
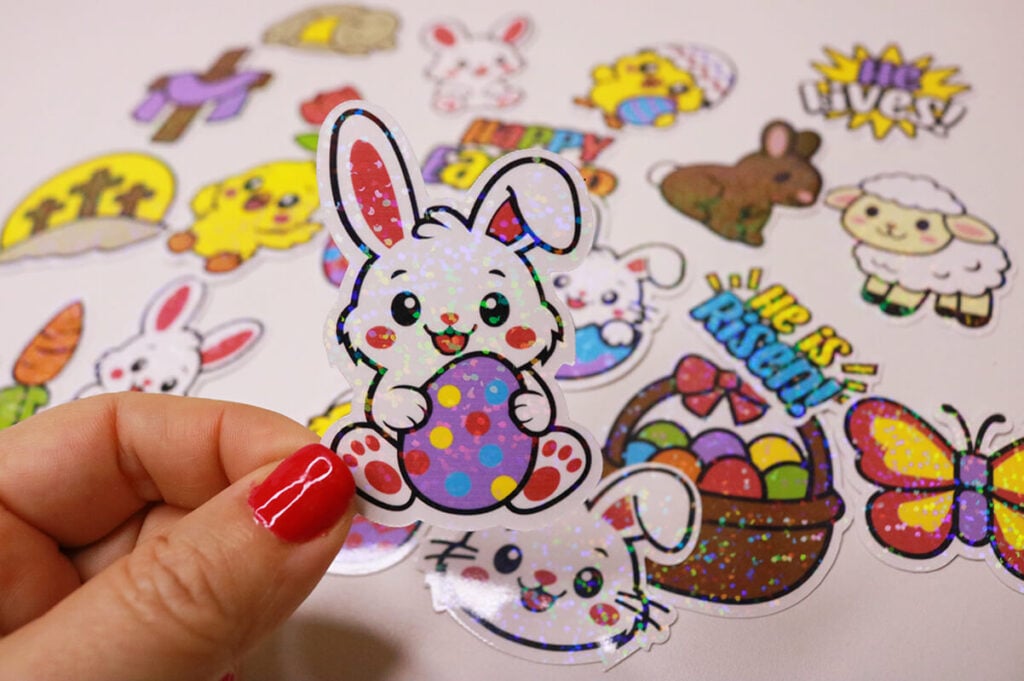
Easter stickers are quick to make with your Cricut – just print, cut and stick. Today, I’ll be adding holographic vinyl on top to make the stickers sparkle. These designs are also great to use to make Easter cards, baskets, treat bags and more.
Watch the step-by-step tutorial to learn how to make holographic printable Easter stickers with Cricut:
To Make Printable Easter Stickers, You Will Need:
- Any good quality inkjet printer
- Matte Sticker Paper (you can also use gloss if you aren’t adding the holographic sheets)
- Transparent Holographic Vinyl Laminate
- Cricut cutting machine – Use this Cricut Comparison Guide to find the right model for you!
Download The Printable Easter Stickers SVG
You can download these free printable Easter Stickers SVG from my members only free library (design #15 under Easter Files or search “Easter Sticker SVG”).
Don’t have a password? Unlock my free members library here.
Share the love and easily come back to this tutorial anytime just by saving this on Pinterest… Plus this helps to keep my SVG files and Cricut tutorials free!

Step 1: Create a New Project in Cricut Design Space
When you open Cricut Design Space, create a new project, select Blank Canvas and then select Start Designing.
Then upload the printable Easter sticker SVG and add them to your Canvas. Select the image and select “Ungroup” to ungroup each of the images.
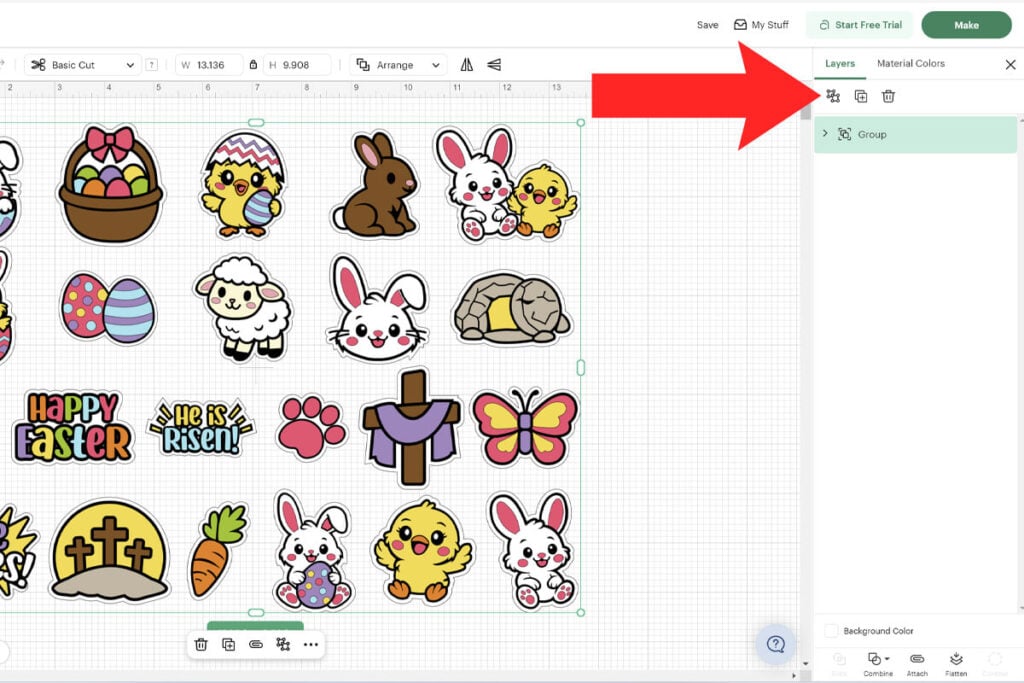
Step 2: Modify the Sticker Designs
If you want to make any changes to the stickers, do this before flattening the images. These are layered SVG files so you can easily:
- Change the colors using the layers panel.
- Resize the sticker images.
- Delete any sticker design that you don’t want to use.
- Add a bigger offset if you prefer a larger offset. You can do this by selecting “Edit” and then “Offset”.
Note: If you keep the stickers just as they are, they will all print on 2 sheets of sticker paper.
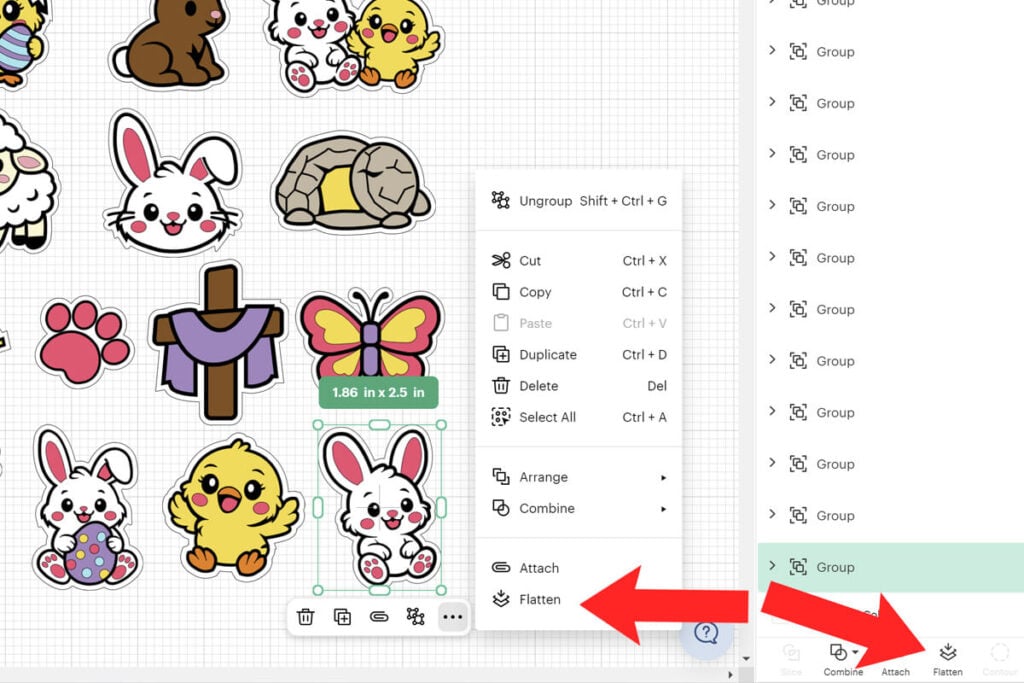
Step 3: Flatten Each Sticker Design
Before your stickers are ready to print, you much flatten each image individually. To do this, select an image and then select “Flatten”. You will find the flatten tool in the bottom of the layers panel or by clicking on the 3 dots under the image. Make sure to do this step for EACH sticker design, individually.
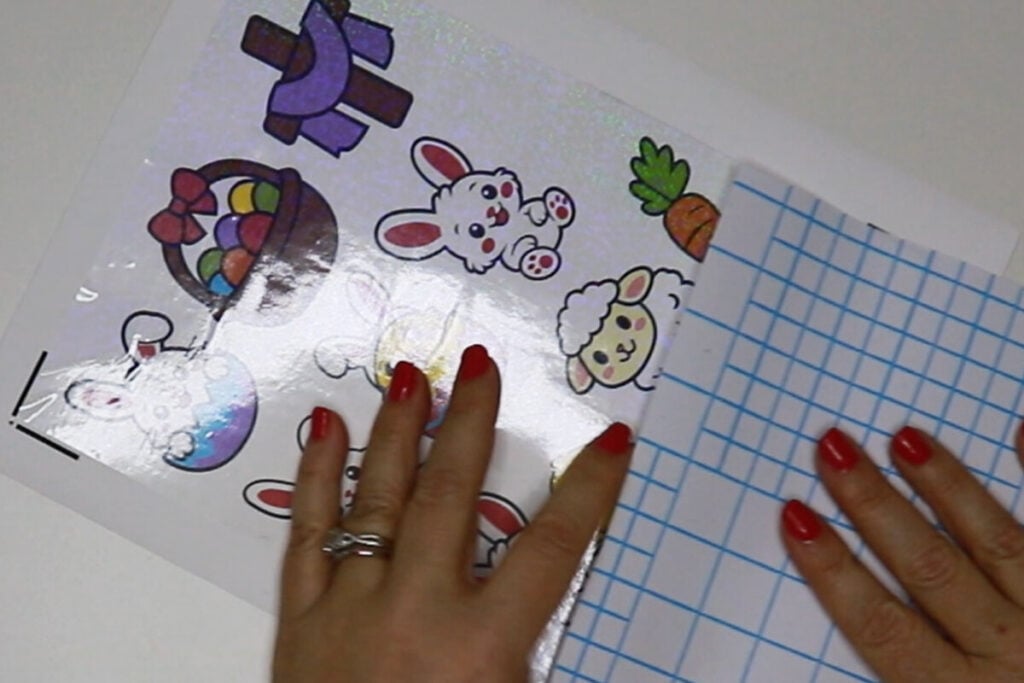
Step 4: Print the Easter Stickers and Add Holographic Vinyl
To print the stickers, select “Make”. Then use the print prompt to print the page of stickers.
If you want to make the stickers holographic, then apply the holographic vinyl to the top of the stickers. But make sure that you trim the vinyl down first so the vinyl covers all the stickers but does not cover the sensor guides printed on your stickers. If any vinyl is covering even a small part of the corner sensors, your Cricut will not be able to sense this to cut.
Step 6: Cut the Easter Stickers with a Cricut
Add the sticker paper to your cutting mat and have your Cricut cut the stickers out. Make sure that you have the same sticker sheet selected in Cricut Design Space that is on your cutting mat.
For Kiss Cut Stickers, use these settings:
- Sticker Paper with Laminate (default pressure) when using just the sticker paper.
- Glitter Iron on Vinyl (default pressure) when using the sticker paper with the holographic vinyl on top.
For Die Cut Stickers, use these settings:
- Glitter Iron on Vinyl (default pressure) when using just the sticker paper.
- Glitter Cardstock (default pressure) when using the sticker paper with the holographic vinyl on top.
Thanks so much for checking out these Cricut Printable Easter Stickers. When you’re done, make sure to post these in my crafting group here or tag me if you post them on social media. I absolutely love seeing your crafts and can’t wait to see how yours turn out!