
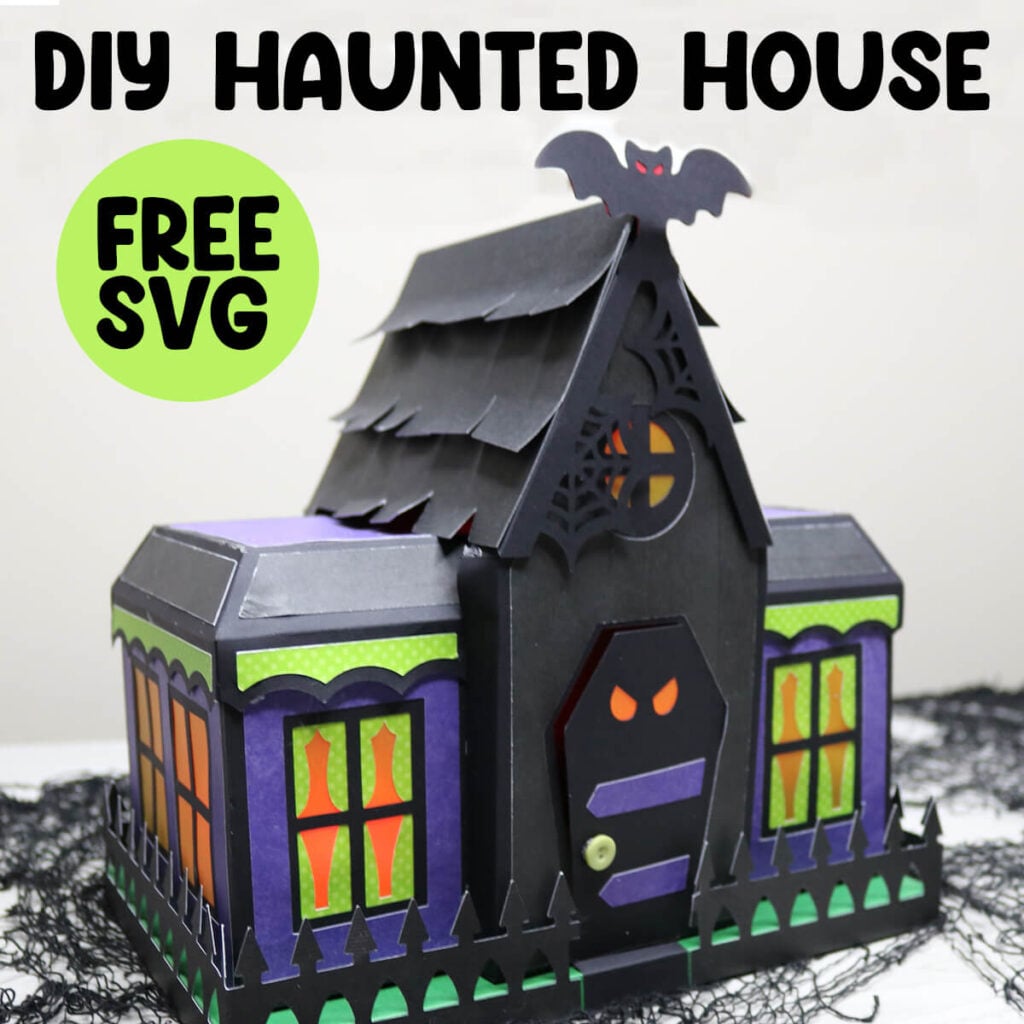
Haunted House SVG
Decorate your house with a spooky haunted house that lights up. Grab this free haunted house SVG to use with your Cricut or Silhouette.
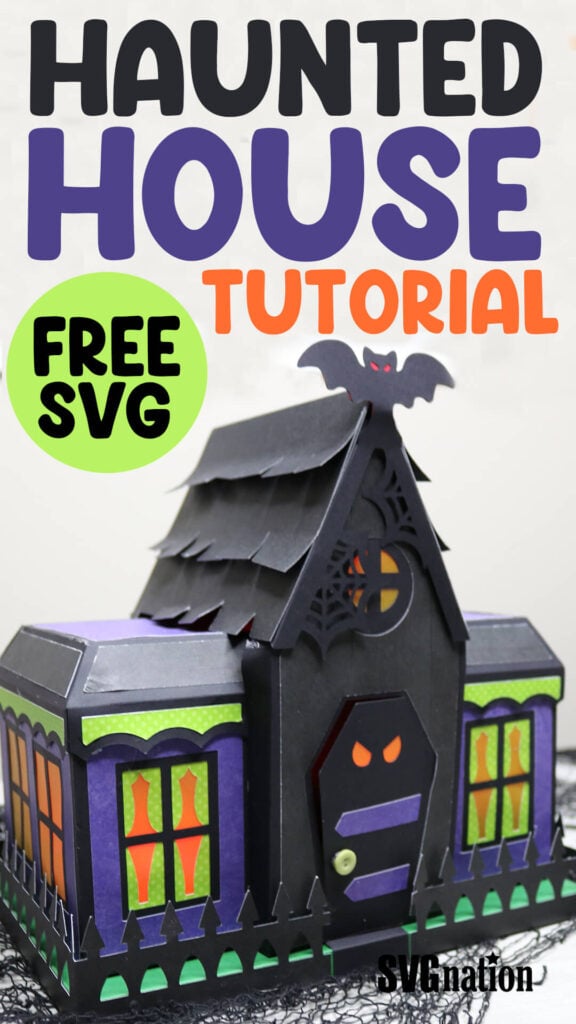
A few weeks ago, I made this haunted house card and it’s had such great feedback. So I decided it was time to go bigger. And so today, I’m sharing with you a 3d haunted house made out of paper and my Cricut. This looks great on the mantle, especially with the way it lights up. You can easily make this same decoration with the free haunted house SVG and my step-by-step tutorial.
This post contains some affiliate links for your convenience (which means if you make a purchase after clicking a link I will earn a small commission but it won’t cost you a penny more)! Read my full disclosure policy.
Like making paper projects with your Cricut? Search my Cricut paper crafts or search all of my free Halloween SVG files for more Halloween craft ideas.
Haunted House Tutorial
Supplies I’m using for this 3D Haunted House:
- 5 12×12 Sheets of this medium weight black cardstock
- 3 different scrapbook paper designs found at Hobby Lobby
- Black Textured Cardstock (for the roof and fence)
- Dark yellow Vellum from this variety pack (to see through the windows)
- 12×12 Green and Red Cardstock from this variety pack
- Scoring Stylus with my Cricut Explore machine
- Bearly Art craft glue and hot glue
- Adhesive Velcro to keep the back door closed.
- Jack-o-Lantern LED lights with remove
Download the Haunted House SVG
You can download this free haunted house SVG from my members only free library (design #3 under Halloween Crafts or search “Haunted House SVG”).
Don’t have a password? Unlock my free members library by entering your name and email in the form below or click here.
Save this on Pinterest so you can easily find this tutorial when you need it… Plus by sharing with others, this helps to keep my SVG files and Cricut tutorials free!
Step 1: Upload the Haunted House SVG to Cricut Design Space
Upload the Haunted House SVG to Cricut Design Space. If you need help with uploading SVG files, then check out my tutorial here. Make sure to check the size of your project and adjust if needed. Click on the image (while everything is grouped together) and the width should be 47.865″ and the height 26.572″.
After resizing your project (if needed), click on “ungroup” to ungroup your layers.

Step 2: Add and Attach Score Lines
The haunted house has 18 different layers with score lines that need modified before cutting. To do this, click on the arrow to open the layers in the group. Then click on the group of lines and change the operation from “Basic Cut” to Score.

Then, select the full group with the score lines and base layer selected together and select “Attach”. If you do not attach this correctly then your Cricut will not score in the correct place.

Step 3: Cut Everything Out with Your Cutting Machine
Once all your score lines are changed and attached, select “Make It” to cut everything out. If you are using a scoring tool, I recommend placing your paper face down on the cutting mat, this makes it easier when you fold.
Step 4: Fold on all of the Score Lines
Fold on all of the score lines for each of the haunted house pieces. Lay your paper with the score side up and then fold in on each score line.

Step 5: Assemble the Ground
I cut the ground out in green paper. If you did the same, then grab your green layers (or whatever color you chose). Assemble this by gluing each of the tab pieces to the inside of the side next to it to close the shape together. When these are attached, there should be a piece on each side that folds over. Add glue to the top of this and attach the matching rectangle piece on top. Make sure to push the sides in if they want to pop out when you glue this down. Then set this aside to dry.

Step 6: Add the Decorative Accents to the Haunted House
- On the 2 side panels of the house, glue the rectangles to the front. The rectangles with the cut outs will fit around the windows.
- Flip the sides over and glue the curtains facing up to the inside of the small window. Then glue the windows (I am using vellum for this for a clear window effect) to the inside.
- Glue the accent pieces to the front of the house. Then glue the vellum for the window and door eyes to the back.
- glue the decorative pieces to the back door. First glue the scrapbook paper to the flat black layer and then glue this to the front of the back. Use a piece of small adhesive Velcro to keep the door shut.

Step 7: Attach the Frame of the Haunted House Together
To attach the frame of the haunted house together, start with the front of the house (the piece with the door) and the 2 sides. Place the sides so the windows with the curtains are next to the front. To attach these, first flip the fold the opposite way so it’s facing up because you want the front of the house to stick out. Add glue to the inside of the tab piece and attach this to the front of the haunted house. Repeat this for both sides of the house.

Continue to attach the sides together, gluing the tab piece to the inside. When you get to the back, fold the tab pieces forward just as you did with the front so that the back sticks out as well.

Step 8: Assemble and Attach the Roof
- To assemble the roof, start by gluing all decorative pieces that you want to use to the outside of the roof.
- Attach one of the sides to the tab piece on the side of the roof. Line the side piece top so it is flush with the top of the roof.
- Then glue each of the side tab pieces on the inside of the other side.
- Repeat this for the other side of the roof.

Fit the roof on the top of the haunted house. Then flip this upside down to glue the roof to the house. To do this, fold the tab piece from the top of the house down and add glue. Then push the tab piece back down so it attaches to the roof. Let this set before going to the text tab piece. Continue to rotate the haunted house until each of the haunted house tab pieces have been glued to the roof.

Glue the front and back roof pieces (the ones with the spider webs attached) to the front and back roof slope. The front is the piece that has the bat on it. Add glue on top of the roof slant on the front and back and add the largest of the 3 roof pieces. Then add the middle size roof piece on top, followed by the smallest piece. When adding glue, make sure you don’t add glue to the shingles at the bottom of each piece so you can fold these out.

Step 9: Attach the Haunted House to the Ground
Attach the haunted house to the ground layer. When you attach this, start by gluing the back and line the back up with the back of the ground. Make sure to center the house in the middle. Continue to add glue to the bottom tabs of the house and attach them to the ground.

Step 10: Add the Fence
Last, you will add the fence to your haunted house. The bottom of the fence glues to the bottom of the ground. There are score lines where the fence folds on each side and tabs on the back piece to attach the fence pieces together. Then glue the front step where the fence opening is in the front.

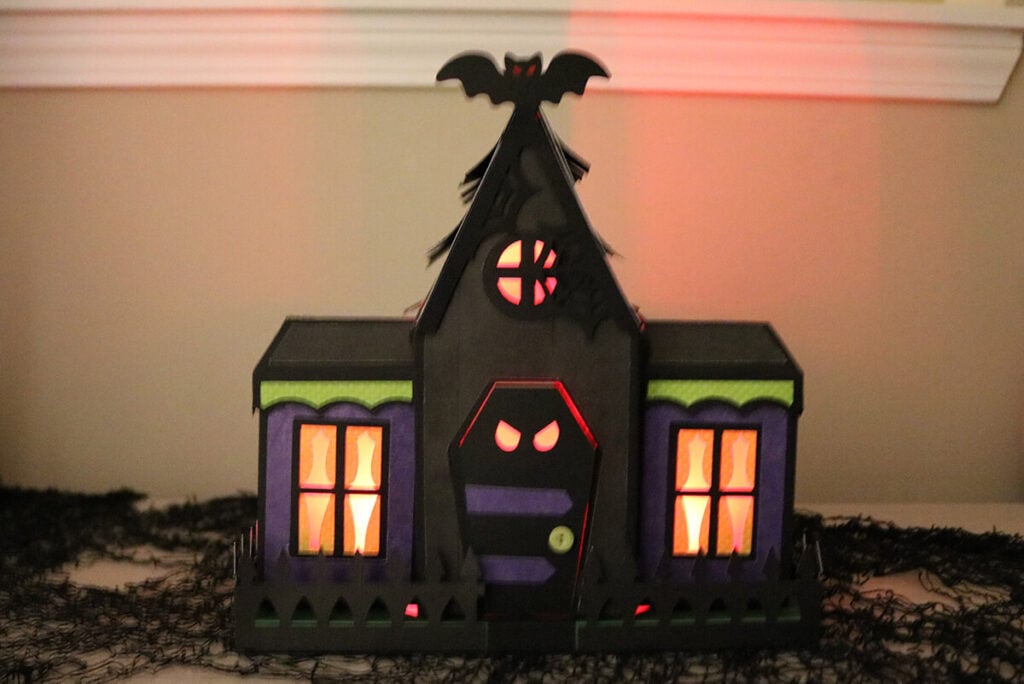
Step 11: Make it Glow!
Add pumpkin lights to the inside of the house (using the back door) to make it glow! If you want the top window to glow, slide a pumpkin light under the roof shingles. I recommend using LED lights that come with a remote (like what I am using) so you don’t have to pull the lights out to turn them on and off.
When you’re done making the haunted house, make sure to post these in my crafting group here or tag me if you post them on social media. I absolutely love seeing your crafts and can’t wait to see how creative you get with this paper haunted house.
Video Tutorial For Cricut Haunted House
Watch the step-by-step video tutorial to learn how to make this 3D Haunted House here:
