
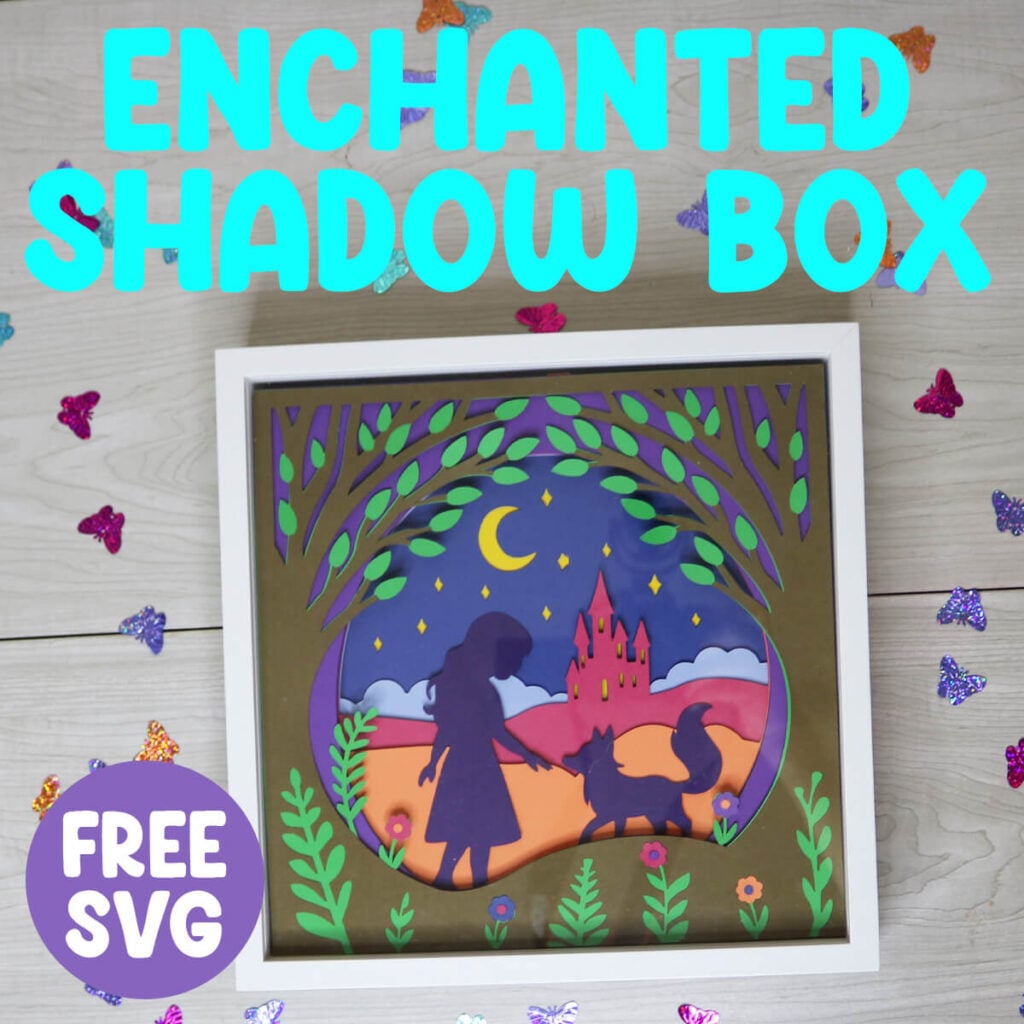
Enchanted Shadow Box SVG
If you’re looking for a fun and whimsical Cricut project, this Enchanted Shadow Box is exactly what you need. All you need is a Cricut (or other compatible cutting machine), some cardstock and my free Enchanted Shadow Box SVG to quickly and easily put this paper craft together.
This post contains some affiliate links for your convenience (which means if you make a purchase after clicking a link I will earn a small commission but it won’t cost you a penny more)! Read my full disclosure policy.
For more shadow box designs to make with your Cricut, check out my free shadow box SVG designs. The designs are all made with the same dimensions, so you can easily swap them out for the holidays. And if you love crafting with paper, make sure to check out all my 3D Paper Craft SVGs.
Learn how to make an Enchanted Shadow Box with your Cricut!
Shadow boxes are great for adding a decorative accent around the house, but they also make great gifts. This enchanted shadow box is great for all levels and you would never guess just how easy it is to assemble. Grab your cardstock, the enchanted shadow box SVG and let’s get started.
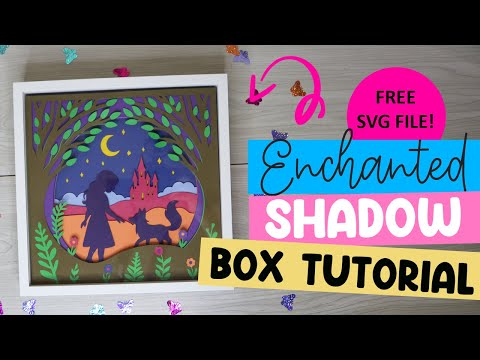
Watch the step-by-step tutorial to learn how to make this Enchanted shadow box here:
To Make this Enchanted Shadow Box, You Will Need:
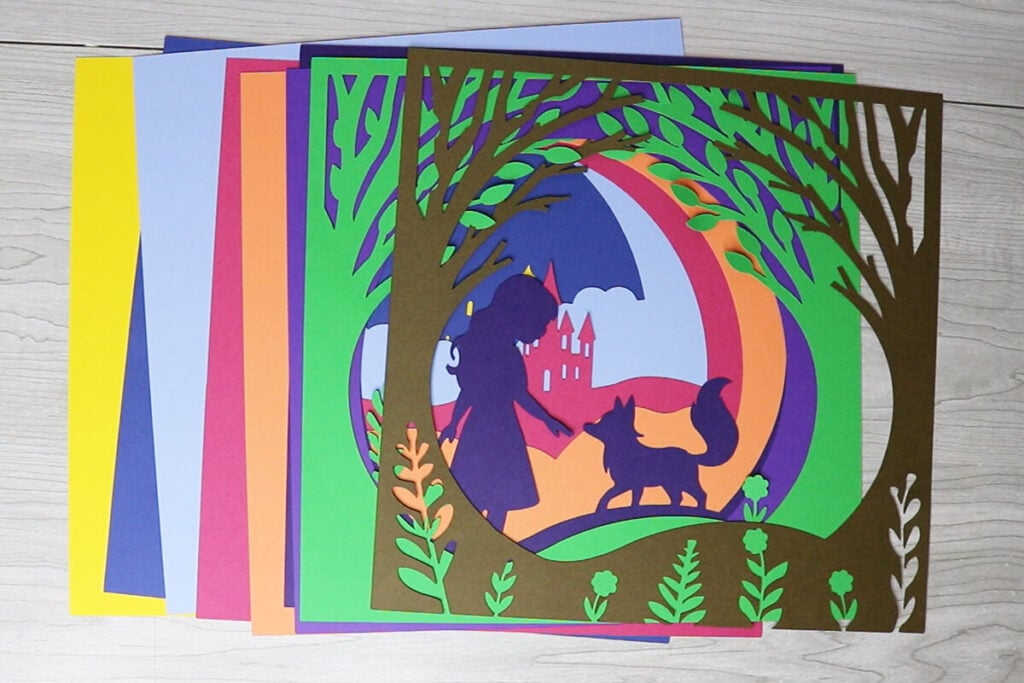
- Medium Weight Cardstock in a variety of whimsical colors. You can find all the colors you need in this variety pack of cardstock.
- I0″x10″ Shadow Box
- 1/4″ Double Sided Foam Tape
- A good paper craft glue – this Bearly Art craft glue is what I am using.
- Cricut Maker or Explore Cutting Machine and a cutting mat.
Download The Free Enchanted Shadow Box SVG
You can download this free Enchanted Shadow Box SVG Template from my members only free library (design #8 under Paper Crafts or search “Enchanted Shadow Box SVG”).
Don’t have a password? Unlock my free members library here.
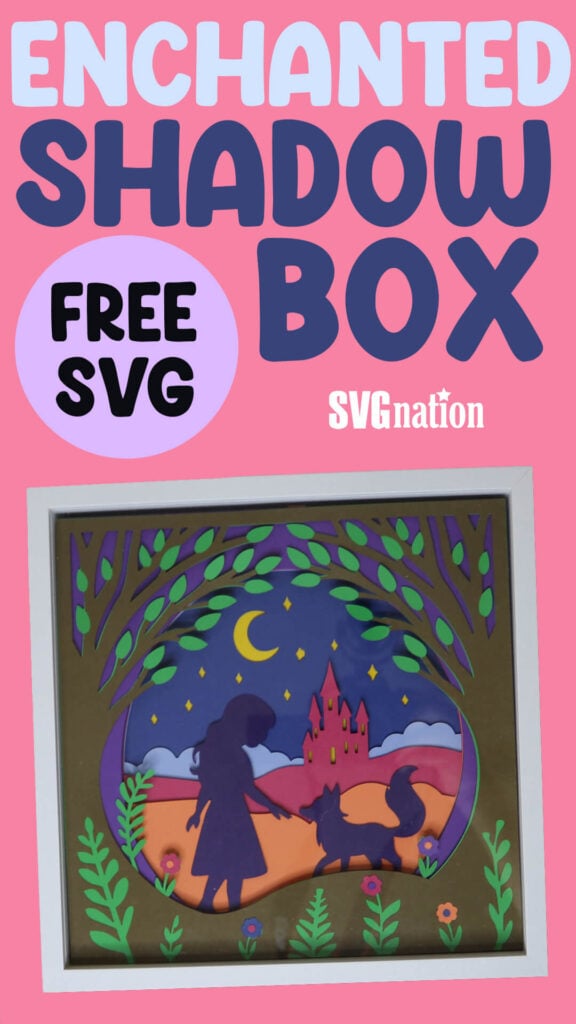
Share the love and easily come back to this tutorial anytime just by saving this on Pinterest. Hover over the picture to click on the Pin Button and then hit “Save”… Plus this helps to keep my SVG files and Cricut tutorials free.
Step 1: Cut Enchanted Shadow Box Layers with Cricut
Upload the Enchanted Shadow Box SVG to Cricut Design Space. If you need help with uploading SVG files, then check out my tutorial here. Make sure to check the size of your project and adjust if needed. If you are using a 10″x10″ frame, the project size should be 9.55″x9.55″, but make sure to measure the inside of the box just to make sure. If using a different size, adjust accordingly.
Note: Make sure to measure the inside of the shadow box because this size is typically smaller than the shadow box size.
Step 2: Layer Shadow Box Layer on Top of Each Other
If you want the layers to stick out for a 3 dimensional effect, then you will use foam tape between the layers. When applying the foam, layer the foam tape around each of the 4 edges. This 1/4″ foam tape works great for this.
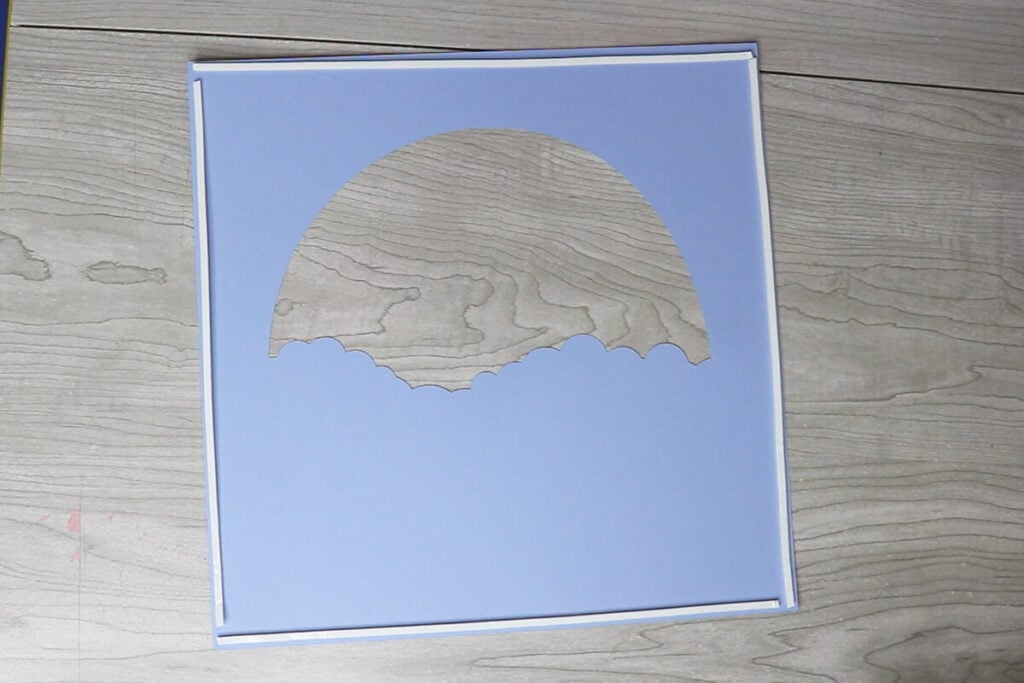
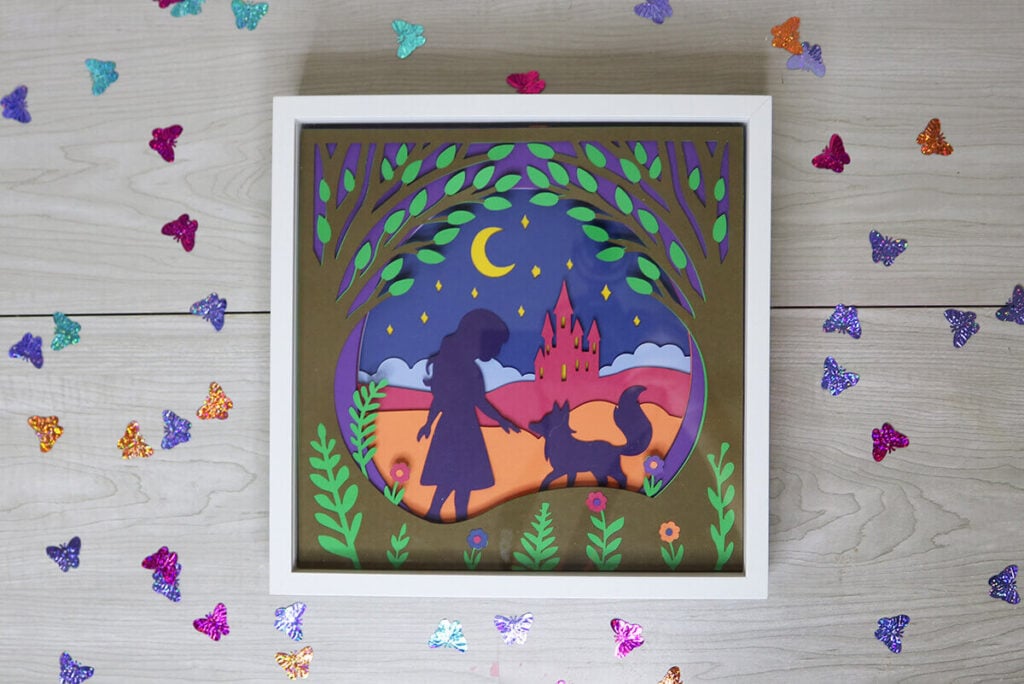
To layer the designs, start by layering the dark blue layer on top of the yellow square. Next, add the light blue layer with the clouds.

Then, add the pink layer with the castle. The castle should be on the right when facing you. Top this with the orange layer and then the dark purple layer. For the dark purple layer, the girl should be on the left side when facing you. And then add the lighter purple layer on top.

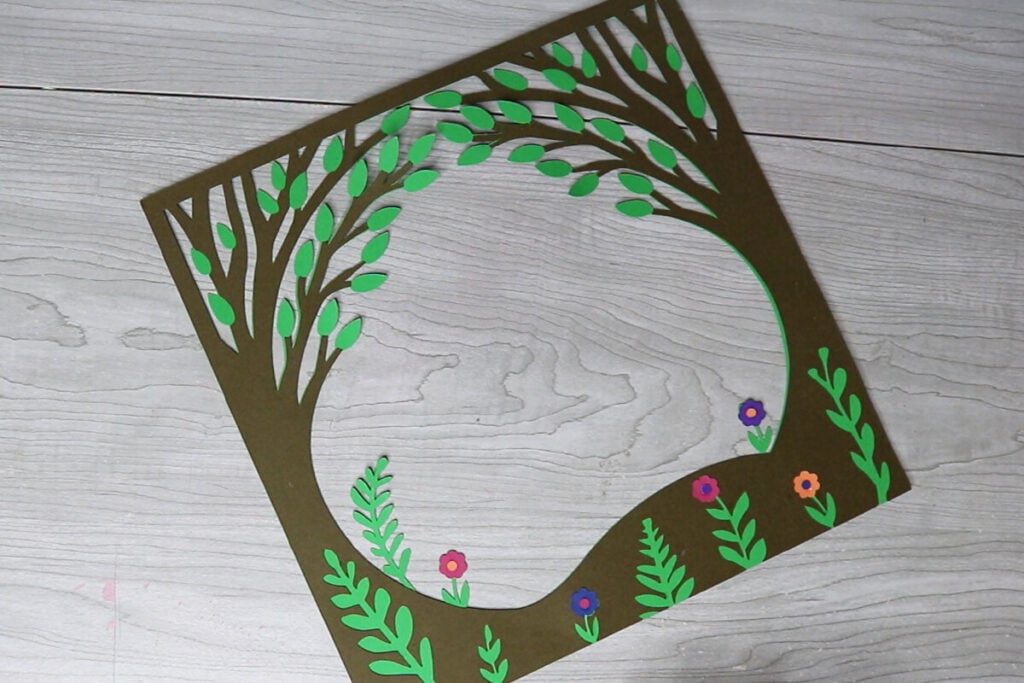
Before adding the green layer, glue the brown layer on top of the green layer. Then glue in the flowers and circles for the flower. Then attach this assembled piece to the top of your enchanted shadow box design.
Step 3: Place the Enchanted Design in a Shadow Box
When all your layers are attached, place the layered design inside of the shadow box and decorate your house with it. If your shadow box is thicker than the design, add something to the back to keep the design pressed to the front of the shadow box. I always place one of my other already made shadow box designs behind it.
Thanks so much for checking out this shadow box tutorial. When you’re done making this, make sure to post these in my crafting group here or tag me if you post them on social media. I absolutely love seeing your crafts and can’t wait to see how these turn out!