
Cross Country Sticker SVG Files
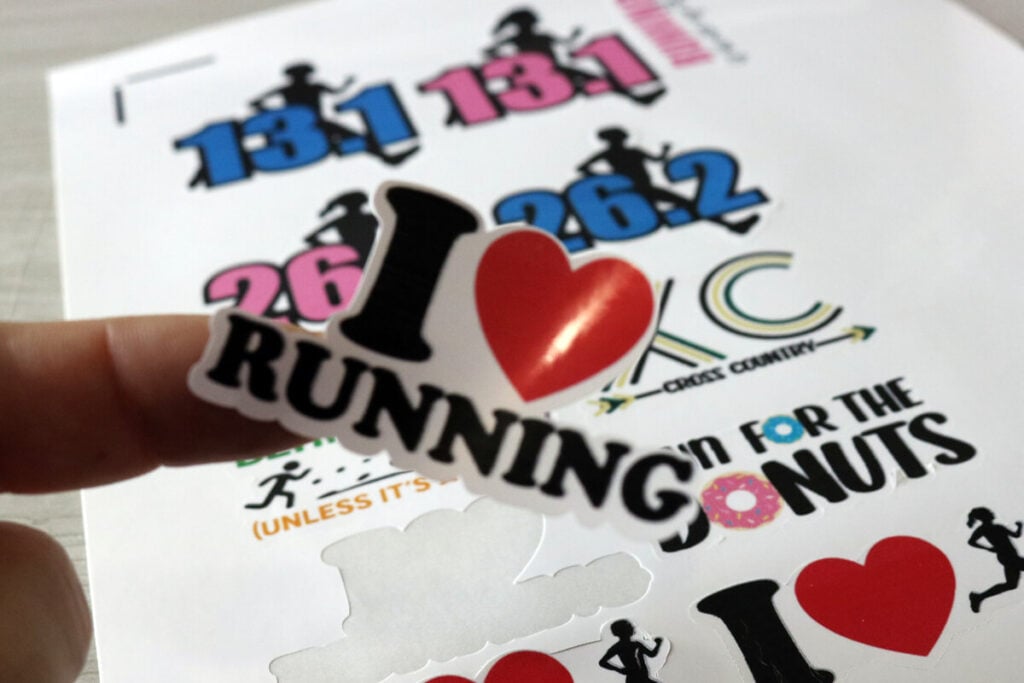
Make stickers for your Cross Country team with these free Cross Country sticker SVG files. These designs are layered so they can easily be customized with any color combination. Remove the background layer to use these designs with vinyl for shirts and more.
Related: Find more cross country SVG files to make items for your whole team.
This post contains some affiliate links for your convenience (which means if you make a purchase after clicking a link I will earn a small commission but it won’t cost you a penny more)! Read my full disclosure policy.
Making Cross Country Stickers with Cricut
To make stickers with your Cricut, you will need sticker paper and any inkjet printer. I prefer this glossy sticker paper when making stickers. It’s waterproof and has a nice glossy finish to it. If you prefer matte stickers, this is a great matte sticker paper that works with the Cricut.
If you’re new to making stickers, learn how to make stickers with your Cricut with this step-by-step guide.

How to Adjust the Colors in Cricut Design Space
Because these Cross Country SVG files are layered, you can easily adjust any of the colors in Cricut Design Space. You can also remove the white layer if you want to use any of these designs with vinyl on items like shirts or tumblers.
First, Upload the SVG file to Cricut Design Space and click on “Ungroup” to ungroup the layers.

Then, in the layers panel, select the design that you want to modify. Click on the layer and then click on your colors panel to change the color. You can also delete the bottom white layer on any design if you don’t want it.

How to Print then Cut Stickers
To be able to print these Cross Country SVG files as stickers, you will first need to flatten each image. Select the image and then select “Flatten”. You will need to do each image individually, but make sure all layers of the image are selected when you do this.
Tip: If you want to make the white outline thicker, use the offset tool to do this before you flatten the images.

Select “Make It” and then select the option to print the designs. If you don’t see the print option in Cricut Design Space, then make sure your images have been flattened.
After printing your stickers, place the sticker sheet on your mat, facing the same direction that you see in Cricut Design Space. Cut the stickers as usual. If you want the stickers to print as a sticker sheet, use the printable sticker paper setting with less pressure. To cut these out as individual stickers, use the printable sticker paper setting with more pressure.
Note: The settings in Cricut can vary depending on which paper you use. The settings listed here work with this glossy printable paper.
Load the mat into your machine and press the flashing Cricut button. Cricut Design Space will first scan the paper and then cut. If you have issues with scanning, make sure you are in a well lit area.

And just like that, you have stickers!
Make sure to join my crafting group here to share your crafts and get even more craft inspiration.
Download the Cross Country Sticker SVG Files
You can download these free Cross Country Sticker SVG files from my members only free library (design #4 under Cross Country SVG or search “Cross Country Sticker SVG”).
Don’t have a password? Unlock my free members library by entering your name and email in the form below or click here.