
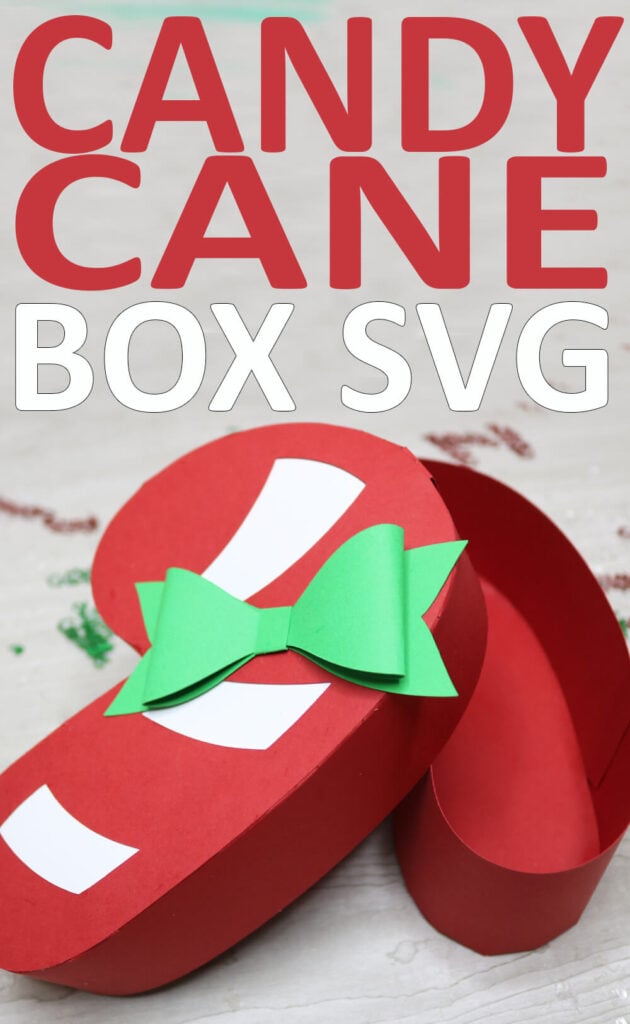
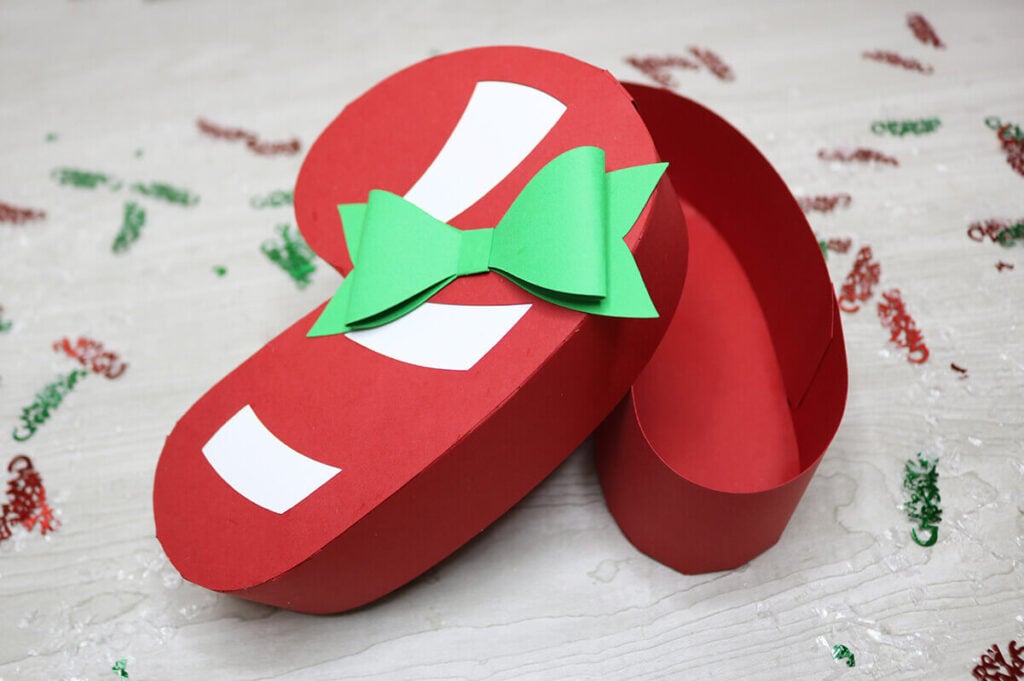
Candy Cane Box SVG
Use your Cricut or Silhouette cutting machine to create this festive candy cane Box. This box is perfect for giving small gifts or treats to your favorite people. Learn how to make this Christmas box (and download the free candy cane box SVG) with this step-by-step-tutorial.
Need more Christmas box ideas? Grab this free gingerbread house explosion box template or make these popular mini Christmas treat boxes.

Download the Candy Cane SVG
You can download this free candy cane box SVG from my members only free library (design #24 under Box Templates or search “candy cane box SVG”).
Don’t have a password? Unlock my free members library by entering your name and email in the form below or click here.
Supplies Needed
To make this candy cane box, you will need:
- Medium Weight Cardstock – This is a great variety pack that has all the colors you will need for this Christmas project.
- Cricut Maker or Explore Cutting Machine and your standard cutting mat.
- Scoring Stylus (which is what I will be using in this tutorial) or Scoring Wheel (Maker only). If your cutting machine doesn’t have the scoring feature, this scoring board and stylus is great to use.
- Glue – I highly recommend this Bearly Art Craft Glue. I do not recommend using hot glue as this is a thicker glue and dries too quick to assemble.
Share the love and easily come back to this tutorial anytime just by saving this on Pinterest by clicking the picture below and then hitting “Save”… Plus this helps to keep my SVG files and Cricut tutorials free!
Video Tutorial For Candy Cane Box
Watch the step-by-step tutorial to learn how to make this candy cane box here:

Cricut Design Space Instructions
Step 1: Upload Candy Cane Box SVG
Upload the candy cane SVG to Cricut Design Space. If you need help with uploading SVG files, then check out my tutorial here. If you would like to adjust the size of the box, you can resize this smaller or larger. Just make sure to do this while all layers are grouped together and keep the proportions locked.
After resizing your project (if needed), click on “ungroup” to ungroup your layers.
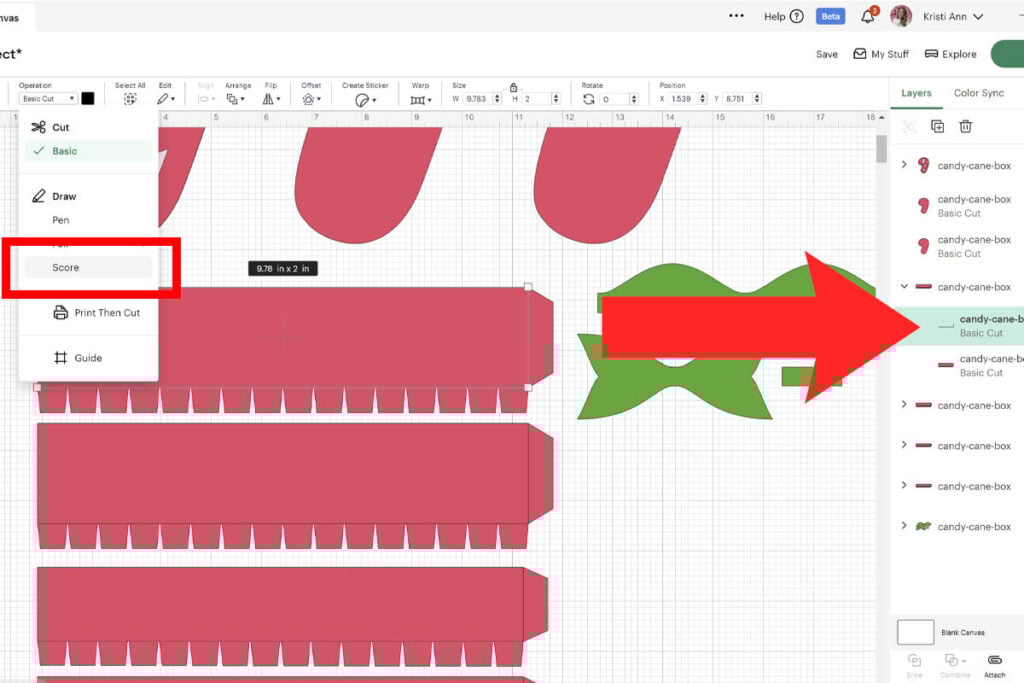
Step 2: Modify Lines to Score and Cut
Click the drop down arrow for the first rectangle layer. Then click on the first layer (wit and change the operation to from “Basic” to “Score”.
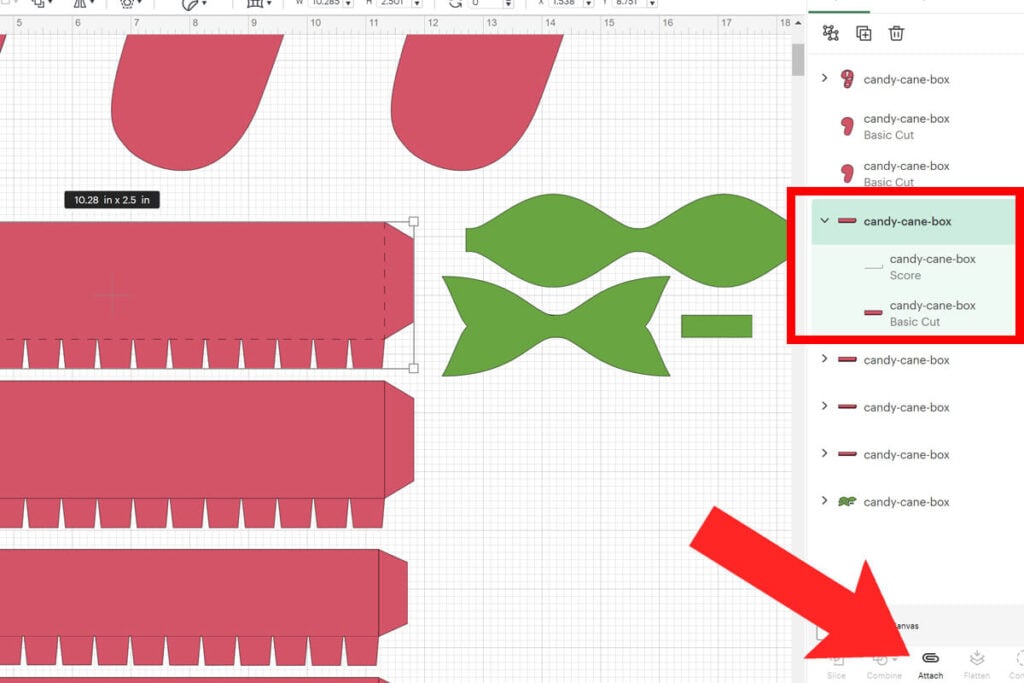
Then select the group with both layers (score line and layer underneath) and select “attach”. This will attach the score line to the layer it scores on so your Cricut knows where to score. Repeat this for all 4 of the red rectangle layers.
Next, select “Make” and cut everything out. Remember to add your scoring tool to your cutting machine first.
How to Assemble the Candy Cane Box
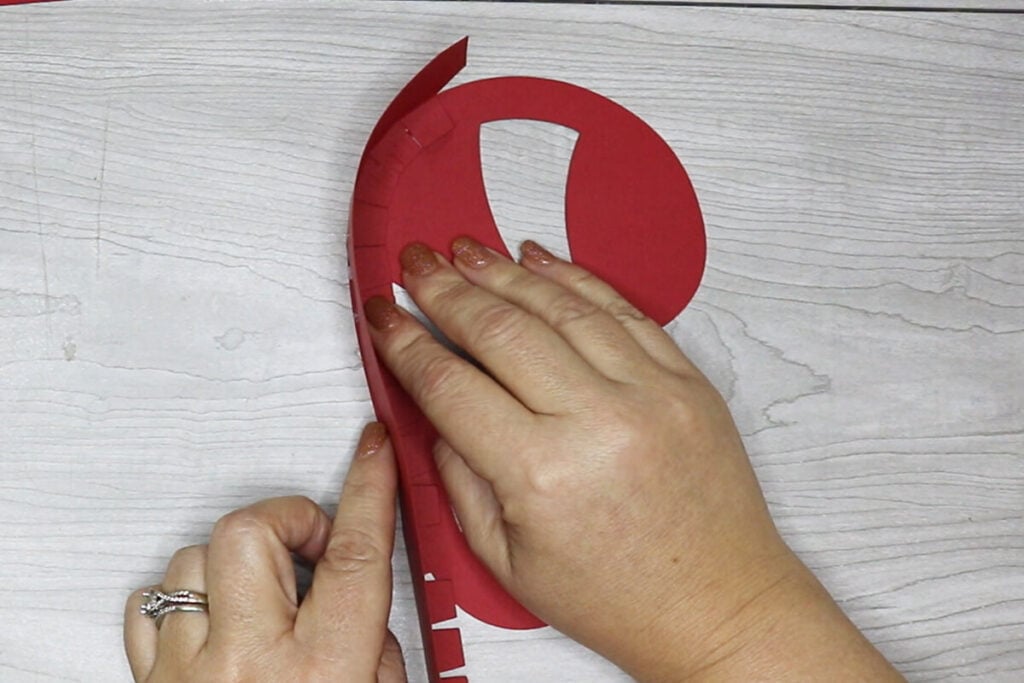
To assemble the lid, grab the 2 rectangle pieces that are shorter in height. Fold on all of the score lines. Grab the longer of the 2 pieces and starting anywhere on the candy cane, attach the side to the candy cane. Continue to attach each side by gluing down the tab pieces and lining them up so they are in line with the outside of the candy cane.
Attach the 2nd rectangle by gluing the tab piece inside the top of where the other piece left off. And then continue to glue the sides down just as you did before.

Once the lid is assembled, glue the white layer down on the inside of the lid.

To assemble the box frame, repeat the same steps as you did for the lid, but use the rectangle pieces that are taller for the base. Once the sides are added, glue the extra red candy cane to the inside of the box. This will create a clean finish for the inside of your box and add more stability.

Then assemble the bow to add to the lid of the box. To assemble the bow, glue both of the ends into the middle. Then glue the small rectangle piece around it. Then glue the bow to the ribbon layer and attach this to the box.

Just fill your candy cane box up with sweet treats or fun gifts and your box is ready to go! This is a quick and easy box to put together. If you want a box to coordinate with this box, check out my Christmas tree box as well.
Thanks so much for checking out this candy cane box tutorial. When you’re done, make sure to post these in my crafting group here or tag me if you post them on social media. I absolutely love seeing your crafts and can’t wait to see your boxes!