
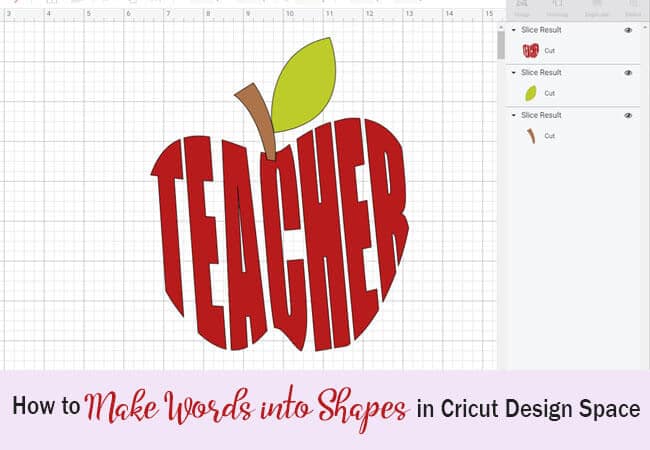
How to Make Words into Shapes
You can do a lot of really cool things with Cricut Design Space, but one of the really fun features is turning words into shapes. You can create a lot of neat designs using this technique. So, today I am going to show you how to make words into shapes. You can also learn how to cut words out of shapes here.
How to Make Words into Shapes
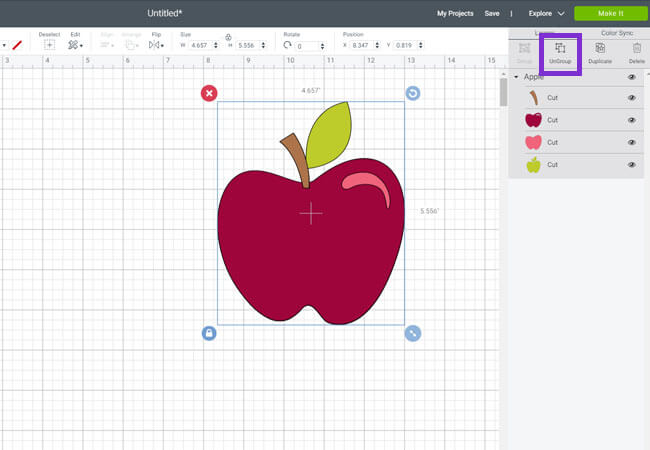
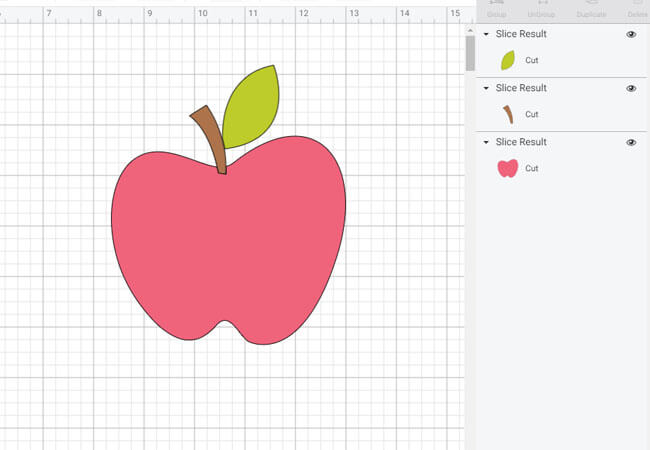
Go ahead and login to Cricut Design Space. For this example, I am using one of the free apple designs from design space. To find this design, start a new project and click on images, and then search for apples. When you find the apple that looks like the picture below, insert the image.
If you are using an image that is a single layer, you won’t need to do this step. But, since this apple has multiple layers, we need to make some adjustments to it before we get started. First, select all the layers and ungroup the layers. Once yo do this, you will want to delete the darker red apple as we don’t need this image for what we are doing.
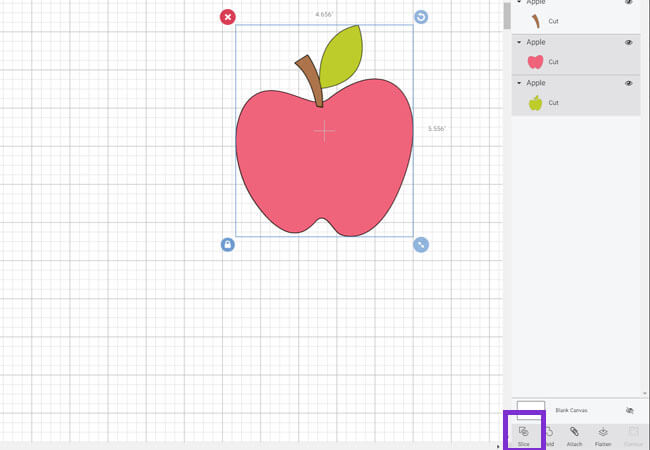
Slice Your Images
We want to remove the green apple from the green leaf and stem. So, select the pink and green apple layer together and select slice to slice your images.
The leaf and stem have now been separated from the apple. Separate the pieces and delete the green apple. We also want to remove the green stem from the green leaf. To do this, replace the stems on top of each other first. Then select on the green and brown layers and slice. Remove the pieces that you no longer need.
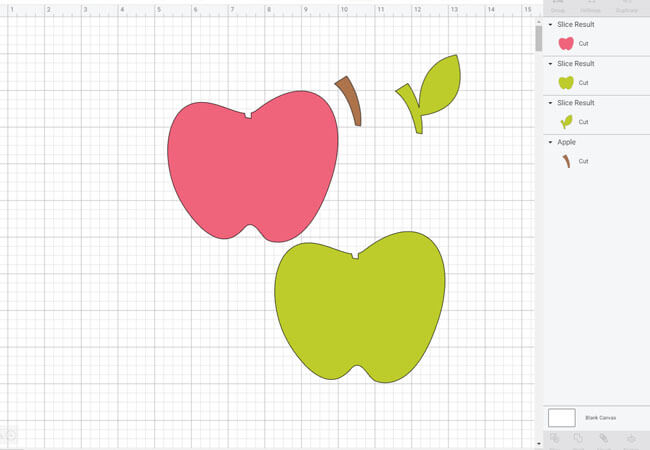
You now have the 3 layers that you want to work with. The pink apple, green leaf and brown stem.
Create Your Text
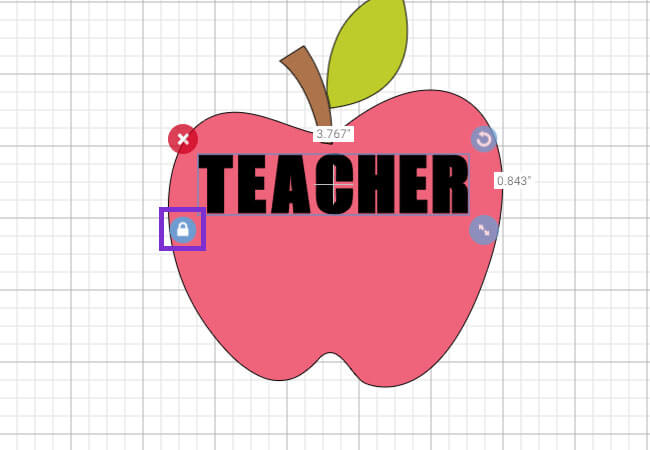
Using the text tool, create the text that you want to turn into the apple. I am using teacher in this example. You will want your text to be pretty bold and close together. You can use the Letter Spacing tool in the tool bar to bring the letters closer together if needed. Click on the lock box to unlock your text so you can alter the proportions. Then use the resizing arrow to resize your text to fit the apple.
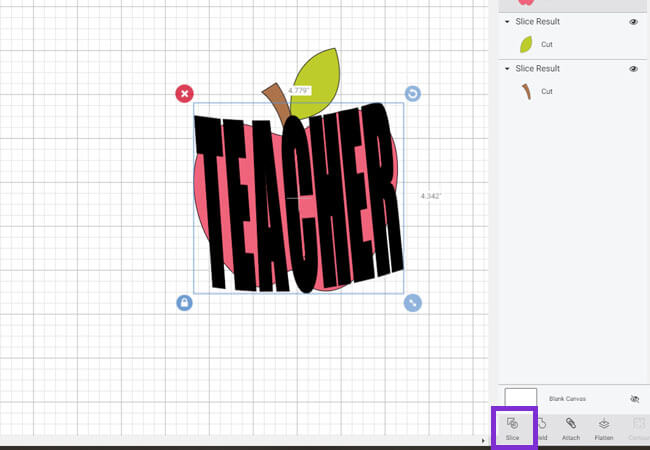
Continue to resize and curve the text and stretch the text out as needed until the text covers the full apple. When you are finished editing the text, make sure your text layer is directly over the apple layer. Then select the text and apple layer and slice.
After you slice your design, you will be left with a few extra layers. Remove all the pieces and delete the pieces that you don’t need.
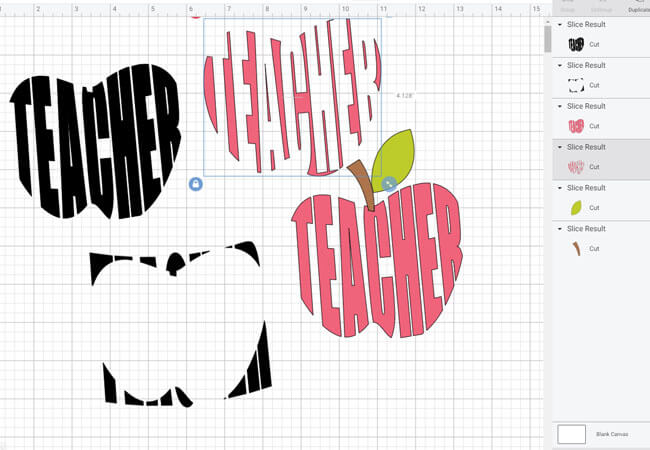
You have now turned the word “teacher” into an apple!

There are so many fun designs you can do with this technique so get creative. If you are just creating a simple shape like a heart to shape your words, then you won’t have to go through all the slicing steps we did in the beginning. But, if you have a more intricate image you want to use, you now know how to break it down to make it work.
Looking for more tutorials? Find more Cricut and Design Space tutorials here!