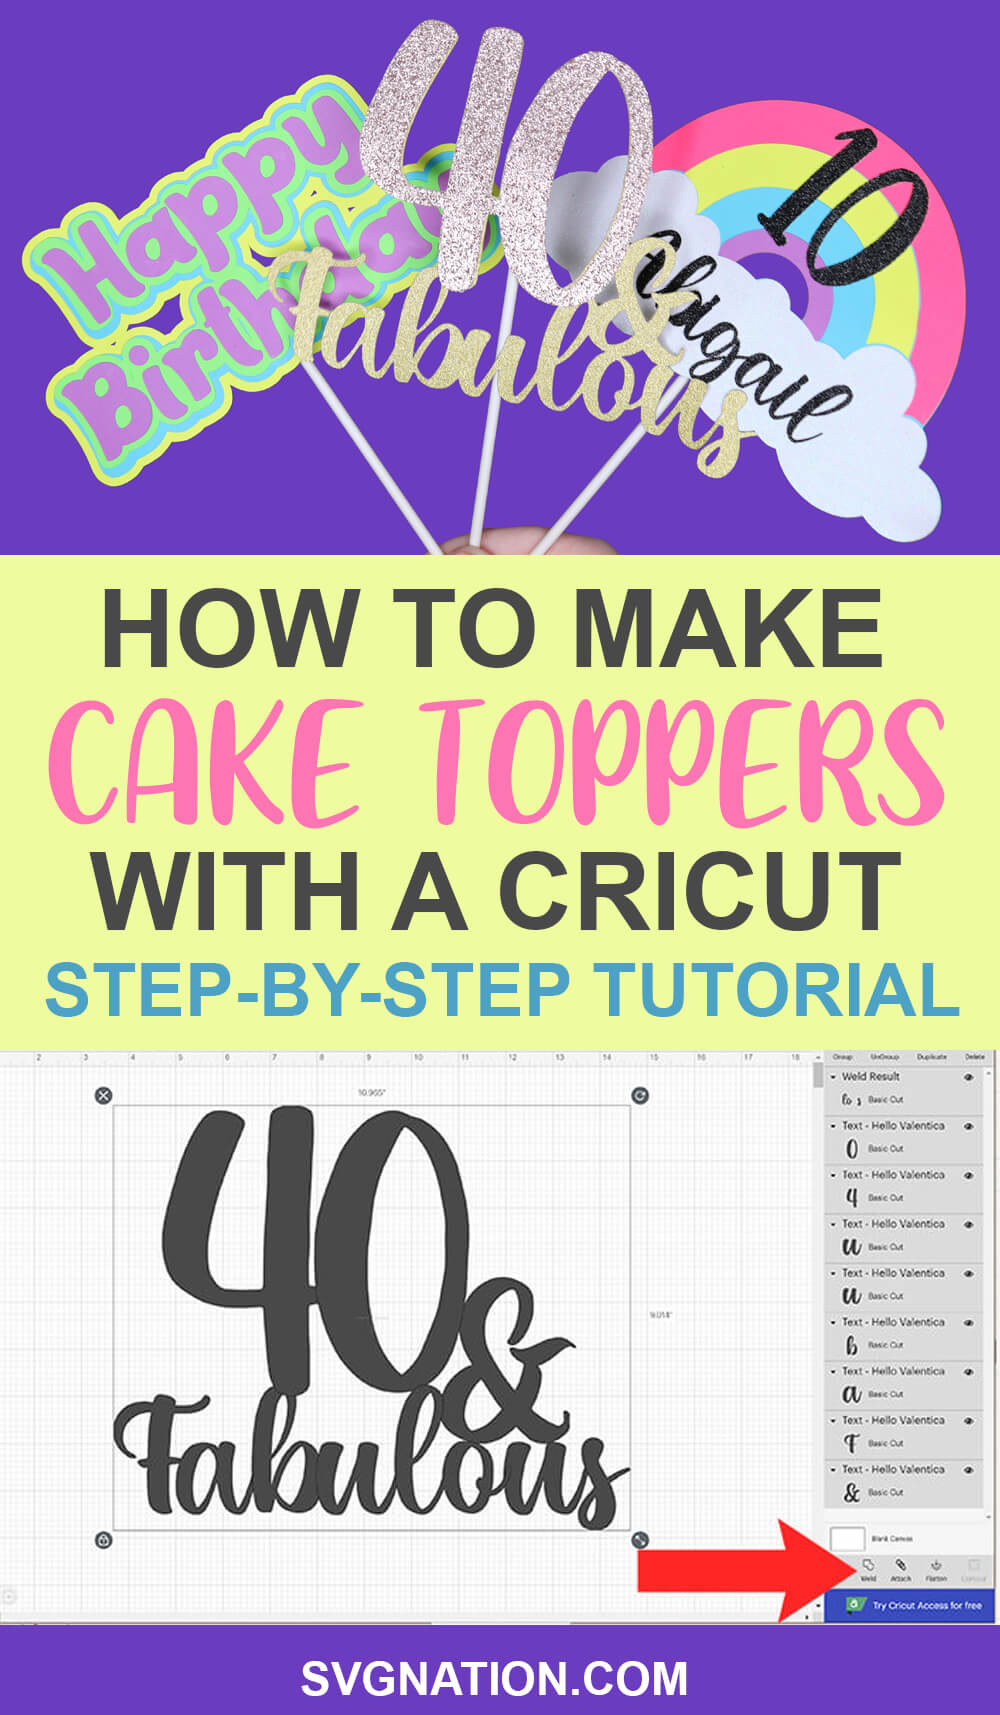
How to Make Cake Toppers with a Cricut
My Cricut is constantly amazing me with all the unique projects it can create! Especially with cardstock. Today, I am sharing a tutorial on how to make a cake topper with a Cricut.

Cake toppers are actually pretty easy to make. This is a project that can be done with your Cricut Joy as well as your Maker and Cricut Explore machines. Although the tutorials are specific to designing cake toppers in Cricut Design Space, you can apply the same techniques to any design software for other cutting machines as well.
Today, I’ll be sharing multiple techniques to learn how to make cake toppers with your Cricut for any occasion. In this tutorial, we’ll cover:
- Materials needed to make cake toppers
- Choosing the right font for your cake topper
- How to make a single layer cake topper with just fonts
- Learn how to add multiple colors to your single layer, font cake topper
- Using the offset tool to create multi layered cake toppers
- Make cake toppers using existing images
This tutorial builds as it goes, so it’s best to read from beginning to end. Since the cutting process is the same for each cake topper, I will only go through this step once.
Materials Needed to Make Cake Toppers
The main material needed for making cake toppers is cardstock! If you want the cake topper to look professional and stand up well, then you are going to need a quality cardstock. Here are my recommendations for the best cardstocks to use for professional looking cake toppers:
- Double Sided Gold Glitter Cardstock
- Rose Gold Glitter Cardstock
- Multi-Color Glitter Cardstock Bundle
- Heavy Weight Colored Cardstock Bundle
- These bamboo skewers or these cake pop sticks work great as the base for cake toppers
- Good craft glue — this is the glue used in this tutorial
Choosing the Right Font
One of the most important aspects of making cake toppers is choosing the right font. The key is to pick a thicker font. When making single layer text cake toppers, you need a thick, script font.
In this tutorial, I will be using this Hello Valenentica for my script font and this Chocolate Cookies font. Both of these fonts are free to download for personal use.
Another cool tool that you can use to help you find the right font, is this website wordmark.it. Just type in what you want your cake topper to say and then it shows you what it looks like in all the fonts that are on your computer! This is so much easier than changing your font a million times to find the right look.
Cake Topper Video Tutorial
If you prefer video tutorials, then learn how to make a cake topper with a Cricut with my first YouTube video! I just started this channel so that I can add videos for those who prefer video tutorials. I would love for you to subscribe! Just click on my picture icon to subscribe.

How to Make a Single Layer Cake Topper with Just Fonts
When making a single layer cake topper with just fonts, you need to make sure all the pieces of your design touch. If just one letter is left unattached, your cake topper won’t come out right.
Step 1 – Add Your Text and Select Your Font
First, add the text for your cake topper. For this cake topper, we are doing 40 and fabulous. Feel free to use a different age. Change your font by selecting the font and selecting the font drop down menu. I am using this Hello Valenentica font.

Select all of your font by dragging your arrow around it, or by holding down shift while you select each layer. Use the resize tool to increase your font size.

Step 2 – Modify Your Font
Ungroup your fabulous text. To do this, select your text and select “ungroup”. Repeat this step for 40 as well. This is going to make it so that you can rearrange your letters.

Next, select your “F” and move it over so it attaches to the “a”. Repeat this step so that “ulous” attaches to the “b”. Repeat this step for your 4 and 0.

Select both your 4 and 0 together and resize them larger. Whenever I use ages in my cake toppers, I always like to make them larger than the rest of the text, so they stand out. Continue to resize the 40 until it can overlap with the “b” and “l” in Fabulous.

Repeat this step with the & until it attaches with the 0 and Fabulous. The more features that you have touching, the sturdier your cake topper is going to be.

Step 3 – Weld and Resize Your Cake Topper
Once you are done rearranging your text, you need to weld all the text together. It’s important that you use weld and not attach for this step. To weld your text, select all of your layers and select “weld.”
*Note: If your “o” in fabulous fills in when you weld, undo this and move the & slightly up and then weld again.

You are now ready to resize and cut your cake topper.
When making horizontal cake toppers, I typically resize them the same width of the cake. So, for an 8-inch cake, I would make the width of the cake topper 8 inches. For square or vertical cake toppers, I typically make them a little smaller. For this cake topper, I am making it 7 inches for an 8-inch cake.
To change the size, select your image and enter your width in the size toolbar. You can also use the arrows to resize.

Step 4 – Cut Your Cake Topper with Your Cricut
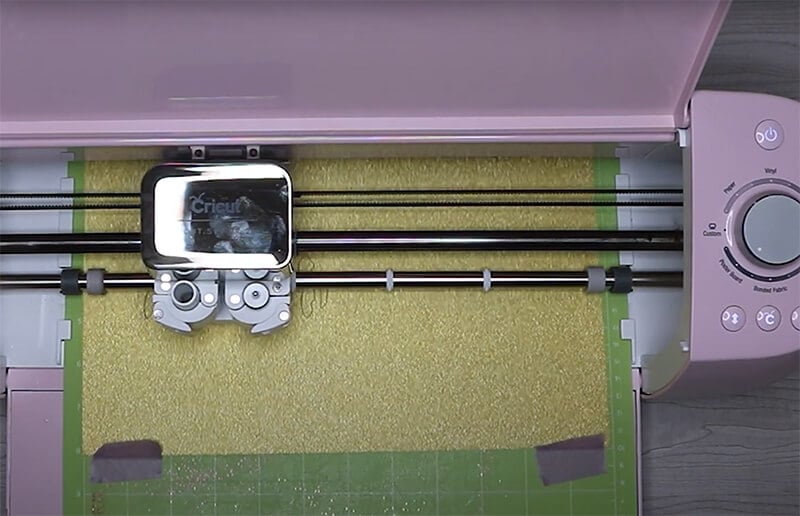
You are now ready to cut your cake topper! Select Make It and follow the prompts on your Cricut. For this cake topper, I am using this double-sided gold glitter cardstock. This cardstock is great for cake toppers because it is sturdy and looks great on both the front and back!
*Note – when cutting glitter cardstock, you need to adjust the pressure on your Cricut machine. I typically turn the dial on my Cricut Explore to poster board to make sure I get a clean cut. Before removing your mat, check if your cardstock cut through all the way. If not, send it through again.
You also need a sticky mat for cutting glitter cardstock. If your mat isn’t that sticky, you can add tape around the edges to help hold your cardstock down.
Step 5 – Attach Your Stick
Using a craft glue, attach your stick to the back of your cake topper. I use these cake pop sticks when making cake toppers.

Add multiple colors to your single layer, font cake topper
If you want to add more than one color to your text cake topper, this is easy to do! Follow steps 1 and 2. Then, duplicate the text that you want a different color. To do this, select the text and select duplicate.

Weld your new image together. And then weld your original design together.

Change the color using the color fill option.

You can now cut your 40 on a different color. Then, layer your colored 40 over the rest of your cake topper using glue and add your stick!
For this 40 and fabulous cake topper, I layered this rose gold glitter cardstock on top of this double-sided gold glitter cardstock. These are my 2 favorite cardstocks for making cake toppers.

Use the Offset Tool to Create Multi Layered Cake Toppers
Making layered cake toppers can be a lot of fun. This allows you to add multiple colors and depth to your cake toppers. If you want to learn how to make a cake topper with a Cricut that is layered, this section is for you!
Step 1 – Prepare Your Text
Add your text and change your font. For this cake topper tutorial, I am making a layered Happy Birthday cake topper using this Chocolate Cookies font.
To perfectly center your text, select your text and using the Align toolbar, select “Center Horizontally”.

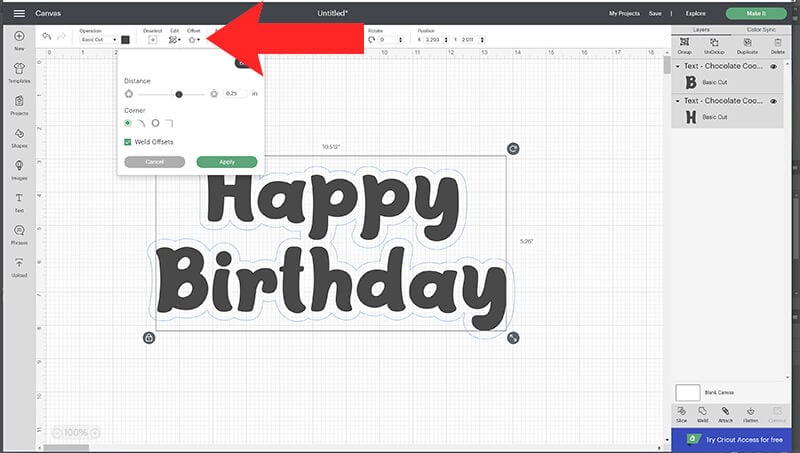
Step 2 – Use the Offset Tool to Create Layers
Select all of your text and then select the arrow for the Offset Menu. Use the slider to determine how much of a border you want around your image. You want to make this large enough that it is just one image. You don’t want to have a break in-between the words.
Make sure that “Weld Offsets” is selected and hit Apply.
Use the color fill toolbar to change the color.
Select your border layer and add another offset. Continue to do this, switching up the size for as many colors and layers as you want your cake topper to have.

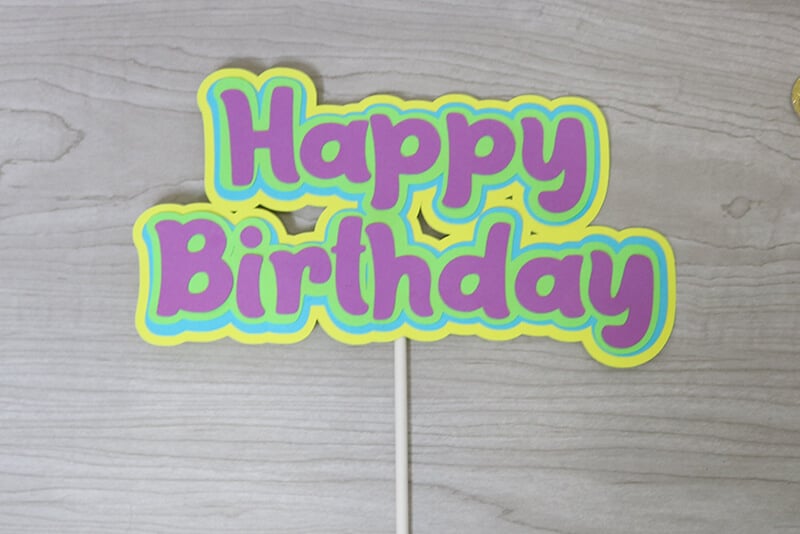
Step 3 – Resize, Cut and Assemble Your Cake Topper
When you are happy with your design, make sure to resize your image before cutting. You should have a different mat for each offset that you created, plus a mat for your text.
Because we did not use a script font, the letters will cut out individually and you will have to glue each letter to your cardstock. Or you can weld Happy Birthday together before cutting and use adhesive vinyl to transfer this over quicker using your transfer tape. Another alternative is to make Happy Birthday a script font, so it cuts in one piece.

Attach your layers together using glue. Or you can layer adhesive vinyl, just make sure the back layer is cardstock so the cake topper will stand up. Attach your stick to the back and you are done!
Make Cake Toppers Using Existing Images
Learn you how to make a cake topper with Cricut using other images. This will allow you to create more detailed designs for your cake toppers.
There are a lot of sites that you can get free SVG designs from. This site is one of them! You can view my full library of free svg cut files here.
When creating cake toppers, you do need to make sure that you have a layered image. I am using this free rainbow svg for this tutorial. This svg has a full bottom piece where you can glue each rainbow piece and cloud to it. So, this is a true layered design. And what you want to use.

If the design isn’t layered, you can duplicate the full design and weld it together to make the bottom layer.
This rainbow design is perfect for making cake toppers because you can easily add text over top and layer it together to create fabulous cake toppers.

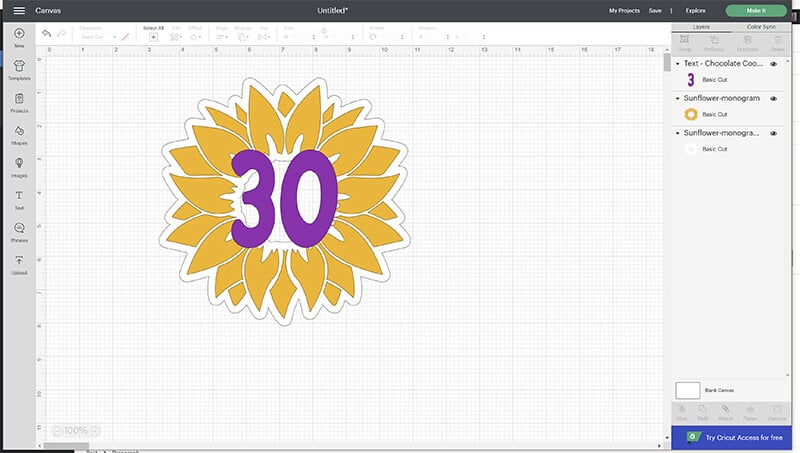
However, other images may not be as easy to use. If you want to turn this sunflower SVG into a cake topper, you will either need to adjust all of the petals, so they touch or add an offset. Because the sunflower is welded together, it’s easier to add an offset.
You can use the contour tool to create individual petals, slide them together and weld the image together if you don’t want to use the offset.
There are so many different options for making cake toppers. Have fun with it and remember to use the techniques we went over here!
If you need ideas or inspiration, you can view all of my cake topper svg designs here.

Don’t forget to add this tutorial on how to make a cake topper with Cricut to your Pinterest so you can easily come back to it as needed!