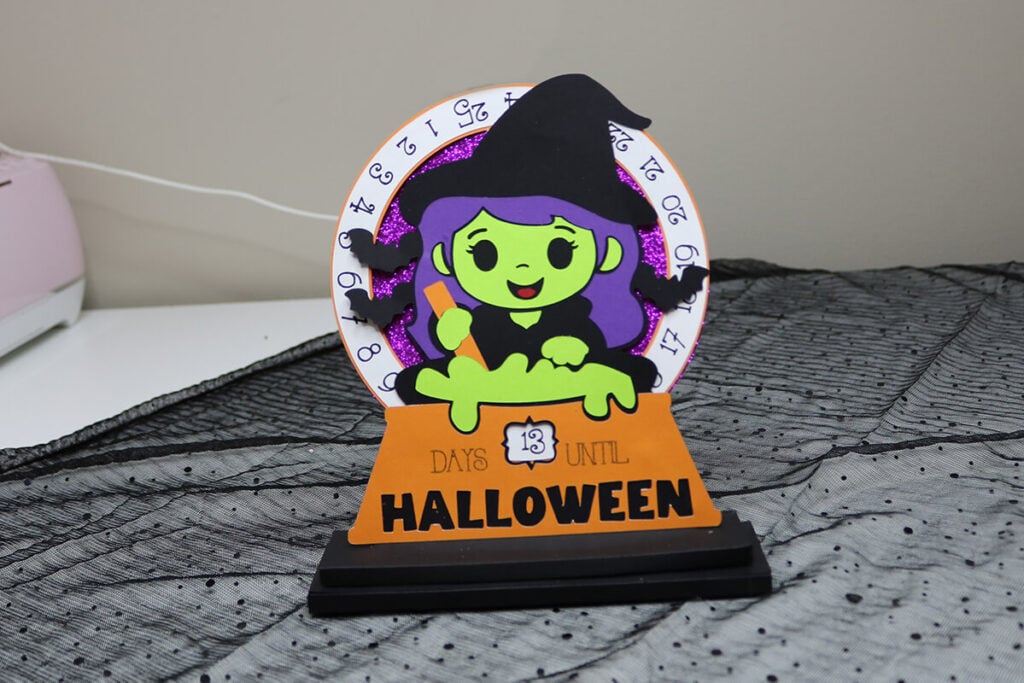
DIY Halloween Countdown Clock with Cricut
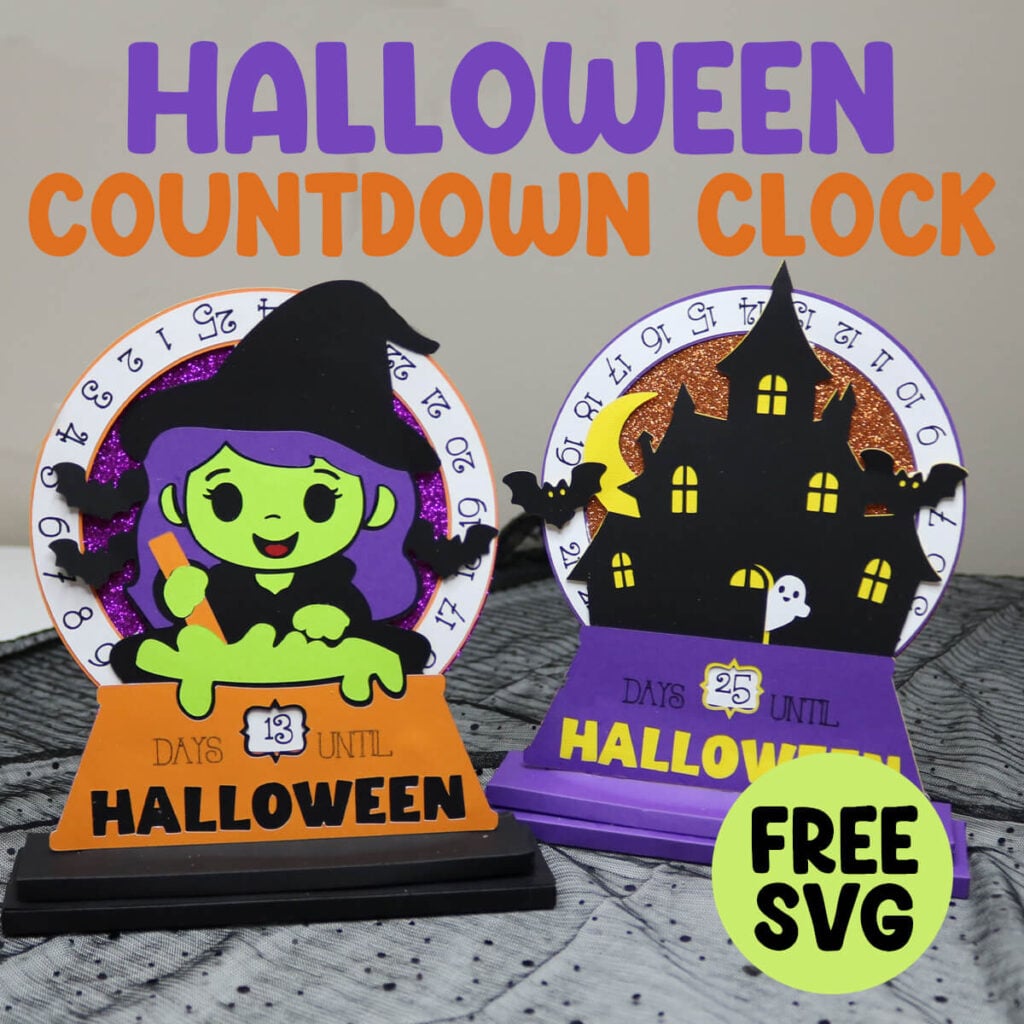
Counting down to Halloween just got way more fun! This DIY Halloween countdown clock is the perfect mix of spooky and adorable. In this easy tutorial, I’ll show you how to assemble your own countdown clock so you can watch the days tick down to October 31st.
This post contains some affiliate links for your convenience. (Which means if you make a purchase after clicking a link I will earn a small commission but it won’t cost you a penny more)! Read my full disclosure policy.
For more Halloween crafts to make with your Cricut, try my most popular craft, this haunted mansion light box. Or check out all of my free Halloween SVG files for more craft ideas.
Learn how to make a DIY Halloween Countdown Clock
The download for these templates will include an SVG file and DXF file of both designs, so they are compatible with many different types of cutting machines. But, for this tutorial, I’ll be using my Cricut and Cricut Design Space to walk you through the steps of preparing the templates to cut.
Watch the step-by-step video tutorial to learn how to make these DIY Halloween countdown clocks:

Make these Halloween Countdown Clocks, You Will Need:
- Medium Weight Cardstock in a Variety of Colors. This is a great variety pack that will give you all the colors you need for these. I am also using some glitter cardstock because I love the extra shimmer.
- Cricut Fine Point Pens
- Deep Point Cutting Blade for cutting the foam
- Adhesive Foam Sheets
- A good paper craft glue. This Bearly Art craft glue is what I use and recommend.
- Brayer Tool for smoothing out the glue. Optional, but great tool to have for multiple uses.
- Cricut cutting machine – Use this Cricut Comparison Guide to find the right model for you!
Download these DIY Halloween Countdown Clock Templates
You can download these free Halloween countdown clock templates from my members only free library (design #10 under Halloween Crafts or search “Halloween Countdown Clock SVG”).
Don’t have a password? Unlock my free members library here.
Share the love and easily come back to this tutorial anytime just by saving this on Pinterest… Plus this helps to keep my SVG files and Cricut tutorials free!
Step 1: Upload the Halloween Countdown SVG to Cricut Design Space
Upload the Halloween Countdown SVG for the design that you want to make to Cricut Design Space. If you need help with uploading SVG files, then check out my tutorial here. The files can be resized larger or smaller if you prefer, but make sure to resize all the elements together and keep the proportions locked if you change the size.
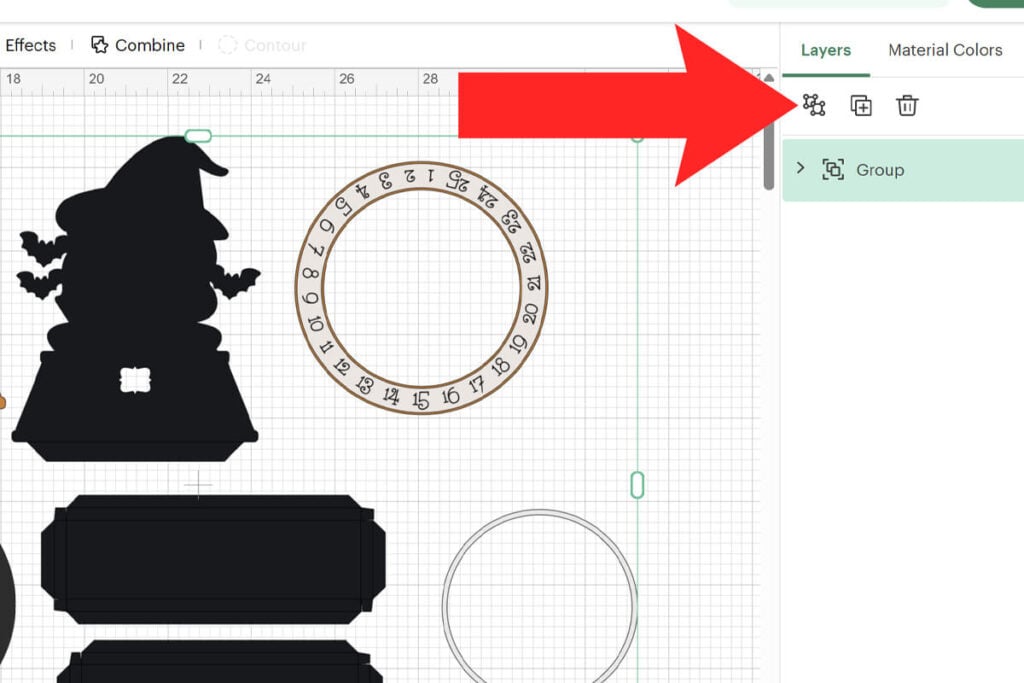
After resizing your project (if needed), click on “ungroup” to ungroup your layers.
Step 2: Modify Pen Layers
Select the layer with the text that says “Days Until” and change the operation from “Basic Cut” to “Pen”.
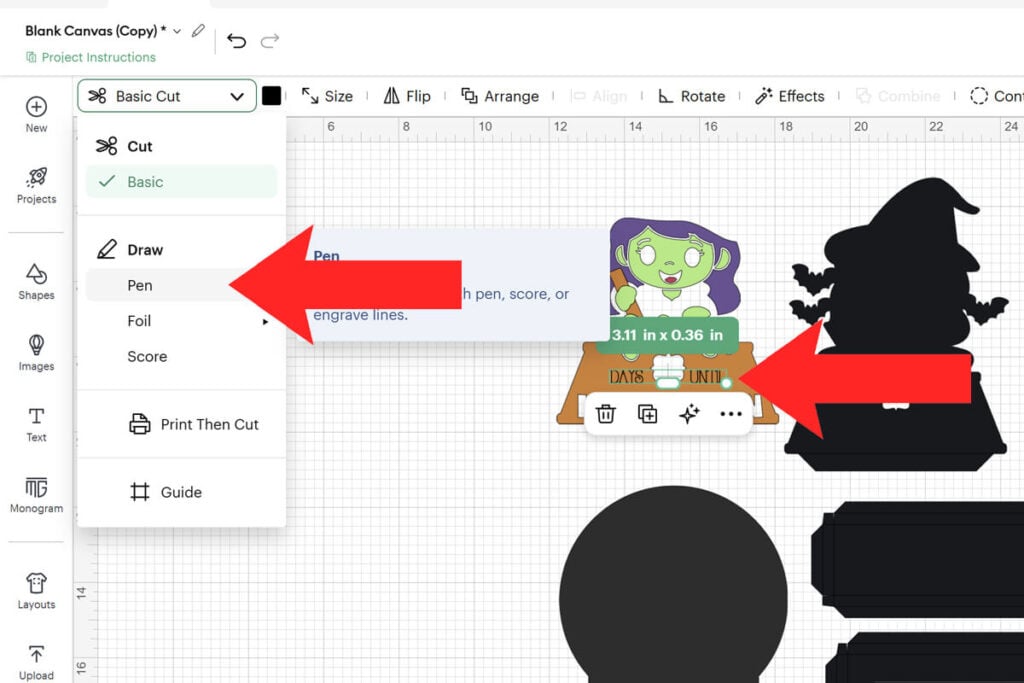
After changing the text to “Pen”, select the pen layer and the layer underneath (in this image it is the purple layer) together and select “Attach” to attach the pen to the layer it will write on.
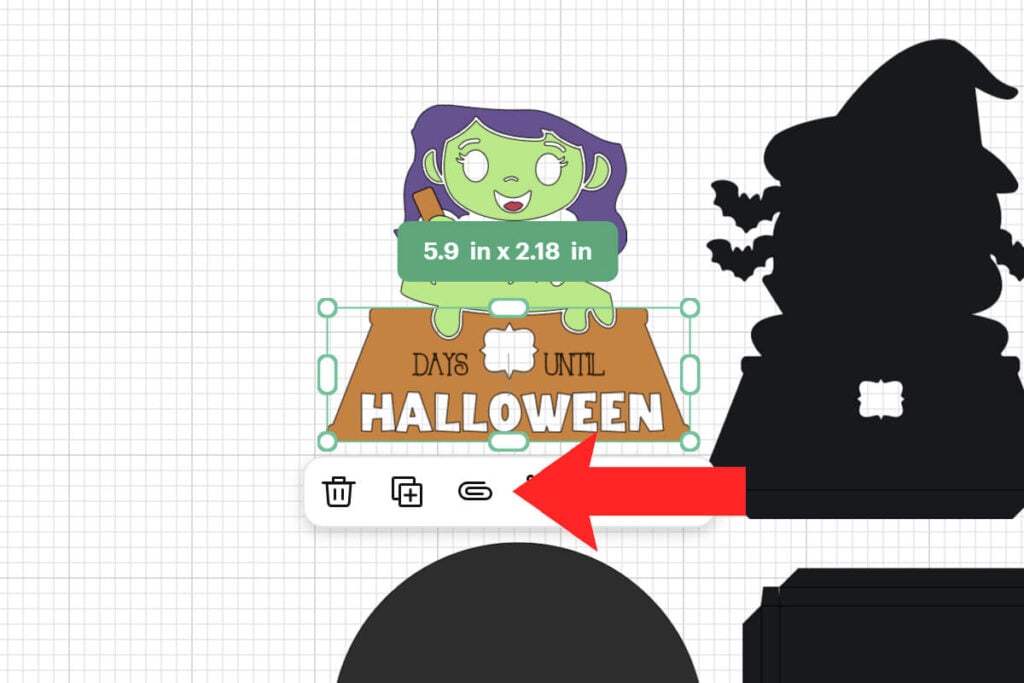
Repeat the last 2 steps for the countdown calendar wheel. Select the group of numbers and change the operation from “Basic Cut” to “Pen”. Then select the pen layer with the layer behind it (the white layer) and select “Attach” to attach the pen layer to the layer it will write on.
Step 3: Modify Score Lines
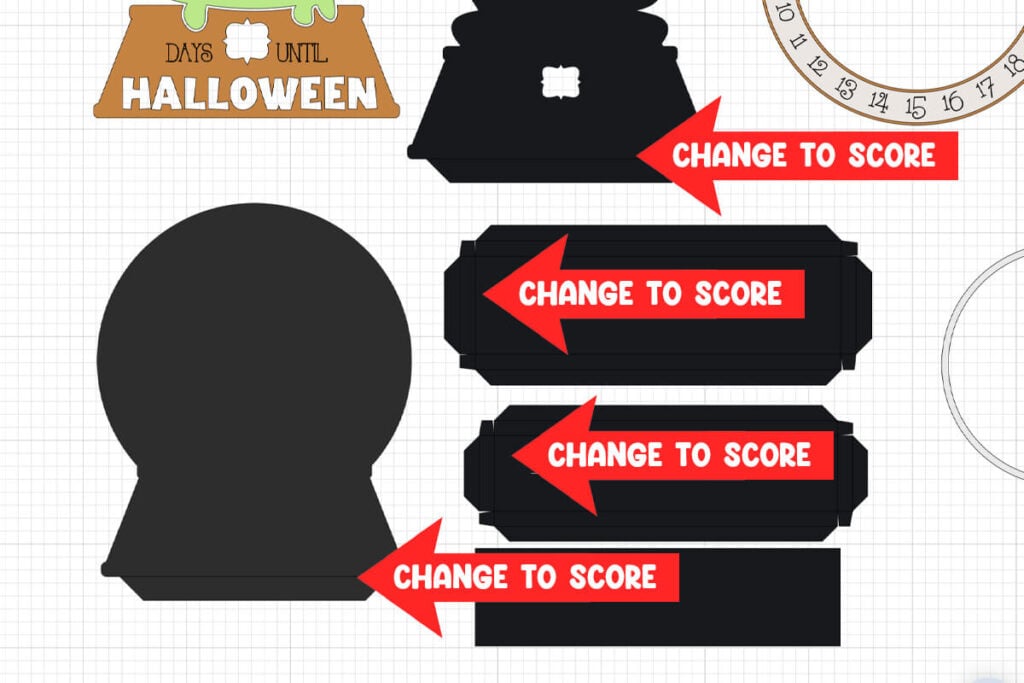
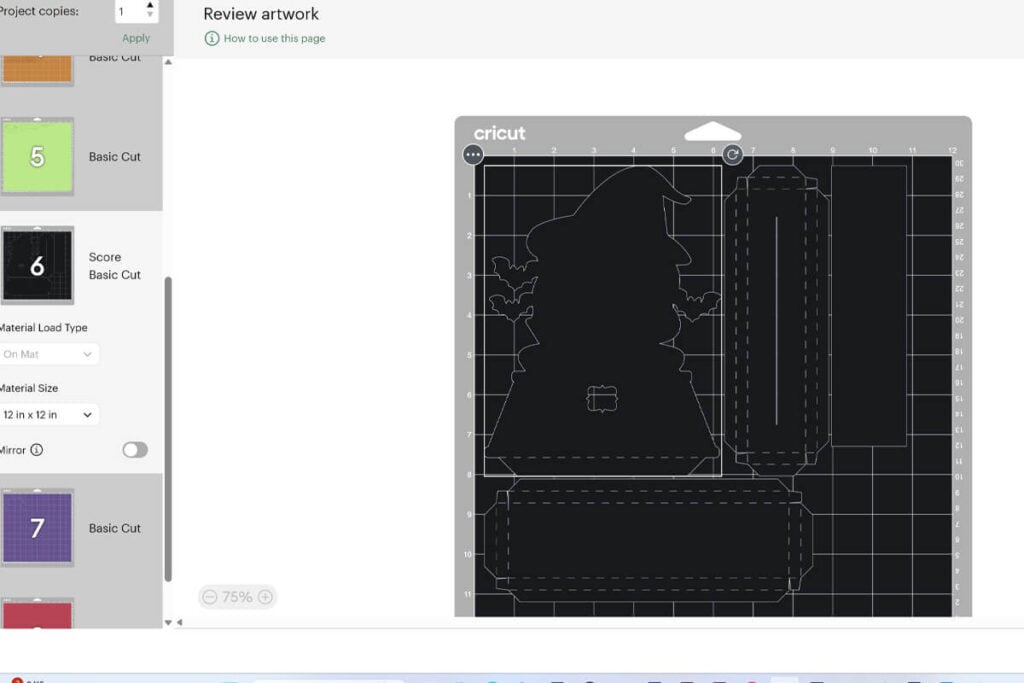
There are 4 different layers of score lines to modify. Select the line and change the operation from “Basic Cut” to “Score”. After changing this to score, select the score line and layer underneath and select “Attach” to attach the score line to the layer it will score on. Repeat this for each piece that you see the lines on.
Step 4: Cut out the Halloween Countdown Pieces
Once all of the modifications to your countdown calendar are made in Cricut Design Space, select “Make” to cut everything out. Follow the prompts in Cricut Design Space so that you know when to add your pen and scoring tool.
Before cutting everything out, check the mat preview and make sure that your score lines show up where they go, as well as the pen layers. If they do not look correct in the mat preview, then make sure that you go back and attach the pen and score lines on the layer they are scoring or writing on.
Note: When cutting out the thin circle, use the adhesive foam for this.
Step 5: Assemble the Front Design
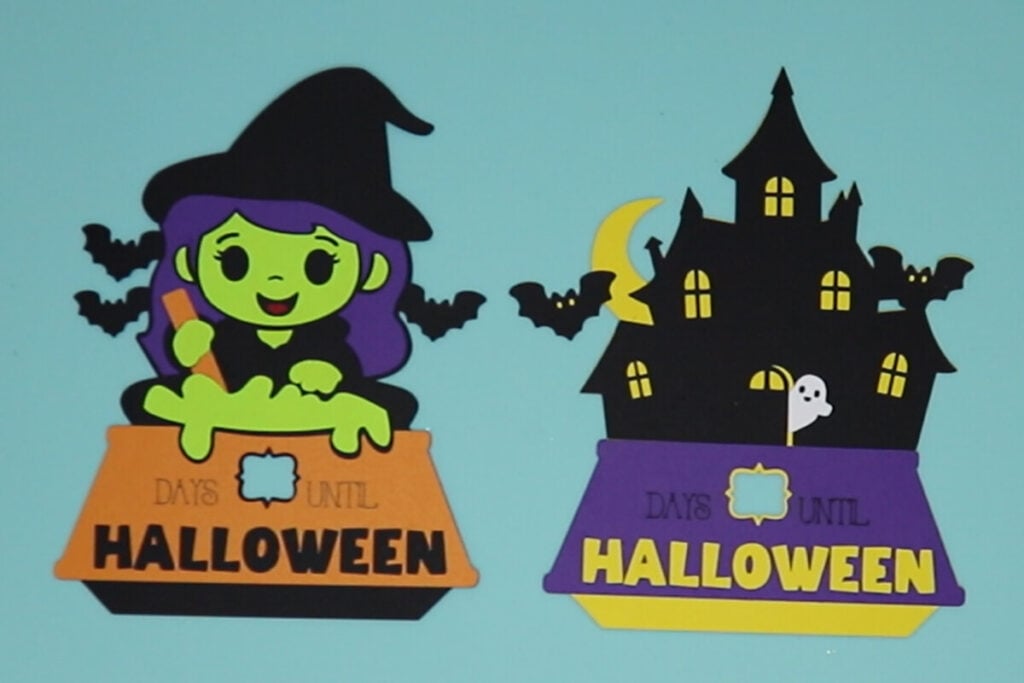
Start by assembling the front design for each of the clocks. Glue each piece on to match the image below.
Step 6: Assemble the Halloween Countdown Clock
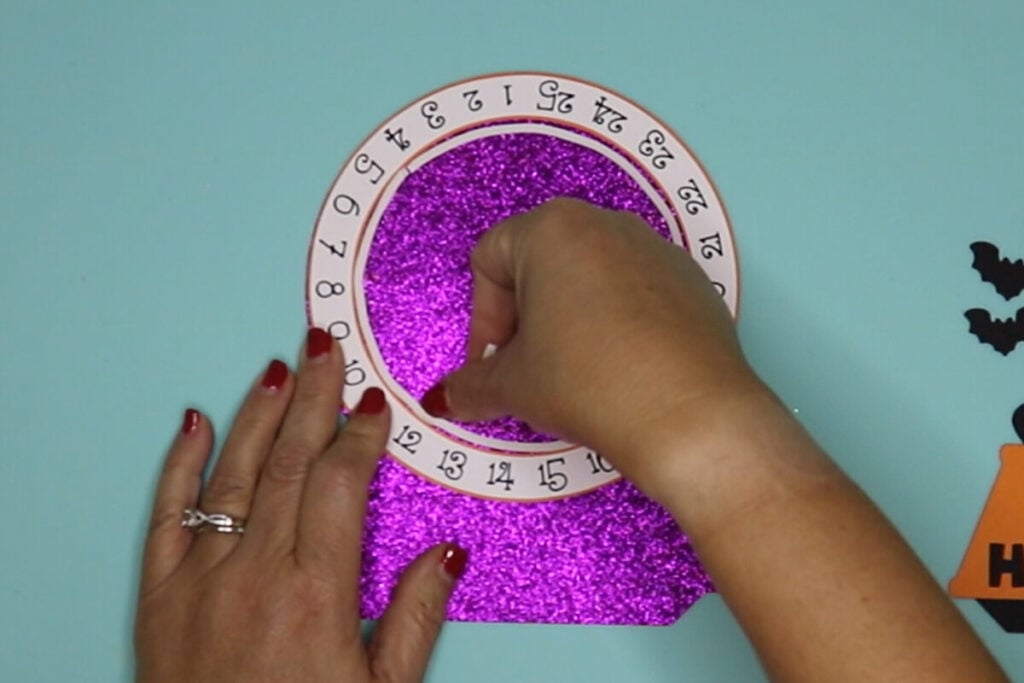
Glue the white layer with the numbers on top of the other round layer. Then place these, lined up on the back layer of the Halloween countdown. Using the adhesive foam circle, place this down on the inside of the circle. If you pull the foam so it stretches out and it’s too long, that’s fine, we’ll trim it later.
Note: Make sure that the adhesive foam does not go on top of the numbers layer. The numbers layer needs to float freely so it can spin.
Add glue to the bottom layer and glue the top layer on top. Make sure to keep the glue away from the numbers layer and don’t add glue to the bottom part below the score line.
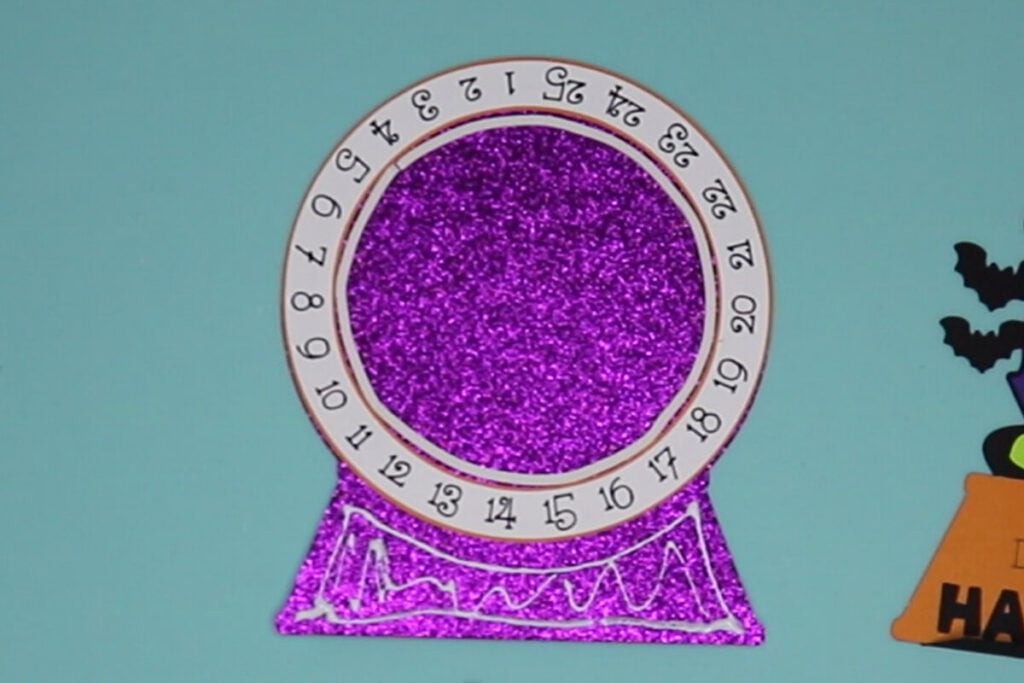
Cut away any of the foam that is showing, but keep all of the foam that is hidden under the top layer. Test the countdown and make sure the wheel easily spins. If it doesn’t, make sure there is no glue attaching to it or adhesive foam. Keep wiggling it until it moves freely.
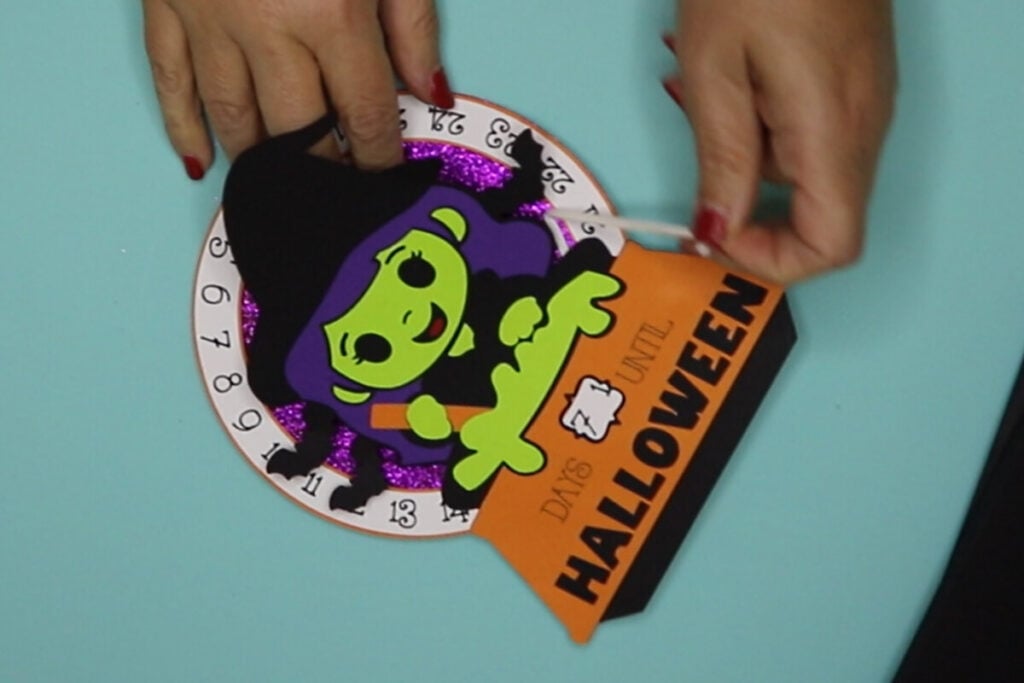
Step 7: Assemble the Clock Base
Fold on all the score lines on both of the rectangle pieces with score lines. Add glue to the tabs to attach the sides together and then fold the extra layer over the top. Add glue to the top pieces and attach the larger rectangle to the rectangle piece. Make sure to hold the sides in as it sets so they don’t poke out the sides.
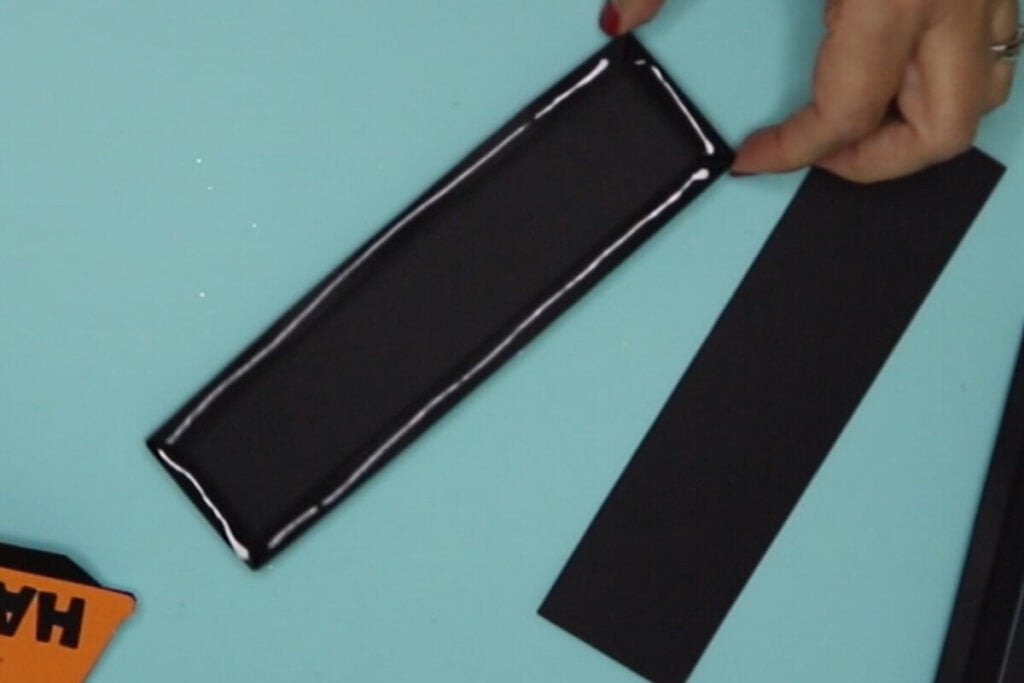
Slide the into the slit of the other rectangle. Add glue to each of the tab pieces and fold them on each side to attach the countdown calendar to the stand.
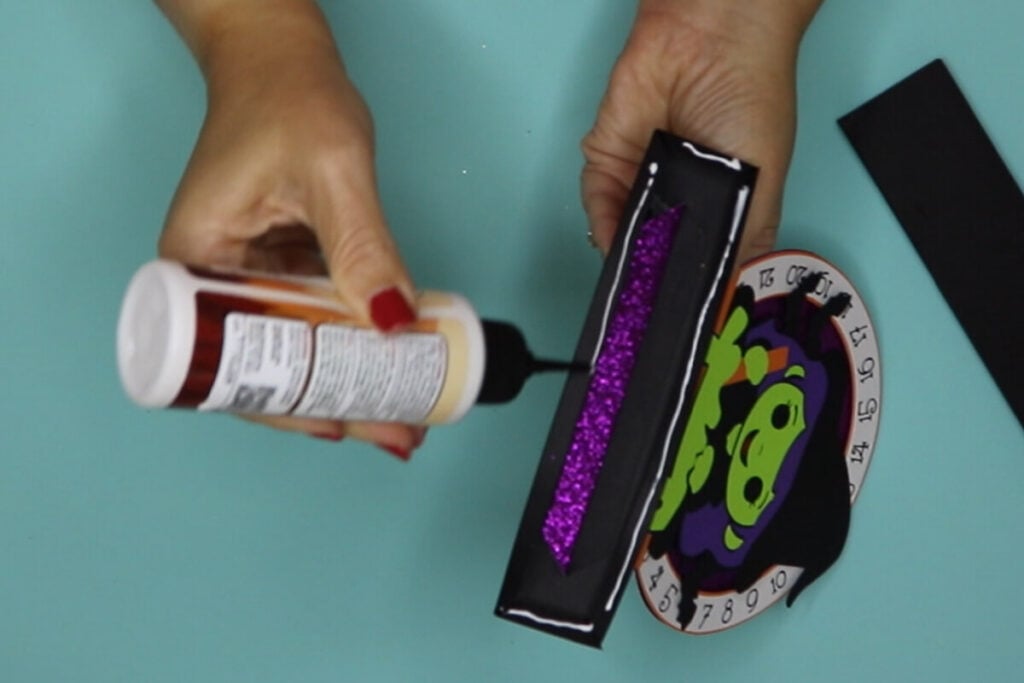
Then add glue and attach this to the other base piece. Set the wheel for how many days are left until Halloween and enjoy the season of counting down the days!