

Cricut Shirts Made EASY: The Heat Press Settings I Use
If you’ve ever struggled with peeling vinyl, scorched shirts, or designs that just don’t last, you’re not alone. Getting the perfect shirt takes knowing the right heat settings and pressure and this takes a lot of trial and error. After years of making shirts, I’ve dialed in on the exact settings that give me long-lasting results without the guesswork.
Today I’m sharing the heat press settings that I use for all of my favorite shirt making materials: regular vinyl, glitter vinyl, puff vinyl, hotfix rhinestones and more! I’ll also give you my favorite tips for layering materials.
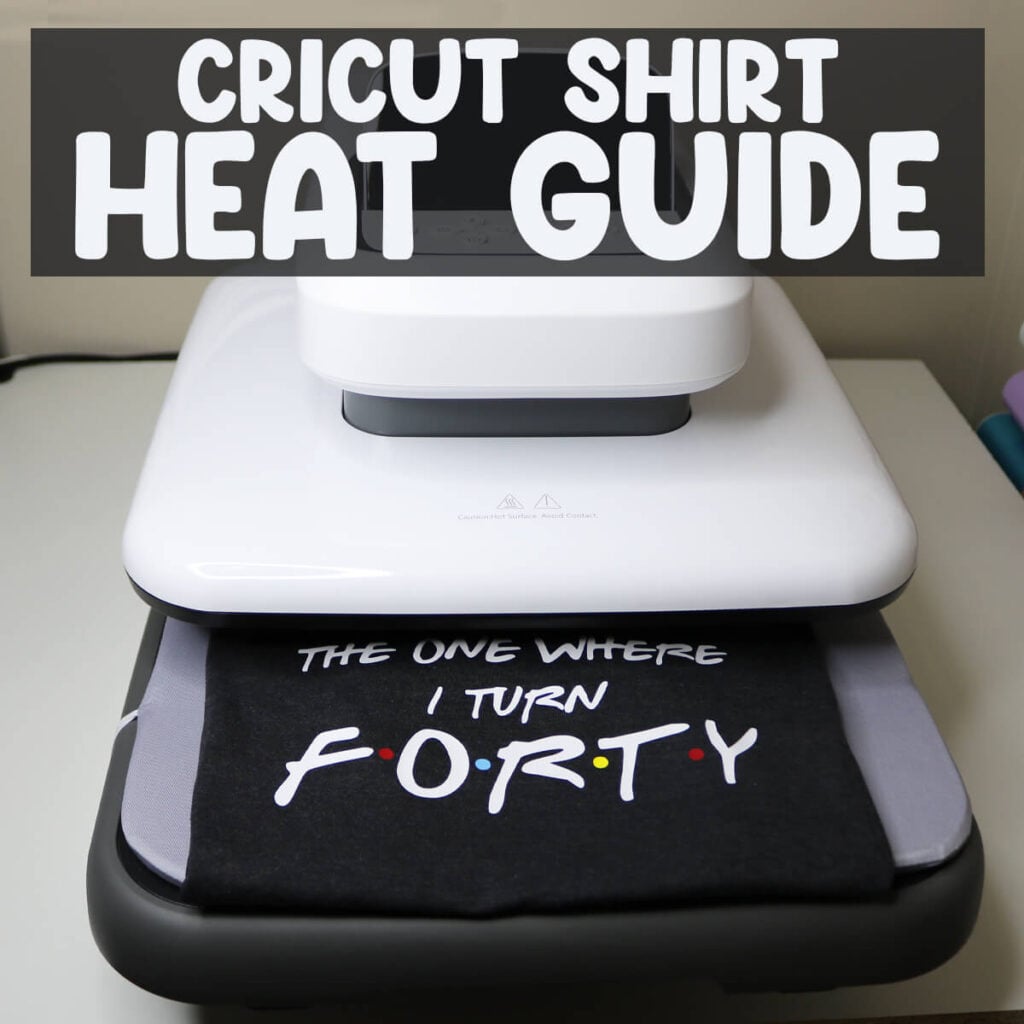
This post is sponsored by HTVRont. All opinions expressed are my own.
Why Heat Press Settings Matter
The heat settings and pressure that you use are just as important as the design. If these settings are not correct, your design will not last for the long haul. It may never even make it onto the shirt. If you don’t have enough heat or pressure, the design won’t transfer. But, if you have too much, you may melt the material.
This is why I like to use my HTVRONT Auto Heat Press 2 when making shirts with my Cricut because I can easily control both the heat settings and the pressure. This machine makes making shirts so much easier and it’s beginner-friendly… you just need to know the right settings.
My Heat Press Settings for Making Shirts
The HTVRONT Auto Heat Press 2 already has built in preset modes along with an adjustable pressure system that handles between 50 lbs and 170 lbs to accommodate different shirt designs. So this takes a lot of the guess work out of it. But since not all of the material is pre-set, I’m sharing all my favorite shirt making settings with you.
Compatible Fabrics: 100% cotton, 100% polyester, blends, modal, and canvas.
*Only available for the HTVRONT Auto Heat Press 2. Use the discount code Kristi10 for $52 off!
| Material | Mode | Temperature | Pressure | Time | Peel |
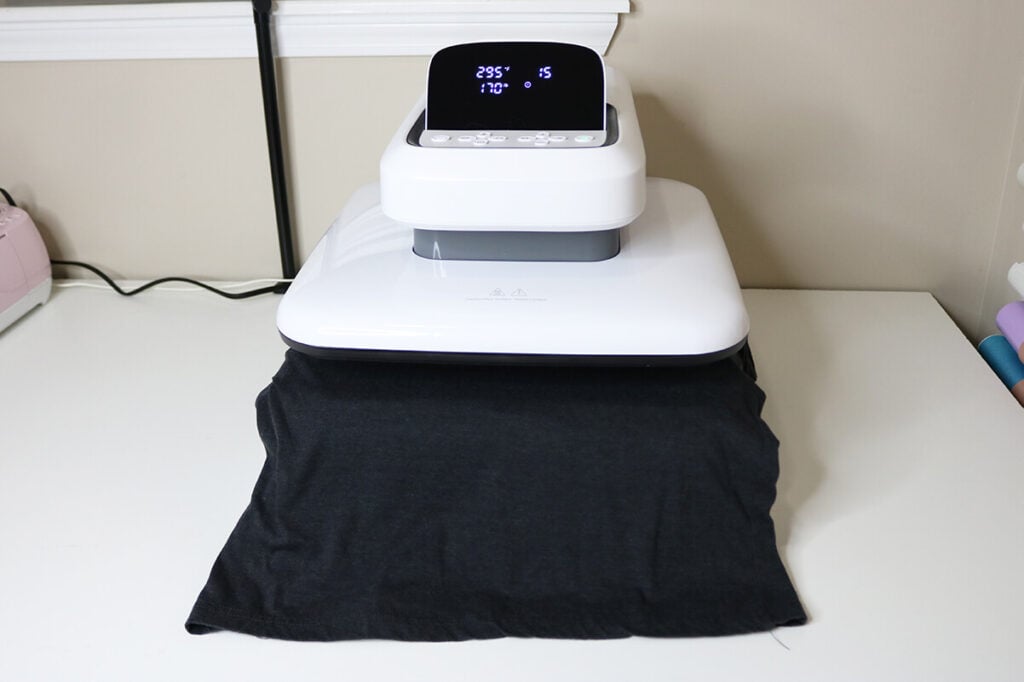
| Standard / Basic HTV | 1* | 295°F | 170 lbs | 15 sec | Cool |
| Glitter / Holographic HTV | 2* | 300°F | 170 lbs | 15 sec | Warm |
| Transfer Paper / Printable HTV | 3* | 320°F | 170 lbs | 20 sec | Cool |
| Sublimation Paper | 4* | 390°F | 170 lbs | 40 sec | Hot |
| Puff HTV | n/a | 285°F | 150 lbs | 15 sec | Hot |
| Hotfix Rhinestones | n/a | 325°F | 60 lbs | 30 sec | Cool |
How to Make Shirts with a Heat Press
Now that you have the perfect settings for pressing shirts, it’s time to get started.
Step 1: Preheat the Machine
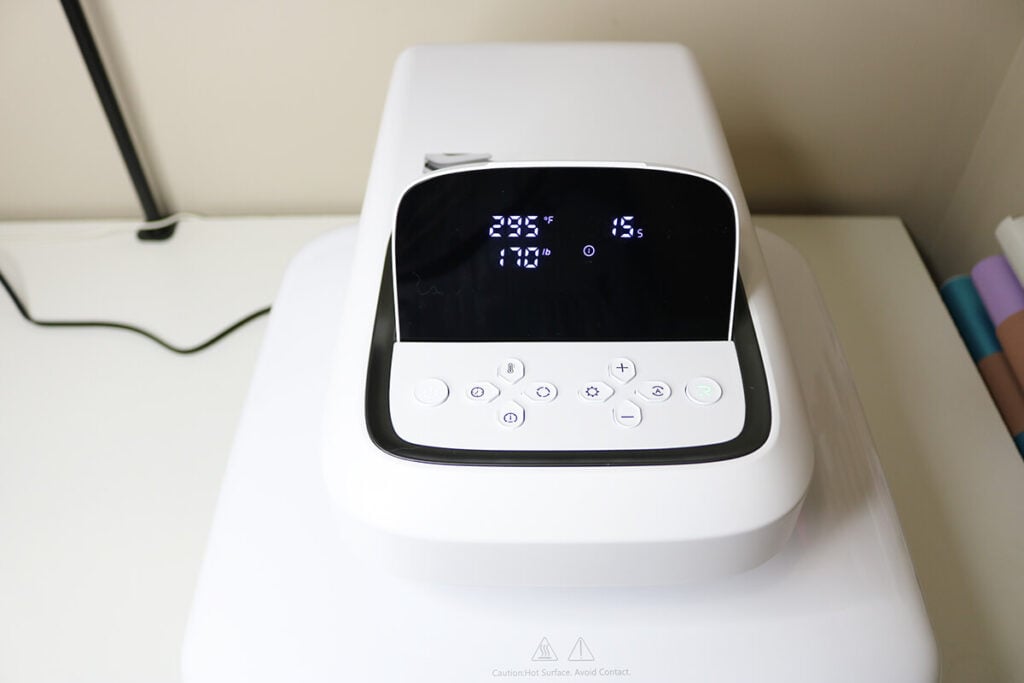
Plug in the machine and press the Power button. Either choose a preset Mode or manually enter the temperature, pressure and time using the controls on the machine. Wait for the machine to preheat. The start button (“R”) will turn green with a beep when it is ready.
Step 2: Prep and Pre-Press the Shirt
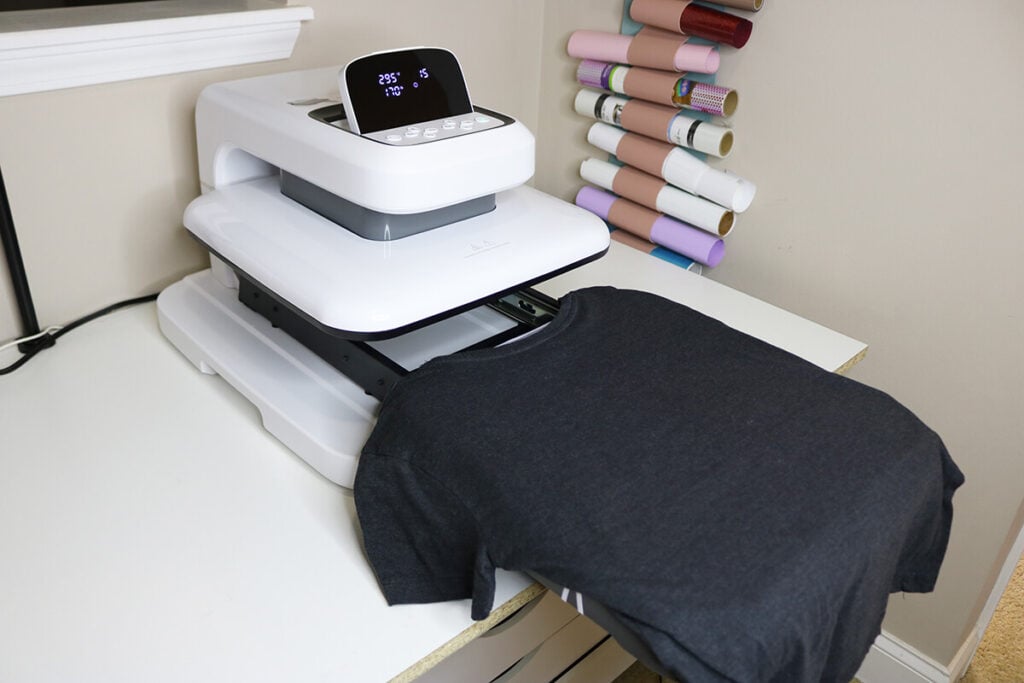
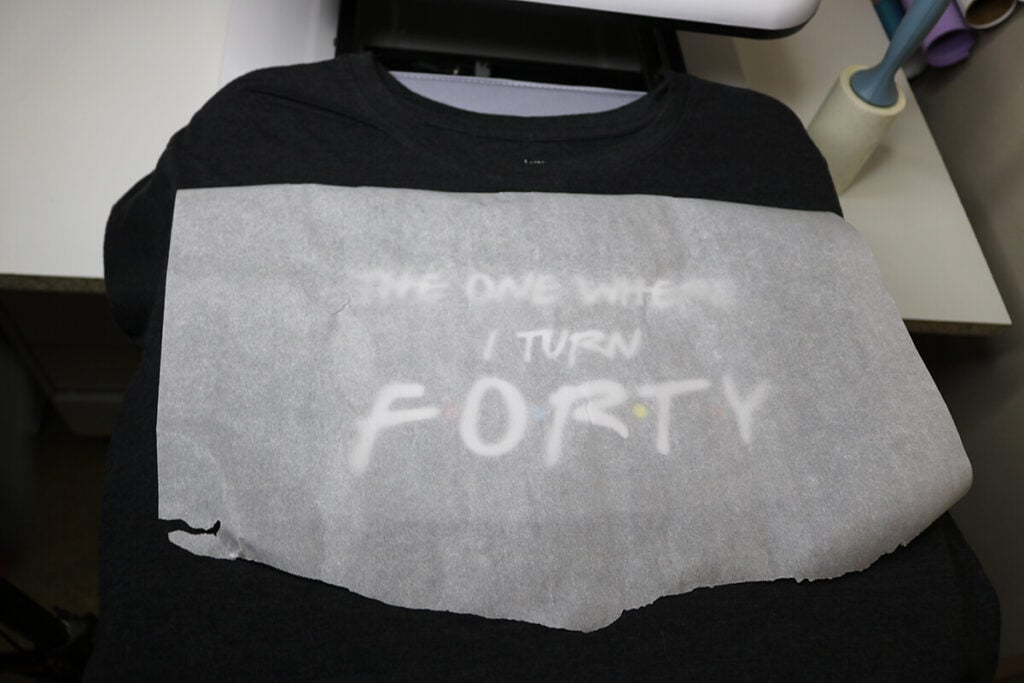
Pull out the drawer-style ironing board and lay your shirt flat on the mat. Use a lint roller to clean any tiny fibers off of the shirt. Cover the shirt with a Teflon sheet or parchment paper and push the drawer all the way back in. Press the “R” Start button and let it press for 5 to 10 seconds to remove any wrinkles or trapped moisture. The machine will auto-release and open when finished.
Step 3: Prepare and Place the Design
Weed the design (if applicable) and place the design onto the shirt where you want the design to go. Secure the edges of the design using a heat-resistant tape so that it doesn’t move when the drawer is pushed back in. Lay the Teflon sheet or parchment paper back over the top before pushing the drawer in.
Step 4: Press Your Shirt
After pushing the drawer completely back inside the machine, press the “R” Start button. The machine will automatically press the shirt and rise when the set time is up.
Step 5: Peel Off the Carrier Sheet
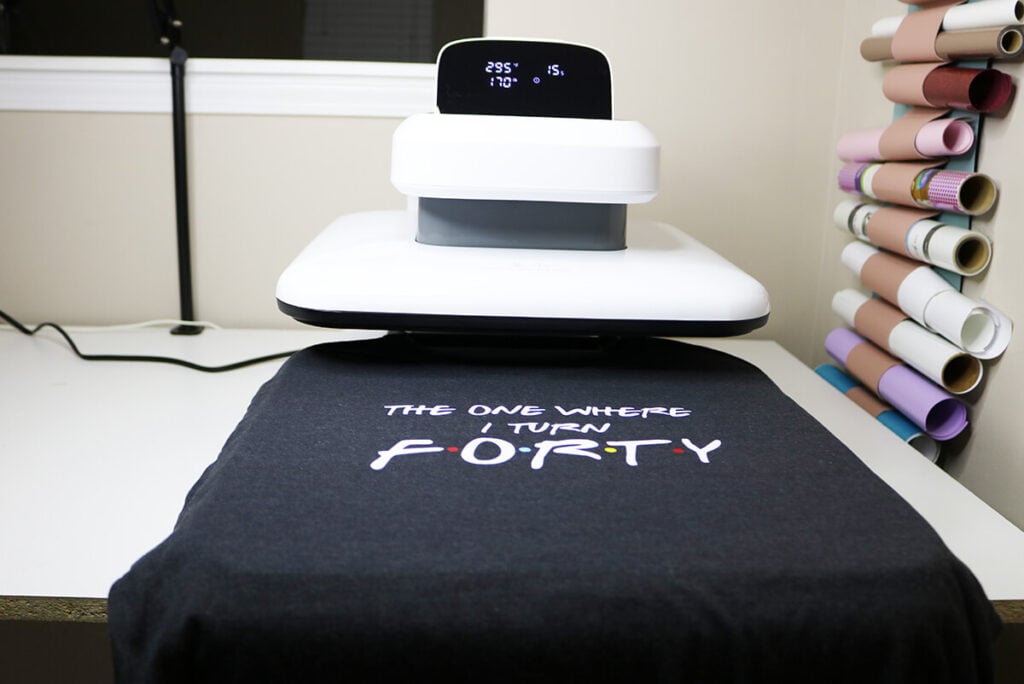
Pull out the drawer and remove the shirt. Check the instructions for the type of peel the material requires. If this is a warm or cool peel, allow the shirt to cool before removing the clear carrier sheet. If it is a hot peel, allow it to cool slightly if it is too hot to the touch.
Helpful Tips for Shirt Pressing
Now that you know the proper heat settings and pressure to use, here are some helpful tips to make sure that your shirts turn out perfect EVERY time!
- Preheat the press so that it is at the target temperature before pressing.
- Make sure to peel the carrier sheet off correctly… cool peel vs. hot peel.
- Preheat the shirt by placing it in the heat press for about 5 seconds before adding on the vinyl. This is also a great way to remove any wrinkles.
- Lay a Teflon sheet or parchment paper over your graphic to protect the design.
- For DTF or stubborn vinyl, pull the carrier sheet away according to the peel instructions, then place a sheet of parchment paper over the design and do a quick 5 to 10 second pass.
- Always do a test run when using new materials. Even using a different brand of the same material can throw off the heat settings.
- Let the shirt rest for 24 hours before washing.
Pro Tips for Layering Materials
Even though different materials press at different heats, you can still combine more than one material on a shirt. Here are some helpful tips when layering different materials on shirts:
- Puff vinyl MUST be the last material that you press.
- Always press the material with the highest heat setting first. So for example, press glitter vinyl before pressing standard iron on vinyl if using both for the same shirt.
- Use a Teflon sheet or piece of parchment paper on top of the already pressed vinyl when adding a second layer.
- Cut around the carrier sheet to press as many different colors at the same time.
- Don’t layer more than 2 layers directly on top of each other. Use the slice feature for designs that appear to have multiple layers so that more layers are being pressed directly to the shirt.
Ready to make your own Cricut shirts?
The HTVRONT Auto Heat Press 2 makes shirt making easier with preset modes and adjustable pressure, taking much of the guesswork out of the pressing process.
Use code Kristi10 to save $52 on the HTVRONT Auto Heat Press 2.
