
Christmas Candy Holders
Use your Cricut or Silhouette cutting machine to create your own Cricut candy holder for Christmas! My Halloween candy holders were so popular, so I knew that I needed to create some Christmas candy holder SVG files as well. And they are so cute!
I experimented with the design and found a new way to put these together. So even if you already made candy holders from my site, make sure to follow this step-by-step tutorial for a new way to assemble candy holders.
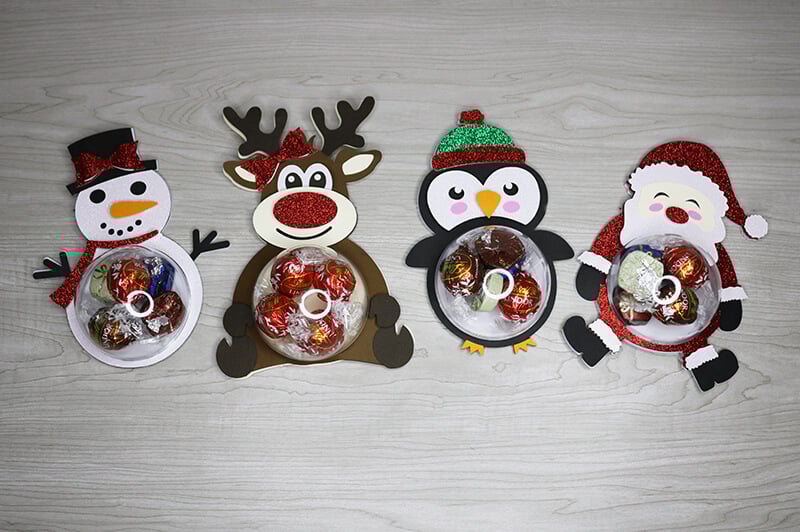
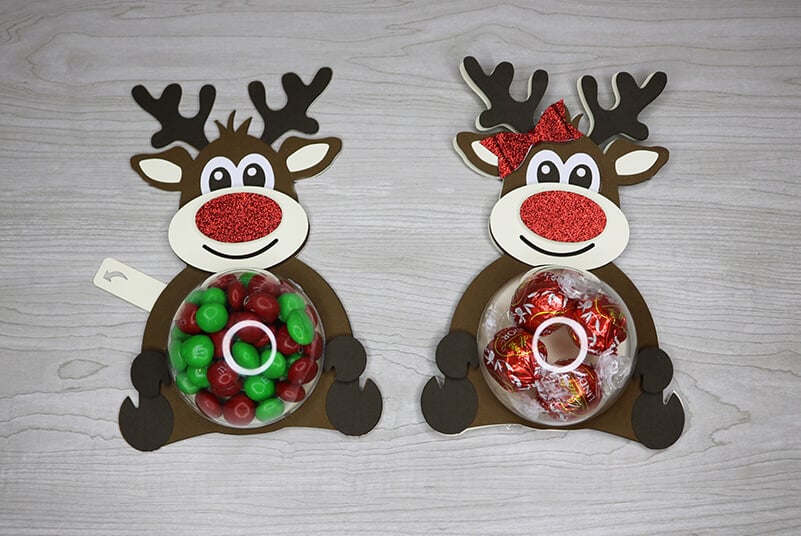
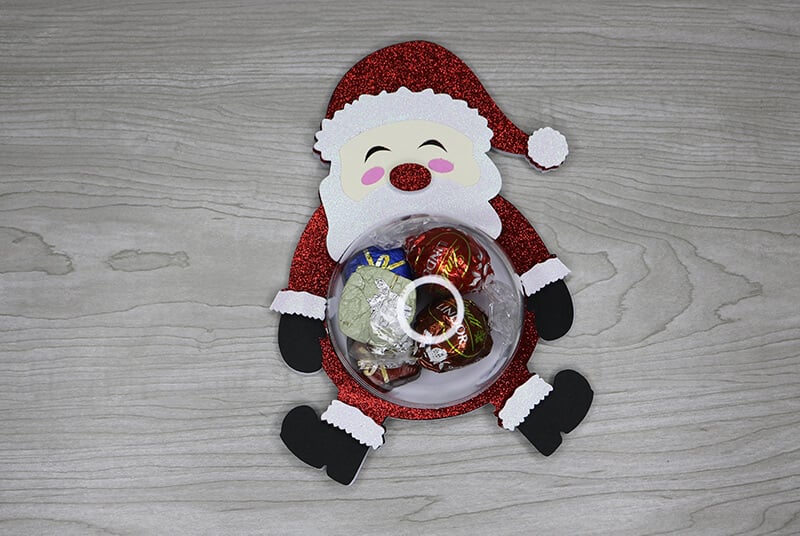
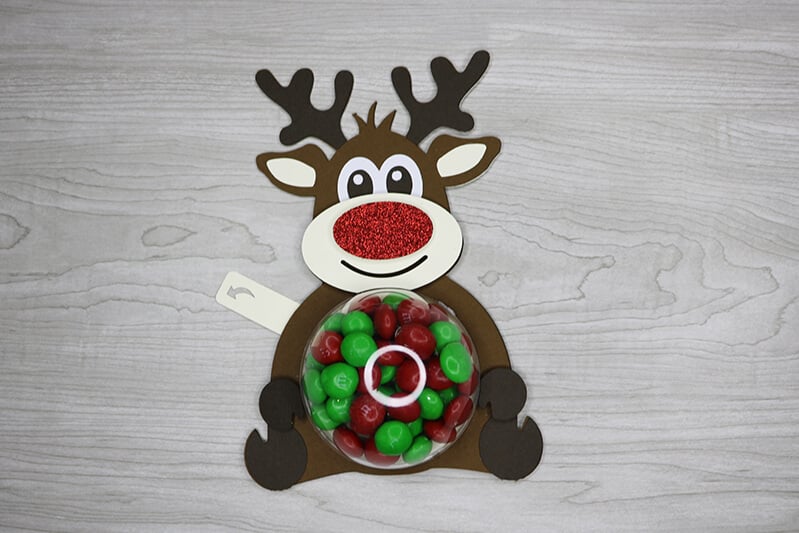
There are 2 versions of these Christmas candy holders available. There is the version with the perforated back which is perfect for wrapped candy. And then a version with the closing mechanism. And there are also 4 different Christmas candy holder SVG files. These are perfect for giving small gifts or treats for Christmas.
Make sure to check out my Cricut Christmas ideas for more Christmas crafts and free SVG files.
How to Make Christmas Candy Holders with Your Cricut:
To make these Christmas candy holders, you will need:
- Medium or Heavy Weight Cardstock – I am using this 100lb white cardstock for the bases. If you are doing the closing mechanism, I recommend using a 100lb cardstock for this part. Any glitter cardstock and/or medium weight cardstock like this will work great for the rest of the candy holders.
- Cricut Maker or Explore Cutting Machine and your standard cutting mat.
- 3.15″ Clear Fillable Ornaments – these are the ornaments that I use. If you use a different size ornament, you will need to resize the SVG files accordingly.
- Adhesive foam dots or adhesive foam tape.
- Glue – This Bearly Art craft glue is my new favorite glue for paper crafts!
- Candy!!
- Christmas Candy Holder SVG (Download at the bottom of the post)
Step-by-Step Tutorial
Watch the full step-by-step video tutorial on how to make these Christmas candy holders:

Upload the Christmas candy holder SVG files to Cricut Design Space. If you are using 3.15″ ornaments, then you do not need to resize the files. Only resize them if you are using a different size ornament. If you want to change any of the colors, go ahead and do this as well. And then cut all of your design elements.
Note: To learn how to resize these designs for different size candy holders, make sure to watch the video tutorial here.
How to Assemble Candy Holders Using Foam Strips
Since creating my other candy holders, I have found another way to assemble these that doesn’t require using glue to glue down the ornament. Instead, you will use adhesive foam dots or strips.
Once all of your pieces are cut out, assemble your character together, leaving the base of your design separate. The base is the piece with the perforated area or hole if you are using the version with the closing mechanism. You can use adhesive foam dots for some of the elements to add dimension to your candy holders.

Once your character is assembled, add adhesive foam dots or strips to the back. Make sure to cover it enough so it will hold together and around the circle. Then, remove the covering off of the adhesive dots.

Place the ornament into place on top of the perforated circle on your base and add in the candy. Then layer your character on top. This is going to be a tight fit, so press down slowly as you attach the top of your character to the base.
The foam tape will create a gap between the base and your character which is what will hold the ornament into place. So, you do not need to glue the ornament down. However, if you feel like this isn’t sturdy enough, you can glue just around the bottom part of the ornament since the paper is thinner in this area.
Assembling Candy Holders Using Glue
If you don’t have adhesive foam strips or dots on hand, you can still assemble these Cricut candy holders without them. All you need to do is glue everything down instead.
To make it easier to know where to glue the ornament, first glue the bottom layer of your character to your base. You can then use the circle cut out as a guide, so you know exactly where to glue your ornament for everything to line up correctly.

Once the ornament is glued down, glue your assembled character on top. If you are doing the version with the perforated back, make sure to add your candy BEFORE gluing the ornament down.
How to Assemble the Closing Mechanism
If you are making the version with the closing mechanism, then you will need to assemble this which is super easy to do. I recommend watching the video on how to assemble this candy holder if you are unsure how to do this as it is a little difficult to write out.
- First, take the piece with the arrow and place it in-between the 2 round pieces.
- Glue down the tabs, using just a little glue. You don’t want the glue to seep into the middle piece with the tab/arrow. This middle part should move freely.
- Glue the closing mechanism to the back up your candy holder. Line it up so that it opens and closes where the cut out is.
- Add your candy!

These candy holders are pretty easy to put together and they are a lot of fun to give! These are perfect for giving Christmas treats to friends and also teachers and classmates!
Before downloading, please share this design on Pinterest – it’s quick to do and makes a HUGE impact to keep SVG Nation’s designs free to you.

To get these Christmas Candy Holder SVG Files, enter your name and email into the form below and then click the “Get It Now!” button!
Please remember these are for personal use only. If you’re looking to sell products using these designs, please purchase a Commercial Use License here