
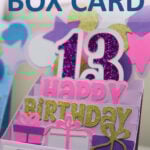
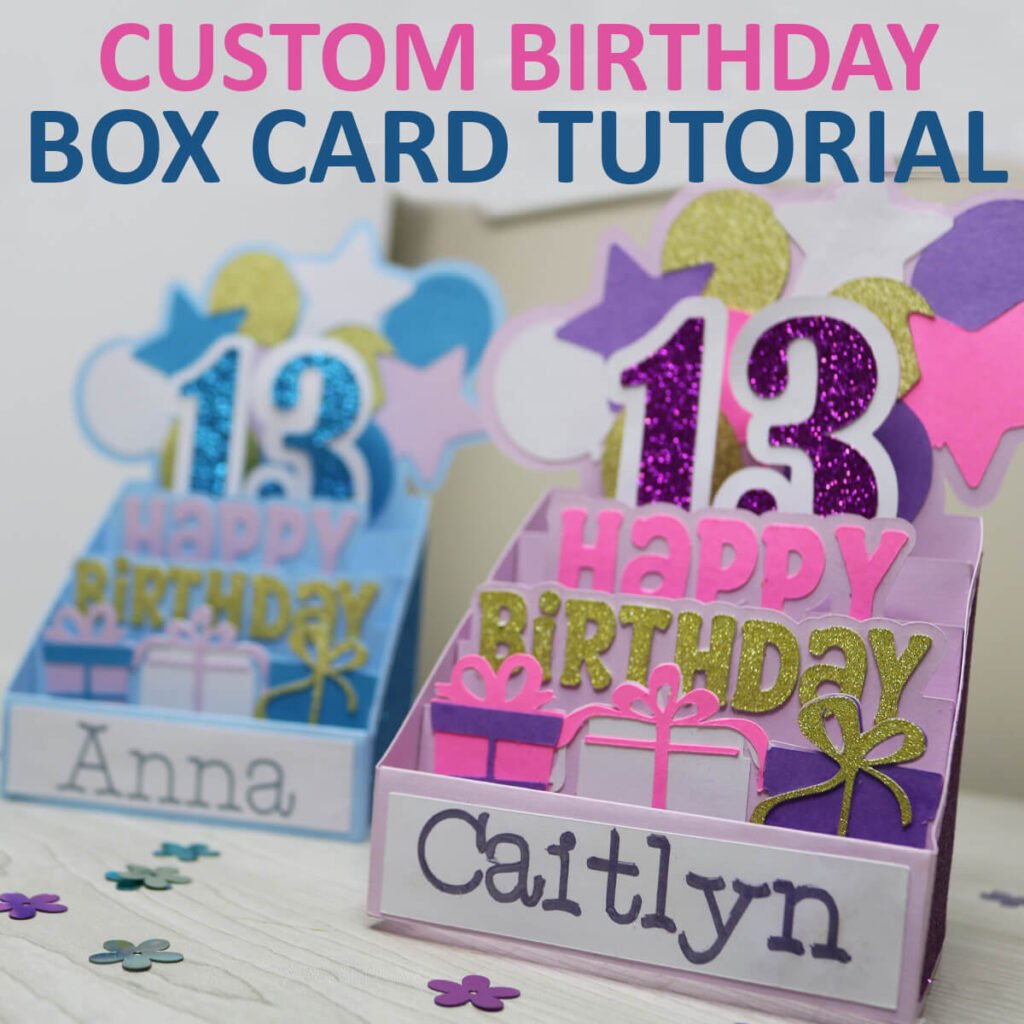
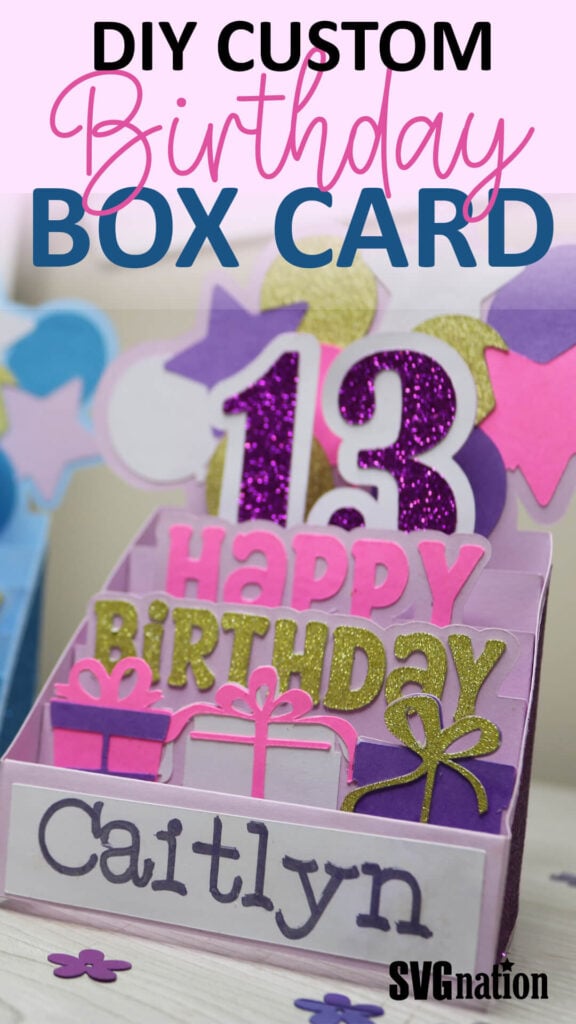
Custom Milestone Birthday Box Card SVG & Tutorial
Looking for a card idea that pops and excites? Grab this free birthday box card SVG. In this tutorial, you’ll learn how to customize the birthday card for any year and add any name to the front. Making this a perfect birthday card for anyone. It also comes with a free envelope template.
This post contains some affiliate links for your convenience (which means if you make a purchase after clicking a link I will earn a small commission but it won’t cost you a penny more)! Read my full disclosure policy.
Once you make this birthday box card, I’m sure you’ll be hooked on making cards with your Cricut. So make sure to check out all of my free Cricut card templates with 60+ designs for different holidays and occasions.
Learn how to make a Milestone Birthday Card with Cricut
Whether you’re making a card for a sweet 16, a fabulous 40, or a golden 50, this birthday box card SVG lets you tailor every detail to match the guest of honor. It’s dimensional, interactive, and guaranteed to be a keepsake they’ll treasure long after the candles are blown out.
Watch the step-by-step video tutorial to learn how to make this custom birthday box card here:

To make this custom birthday box card, you will need:
- Medium Weight Cardstock – This is a great variety pack for most of your colors. I am also using glitter cardstock because I LOVE glitter cardstock!
- Cricut Maker or Explore Cutting Machine and your standard cutting mat.
- Scoring Stylus (which is what I will be using in this tutorial) or Scoring Wheel (Maker only). If your cutting machine doesn’t have the scoring feature, this scoring board and stylus is great to use.
- Cricut Pens
- Glue – I highly recommend this Bearly Art Craft Glue. I do not recommend using hot glue as this is a thicker glue and dries too quick to assemble.
Download The Birthday Box Card SVG
You can download his free Birthday Box Card SVG from my members only free library (design #24 under Card Templates or search “Birthday Box Card SVG”).
Don’t have a password? Unlock my free members library here.
Share the love and easily come back to this tutorial anytime just by saving this on Pinterest… Plus this helps to keep my SVG files and Cricut tutorials free!
Step 1: Upload & Resize Birthday Box Card Template
Upload the birthday box card SVG to Cricut Design Space. If you need help with uploading SVG files, then check out my tutorial here. Make sure to check the size of your project and adjust if needed. Click on the image (while everything is grouped together) and the width should be 16.21″ and the height 15.463″.
After resizing your project (if needed), click on “ungroup” to ungroup your layers.

Step 2: Modify Lines to Score
Click the drop down arrow for the first layer. Then click on the first layer and change the operation to from “Basic” to “Score”.

Then select the group with both layers (score line and layer underneath) and select “attach”. This will attach the score line to the layer it scores on so your Cricut knows where to score. Repeat this for all 6 of the light purple layers.

Step 3: Add Birthday Year
Using the text tool, add the birthday year to your canvas. Adjust the font and size just the way you like it. You want the bottom of the year to overlap on top of the card piece that it attaches to. You also don’t want to go over the score lines.

Use the offset tool to add an offset to the year. You can change the offset size using the scroll bar. And then select “Apply”.

Change the offset layer to the color of your card. Then select the card layer (without the score lines) and the offset; select “Combine” and then “Weld”.
Note: If you want the offset to be a different color than the card color (like mine), then duplicate the offset layer before welding it to the card.

And then last, make sure to reattach the score lines to the card layer. To do this, bring the score lines on top of the card layer, select both layers and select “Attach”.

Step 4: Personalize the Birthday Card
Using the text tool, type the name for the birthday box card. Then click on the name for the fonts window to appear. Select this to choose a writing font. You can filter by writing fonts using the filter menu. You can also find some of my favorite free writing fonts here.

Place the text on top of the white rectangle and resize to fit inside. Then select the text and white rectangle together and select “attach”.

The birthday box card is now ready to cut. Select “Make” to cut everything out. Make sure to follow the prompts in Cricut Design Space so that you know when to add your scoring tool and pen.
Step 5: Modify the Envelope Template
Upload the envelope file to Cricut Design Space. Make sure to check the size of your project and adjust if needed. Click on the image (while everything is grouped together) and the width should be 16.29″ and the height 12.75″.
After resizing your project (if needed), click on “ungroup” to ungroup your layers.

Then select the layer with the black box shape and change the operation to “Score”. Select the score layer and envelope layer together and select “Attach”. Your envelope is now ready to cut. Don’t forget to add your scoring tool to the Cricut machine first.

Step 6: Glue Decorative Pieces to the Box Card
Start by gluing on the decorative pieces to the card frame. The card frame are all of the light purple pieces. When gluing the balloons, make sure they you lay them all out first so you don’t glue any on wrong. The balloons are like a puzzle in the way they fit together.
After gluing the decorative pieces on to a layer, fold back on the score lines. Except for the balloon layer, you will fold in front.
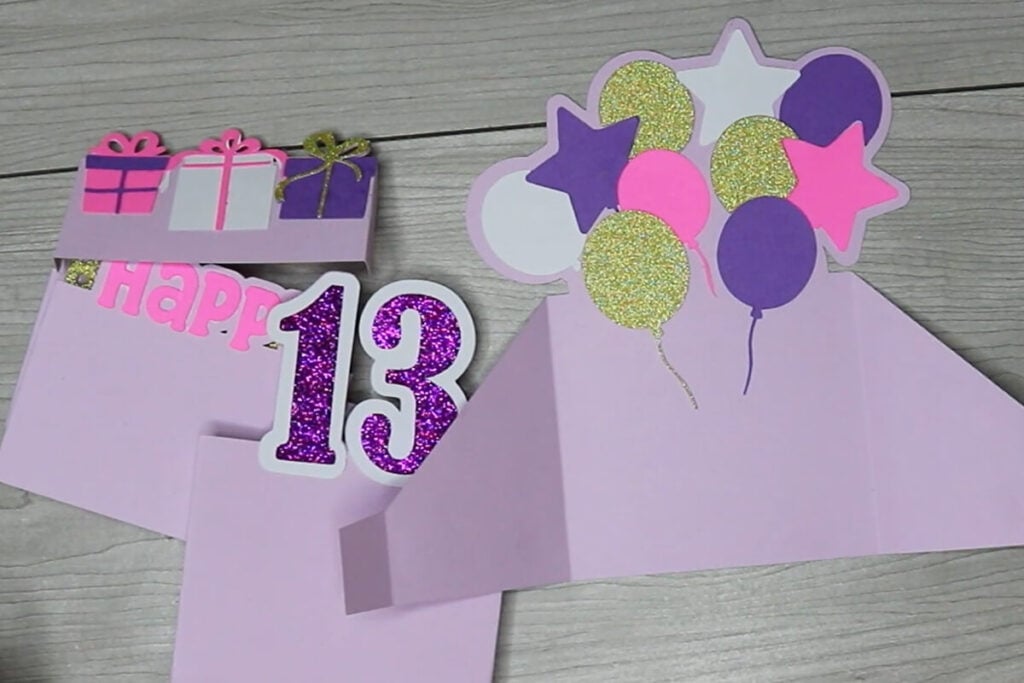
Attach the box side pieces on the back of the balloon layer. This back part is also where you will write on your birthday card.

Step 7: Attach the Box Card Together
To attach the box card together, place the birth year (for me 13) on top of the balloon layer upside down. Lay the tab piece down flat and line the outside up with the score line on the balloon layer. You also want to line this up with the bottom. While holding this in place, fold the tab piece up, add glue and then press this back down to attach.
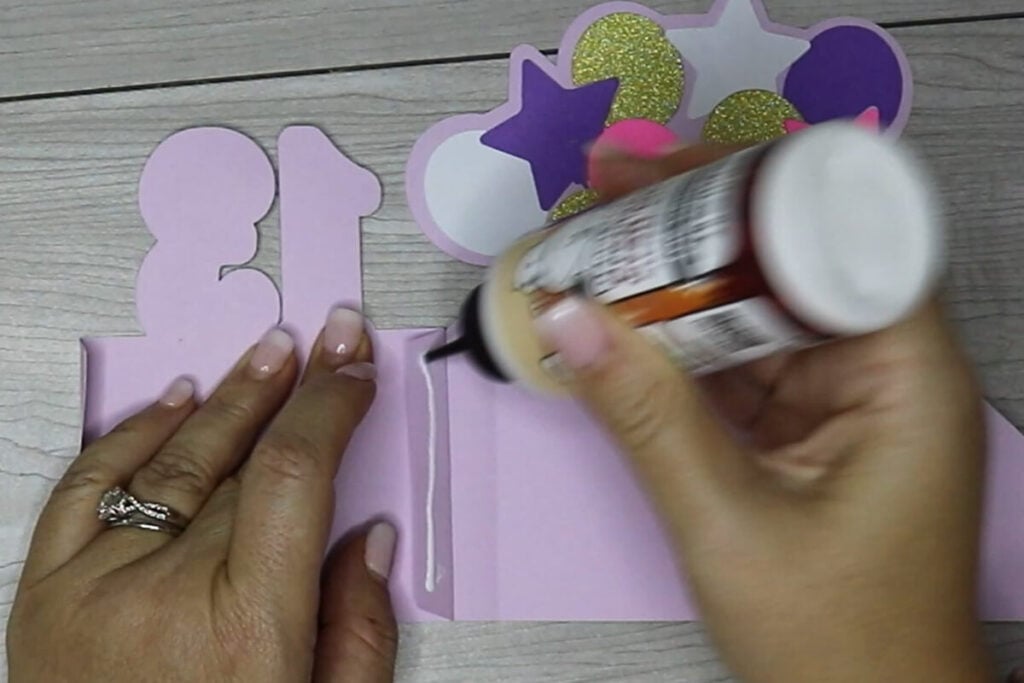
Continue to repeat this step to line up Happy, Birthday and the presents. You are lining each one up where the one before it left off. After gluing each one, fold it over to lay flat on top of each other.

Lay the 4 card layers down and apply glue to all 4 of the tab pieces on the other side.

Then press the side over to attach to the card. Press on this and let this dry for a minute or 2 before folding the card open.
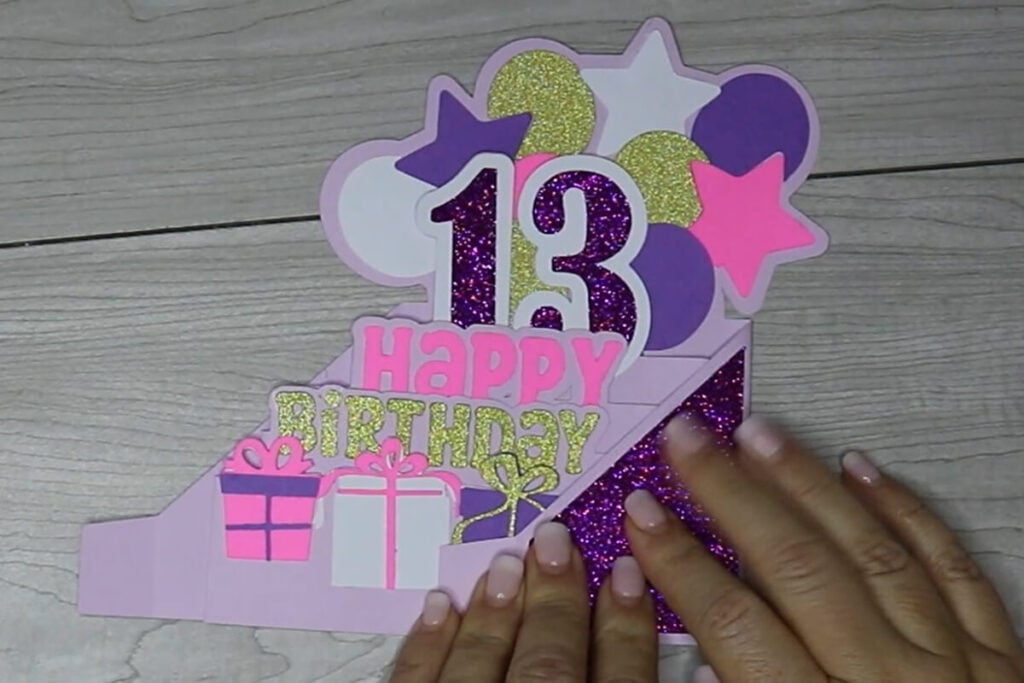
Last, attach the name plate to the front. Just add glue to the front and back of the tab pieces to attach this.

Step 8: Assemble the Envelope
To assemble the envelope, fold in on all 4 of the score lines. Then add glue to the 3 tab pieces and layer the other envelope piece on top.

Let the envelope dry before adding your card. I like to use a lighter patterned paper for my envelopes. But, if you are mailing your card, then you may want to go with a medium weight cardstock instead.

Thanks so much for checking out this birthday box card. When you’re done, make sure to post these in my crafting group here or tag me if you post them on social media. I absolutely love seeing your crafts and can’t wait to see your cards!