
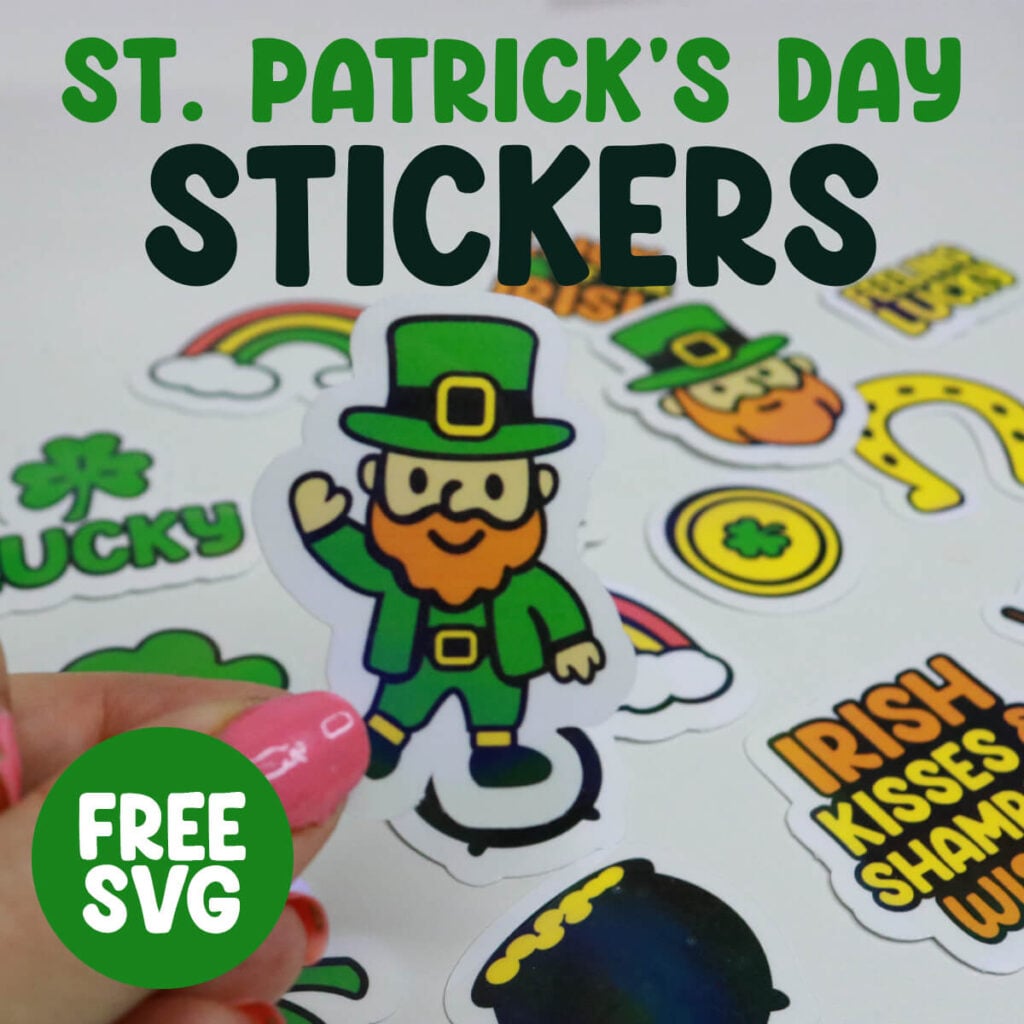
St. Patrick’s Day Sticker SVG

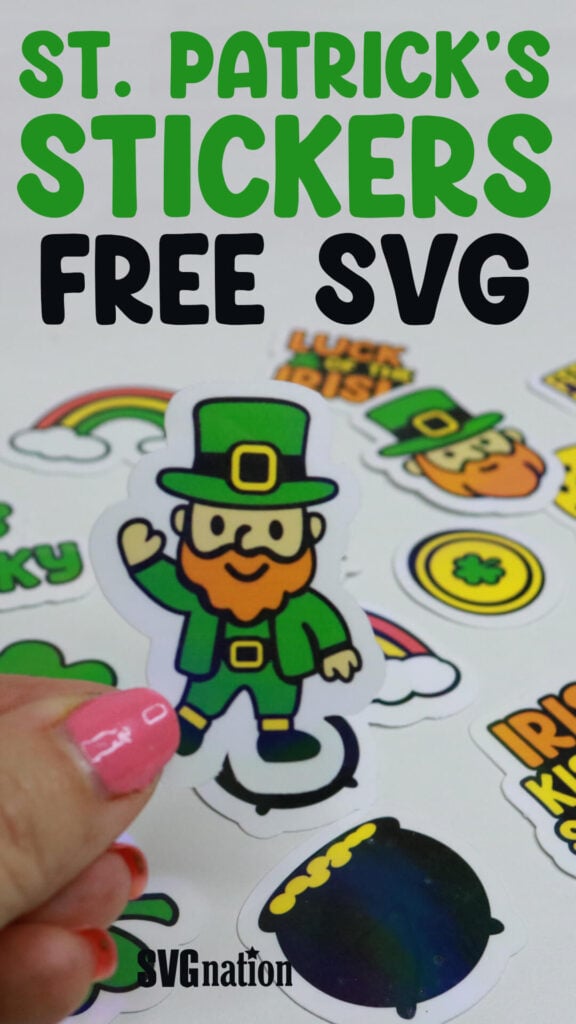
If you’re gearing up for festive crafting, St. Patrick’s Day Sticker SVG files are the perfect way to add charm, color, and a little Irish luck to your projects. Whether you’re using a Cricut or another cutting machine, these easy‑to‑cut designs make it simple to create adorable stickers. From cute leprechauns and shamrocks to rainbows and pots of gold, St. Patrick’s Day SVG stickers bring instant holiday magic to every craft.
This post contains some affiliate links for your convenience. (Which means if you make a purchase after clicking a link I will earn a small commission but it won’t cost you a penny more)! Read my full disclosure policy.
Related: Fun & Easy St. Patrick’s Day Craft Ideas
Related: Free Sticker SVG Files
Learn how to make St. Patrick’s Day Stickers with the Sticker Template in Cricut Design Space
Cricut recently rolled out new templates, and in today’s tutorial, I’ll show you how to use the new decorative sticker template to make these St. Patrick’s Day stickers.
Watch the step-by-step tutorial to learn how to make St. Patrick’s Day stickers here:

To Make St. Patrick’s Day Stickers, You Will Need:
- Any good quality inkjet printer
- Matte Sticker Paper (you can also use gloss if you aren’t adding the holographic sheets)
- Transparent Holographic Vinyl Laminate
- Cricut cutting machine – Use this Cricut Comparison Guide to find the right model for you!
Download The St. Patrick’s Day Stickers SVG
You can download this free St. Patrick’s Day Sticker SVG Template from my members only free library (design #15 under St. Patrick’s Day Files or search “St. Patrick’s Day Sticker SVG”).
Don’t have a password? Unlock my free members library here.
Share the love and easily come back to this tutorial anytime just by saving this on Pinterest… Plus this helps to keep my SVG files and Cricut tutorials free!
Step 1: Create a New Project
When you open Cricut Design Space, create a new project and select the Decorative Stickers template.

Then upload the sticker files and add them to your Canvas. The sticker template will automatically add an offset to your images and flatten it all.
Click on Edit in the top left corner to get to the sticker settings.

Step 2: Select Sticker Settings
When you are in the stickers settings, you can:
- Choose the sticker style (kiss cut or die cut)
- Turn off the boarder that was automatically added
- Change the boarder thickness and color
- Cut out shapes within the design
- For the Die Stickers, you will also get the Easy Peel Edge option

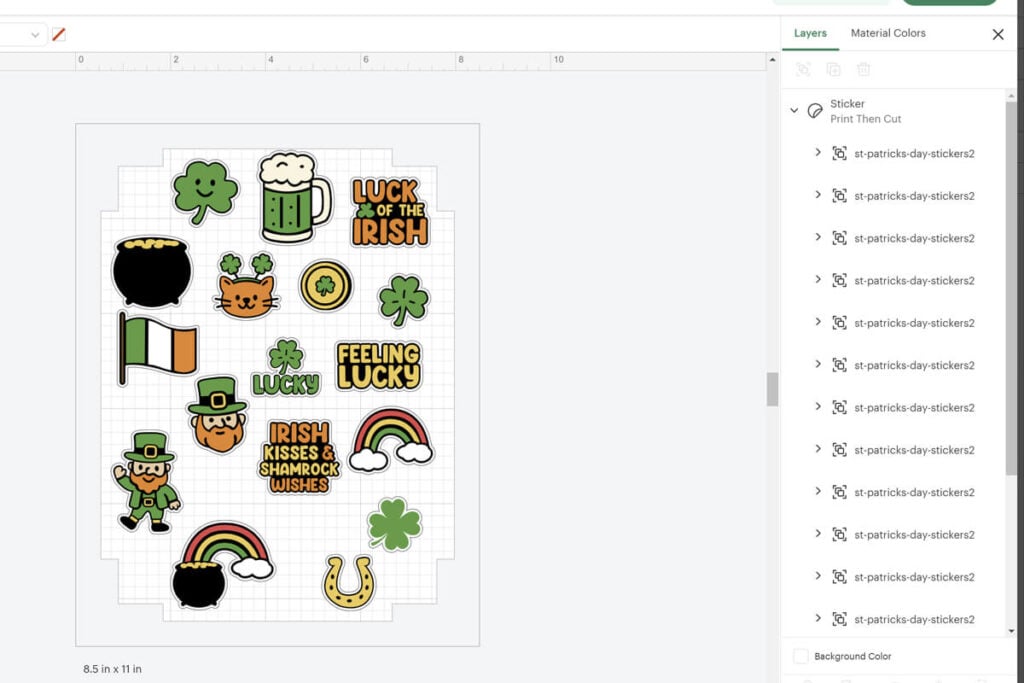
Step 3: Resize and Space Sticker Designs
To resize and move the stickers, open the layers panel on the right side. Then ungroup the group of stickers and edit them by the layer. You will need to make sure you click on the layer in the layers panel before clicking the design or it will want to click the full group together.
Note: When your stickers are in place, make sure none of the white overlay is overlapping. If it is, this will be cut out as one sticker.
Step 4: Print then Cut the St. Patrick’s Day Stickers
Select “Make”, then use the print prompt to print the page of stickers. If you want to make the stickers holographic, apply the holographic vinyl to the top of the stickers before you cut them. But make sure that you trim the vinyl down first so the vinyl covers all the stickers but does not cover the sensor guides printed on your stickers. If any vinyl is covering even a small part of the corner sensors, your Cricut will not be able to sense this to cut.
Add the sticker paper to your cutting mat and have your Cricut cut the stickers out.
The cut settings will be limited based on what sticker type you are cutting (kiss vs die cut), so you cannot choose from all the options which is a disappointment because it doesn’t considering adding the holographic vinyl. For die cut with the holographic vinyl, the best option that I found was the medium weight cardstock with the pressure set to more. This did not cut them out perfectly, but it worked.

Thanks so much for checking out these St. Patrick’s Day Stickers. When you’re done, make sure to post these in my crafting group here or tag me if you post them on social media. I absolutely love seeing your crafts and can’t wait to see how yours turn out!