
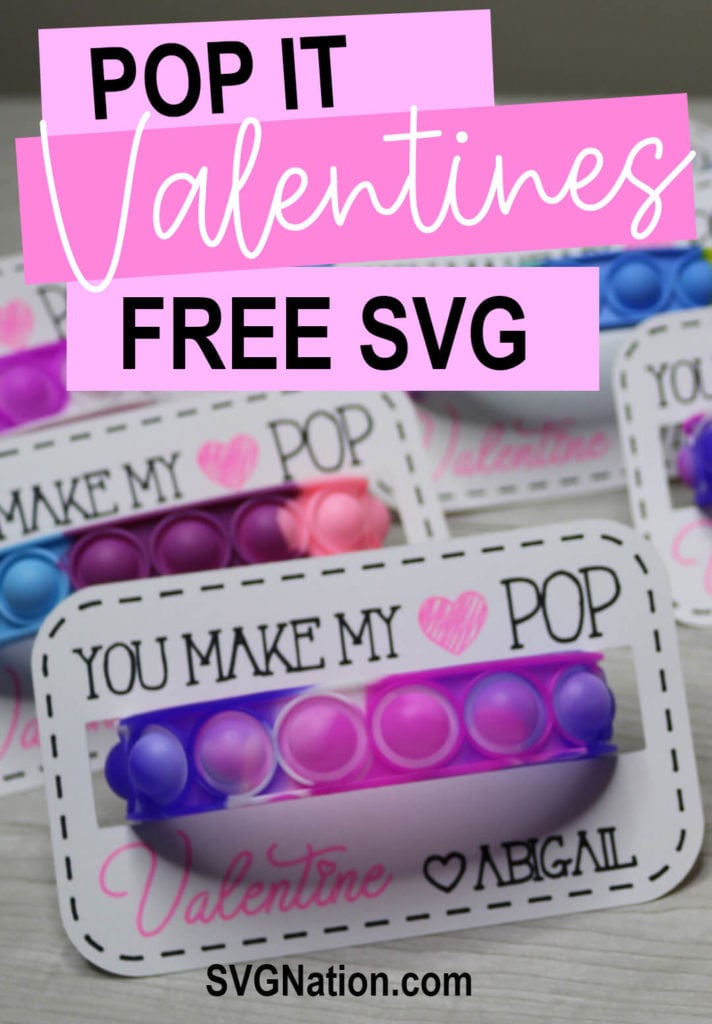
Pop It Valentine Printable

Pop its are super popular with kids which makes these pop it Valentines a great choice this Valentine’s Day! You can use the SVG file and let your Cricut do all the work with writing and cutting. Or, if you don’t have a cutting machine, grab the free Pop It Valentine Printable to print and cut these yourself.

This post contains some affiliate links for your convenience (which means if you make a purchase after clicking a link I will earn a small commission but it won’t cost you a penny more)! Read my full disclosure policy.
This pop it Valentine has probably been one of the biggest hits that my kids have brought to school. You can also find more printable Valentine cards for kids if you need more ideas.
Watch the step-by-step video tutorial to learn how to add your name and use Cricut pens to make this pop it Valentines here:

To Make Pop It Valentines, You Will Need:
- Medium weight cardstock – I am using this letter size white cardstock which is perfect for printing on or for your Cricut!
- Cricut Maker or Explore Cutting Machine and your standard cutting mat. Or you can print and cut the designs out if you don’t have a cutting machine.
- Cricut pens
- Pop It Bracelets – I am using these pop it bracelets and I am very impressed by the quality and price!
Download The Free Pop It Valentine Printable
You can download this free Pop It Valentine Printable & SVG from my members only free library (design #2 under Valentine Crafts or search “Pop It Valentine Cards”).
Don’t have a password? Unlock my free members library here.
Share the love and easily come back to this tutorial anytime just by saving this on Pinterest… Plus this helps to keep my SVG files and Cricut tutorials free!
Step 1: Upload Pop It Valentine & Modify Text Layers
Start by uploading the SVG file to Cricut Design Space. You will have to change all of the text to pen before cutting. To do this, select all of the layers except for the bottom card layer and change the operation from “basic cut” to “pen”. You can select multiple layers at a time by holding down shift while you select them.

Each element is on a different layer so that you can customize the colors of the text. I am changing the heart and word “Valentine” to pink. If you are cutting with multiple colors, you do need to change this in Cricut Design Space first so that your Cricut knows what colors to write with and where.
To change your pen colors, just click on the layer that you want to change and then click on the color fill. You will be able to select the pen and color that you are using here.

Step 2: Personalize Your Pop It Valentines
If you want to add a name to the card, use the text tool and type the name. Then you will need to change the font to a writing font. Select “font” and make sure that you are on the “Cricut” tab. Then select the filters and check “writing”. This will filter so all you see are writing fonts. Cricut has a few free and paid ones. If you don’t have Cricut access, make sure to choose one of the free fonts.
Learn all about writing with Cricut pens and find all of my favorite free writing fonts, including what I am using here in this Cricut pens tutorial.

Step 3: Attach the Pen Layers
Before cutting your pop it Valentines, you need to attach all of the pen layers to the card base. To do this, select all of your layers and select “attach”.

Step 4: Cut and Assemble the Pop It Valentines
You are now ready to cut your pop it Valentines. You can cut 4 of the Valentines on a letter sheet of paper or 6 on a 12×12 sheet. So, duplicate your card so you have 4 or 6 cards on the screen depending on the paper you are using. And then follow the print then cut prompts to print and cut out your Valentines.
Note: Make sure to add your pen first and follow the prompts in Cricut Design Space so you know which pen to insert and when.
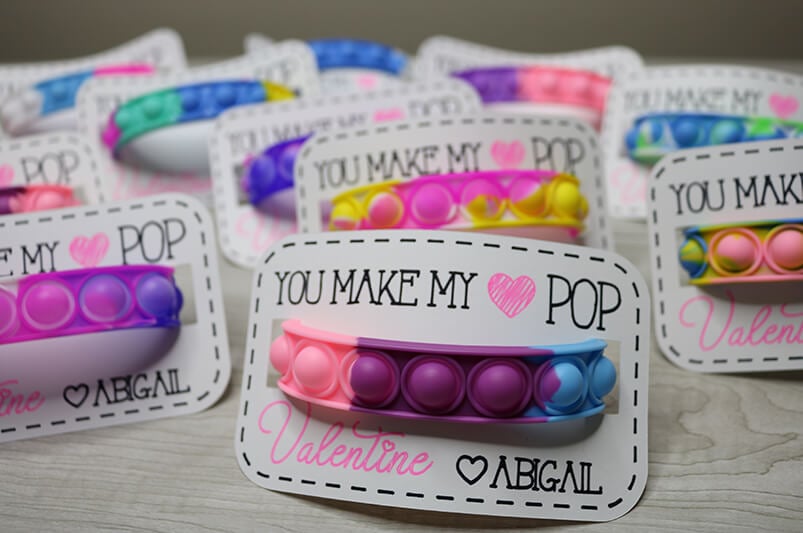
Once your pop it Valentines are cut out, all that’s left is to add your bracelets! Just wrap the bracelet around the card and secure it closed in the back.
Thanks so much for checking out these pop it Valentines. When you’re done, make sure to post these in my crafting group here or tag me if you post them on social media. I absolutely love seeing your crafts and can’t wait to see how yours turn out!