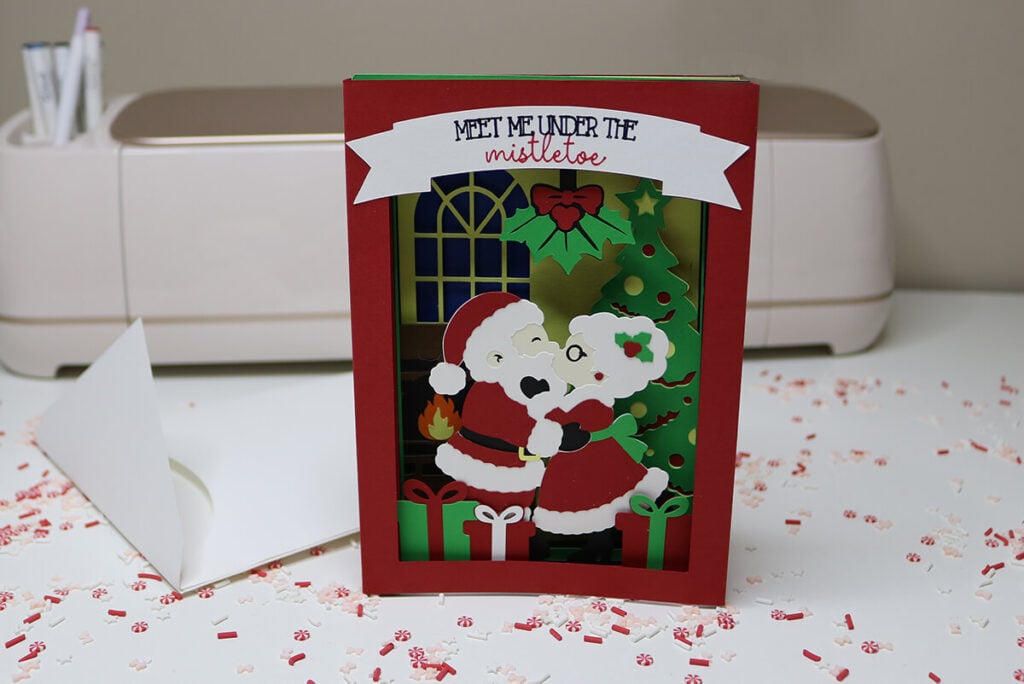
Christmas Pop-Up Mistletoe Cricut Card
Looking for a Christmas card that’s a little more magical than the ordinary fold-and-send variety? This Christmas pop-up mistletoe Cricut card creates beautiful dimension and depth that stands out from traditional holiday cards. And it’s perfect to make for that special someone.
This post contains some affiliate links for your convenience. (Which means if you make a purchase after clicking a link I will earn a small commission but it won’t cost you a penny more)! Read my full disclosure policy.
Looking for more Christmas cards to make with your Cricut? These Christmas wobble cards are a popular pick. Or view all of my free Christmas SVG files for more craft ideas.
Learn how to make this Christmas Pop-Up Mistletoe Card with Your Cricut
This pop-up mistletoe card folds flat to fit in an envelope, but displays as a gorgeous layered shadow box. The free download includes an SVG and DXF file, so it is compatible with different types of cutting machines. But, for this tutorial, I’ll be using my Cricut and Cricut Design Space.
Watch the step-by-step video tutorial to learn how to make this Christmas pop-up Mistletoe card with your Cricut:

To Make This Cricut Christmas Card, You Will Need:
- Medium Weight Cardstock in a Variety of Colors. This variety pack has all the colors you will need for this card.
- A good paper craft glue. This Bearly Art craft glue is what I use and recommend.
- Cricut Pens if you want your Cricut to write on the card.
- Brayer Tool for smoothing out the glue. Optional, but great tool to have for multiple uses.
- Scoring Stylus (which is what I will be using in this tutorial) or Scoring Wheel (Maker only).
- Cricut Explore, Maker or other compatible cutting machine
Download this Pop-Up Mistletoe Christmas Card Template
You can download this free pop-up mistletoe Christmas card template from my members only free library (design #45 under Card Templates or search “Mistletoe Christmas Card SVG”).
Don’t have a password? Unlock my free members library here.
Share the love and easily come back to this tutorial anytime just by saving this on Pinterest… Plus this helps to keep my SVG files and Cricut tutorials free!
Step 1: Upload the Pop Up Mistletoe Cricut Christmas Card Template
Upload the Christmas card SVG to Cricut Design Space. If you need help with uploading SVG files, then check out my tutorial here. Then click on “ungroup” to ungroup your layers.
Step 2: Modify Score Lines
Each of the card layers have lines on them that need to be changed to score. To modify these, click on one of the layers and open the group in the layers panel. Click on the top layer in this group which contains the 2 score lines for that design already grouped together. Select this group and then change the operation from basic cut to score in the operations menu.
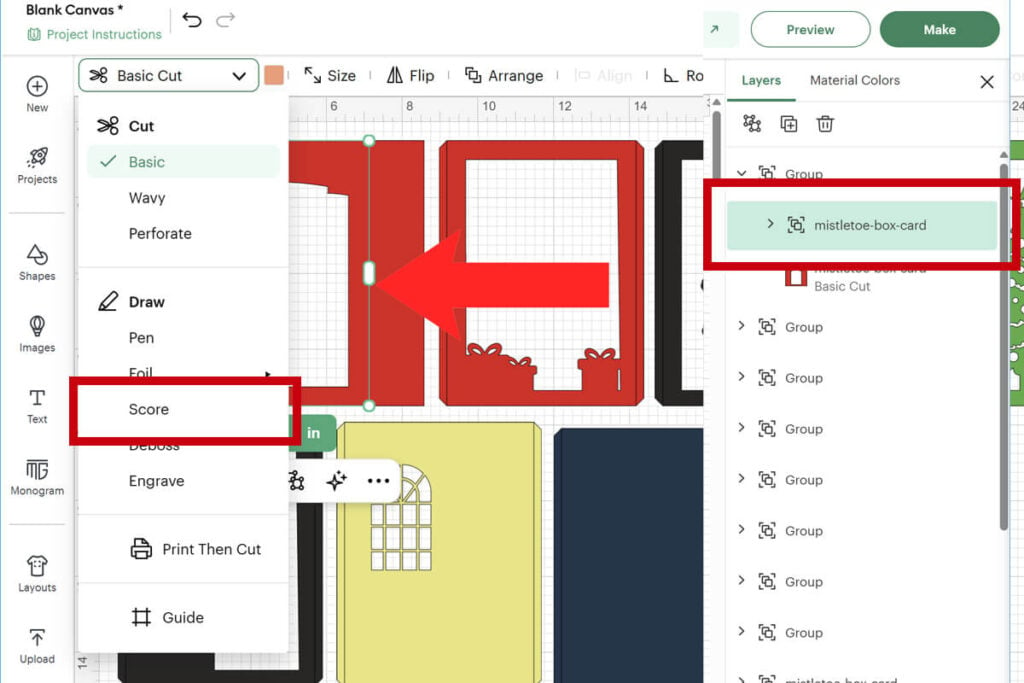
After changing the lines to score, select the full group which contains the group of lines that you just modified and the design layer together and click the paperclip to attach these together. This step is very important! If you do not attach these correctly, the Cricut will not score in the correct place.
Note: If your cutting machine does not have a scoring feature then delete these lines instead and you will have to fold this part by hand.
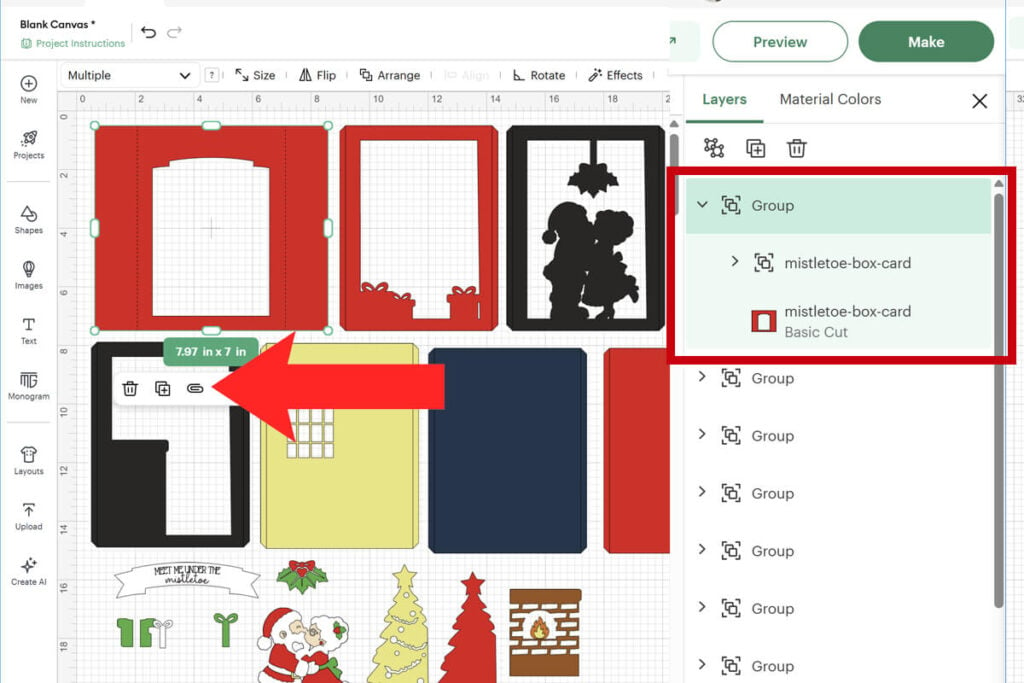
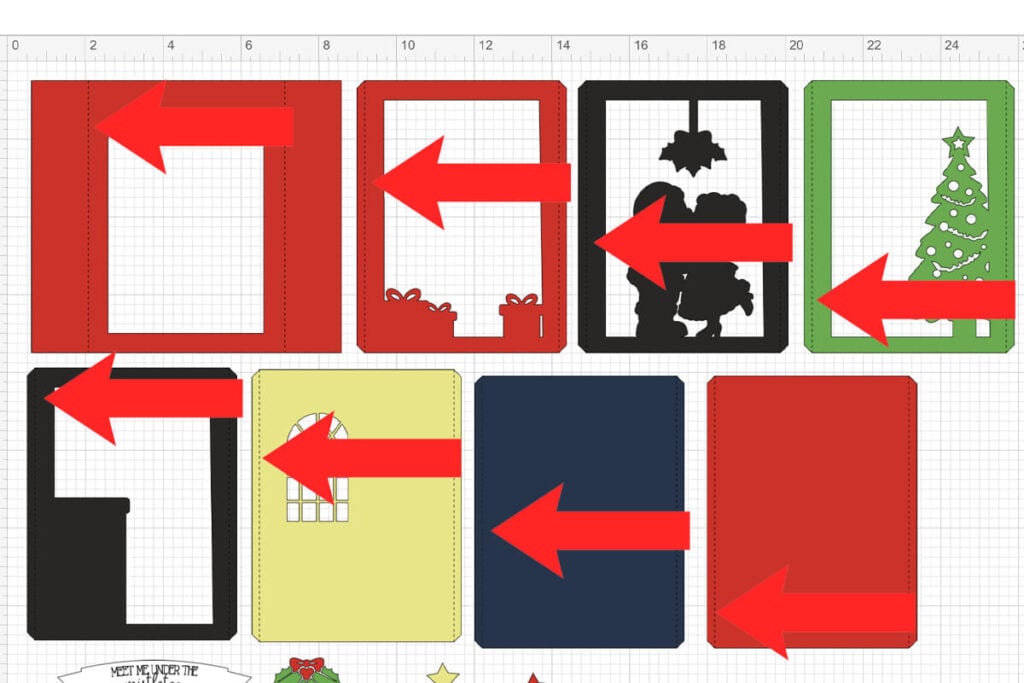
Repeat these steps until all the score lines have been changed from basic cut to score and attached to the layer they are on. There are 8 layers that will need these changes.
Step 3: Change Pen Layers
To have your Cricut write on the wrong of the card, change the operation for “Meet Me Under the” and “mistletoe” to pen. Adjust the color to the color you want these to write in.
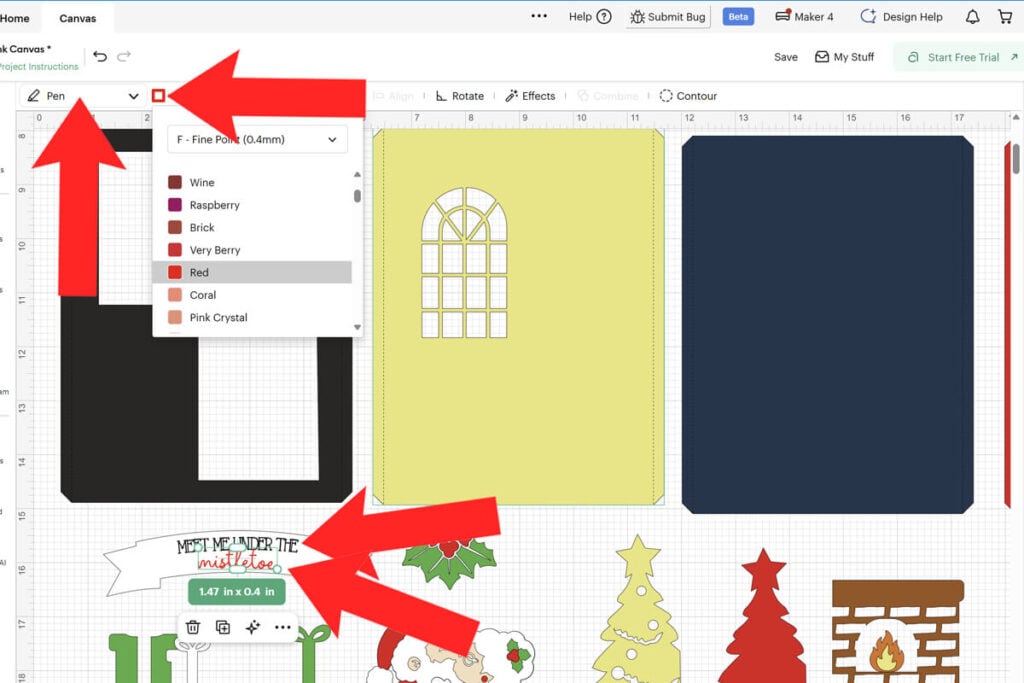
Then select both of the pen layers and the white ribbon layer they will write on together, and select the paperclip to attach these together.
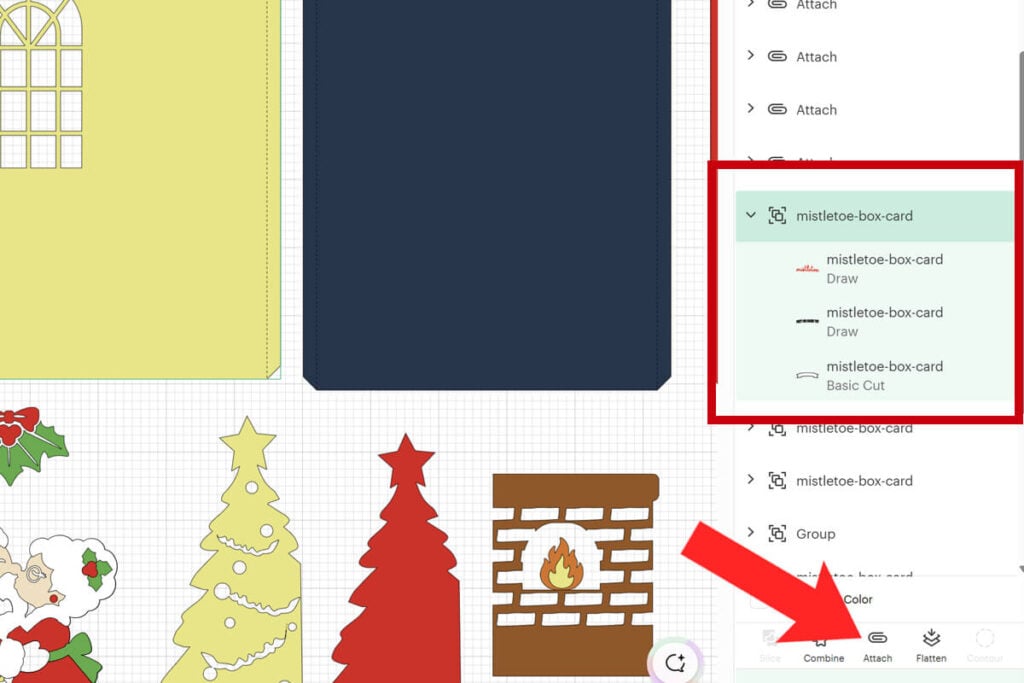
Step 4: Cut Everything Out
After all the score lines and pen layers have been modified, you’re ready to cut everything out! Before cutting everything, make sure to check the mat preview and that you see the score lines and pen in the correct spot. If they are not in the correct spot on the mat preview, you need to go back and make sure they are attached properly. Then follow the prompts to cut everything out.
Step 5: Fold on the Score Lines
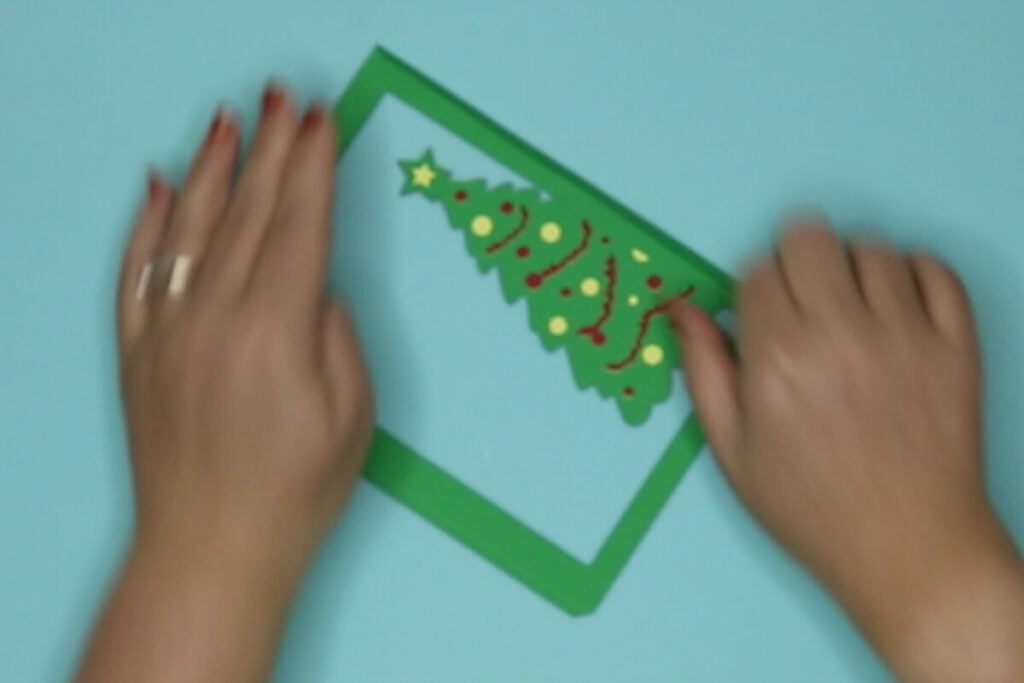
For all of the layers except the top layer (the top layer has the wider area with the score lines), you will fold on the score lines the same way. Lay this piece on your work surface with the front facing up and fold the score lines up so it folds over on top of the front. To know which side is facing up, it’s the side that your machine scored on so you will see the score lines deeper on this side. Or look at the way the design is in Cricut Design Space.
Note: It’s VERY important that you fold each design correctly. If you fold the wrong way, the design will face the wrong way when you assemble this.
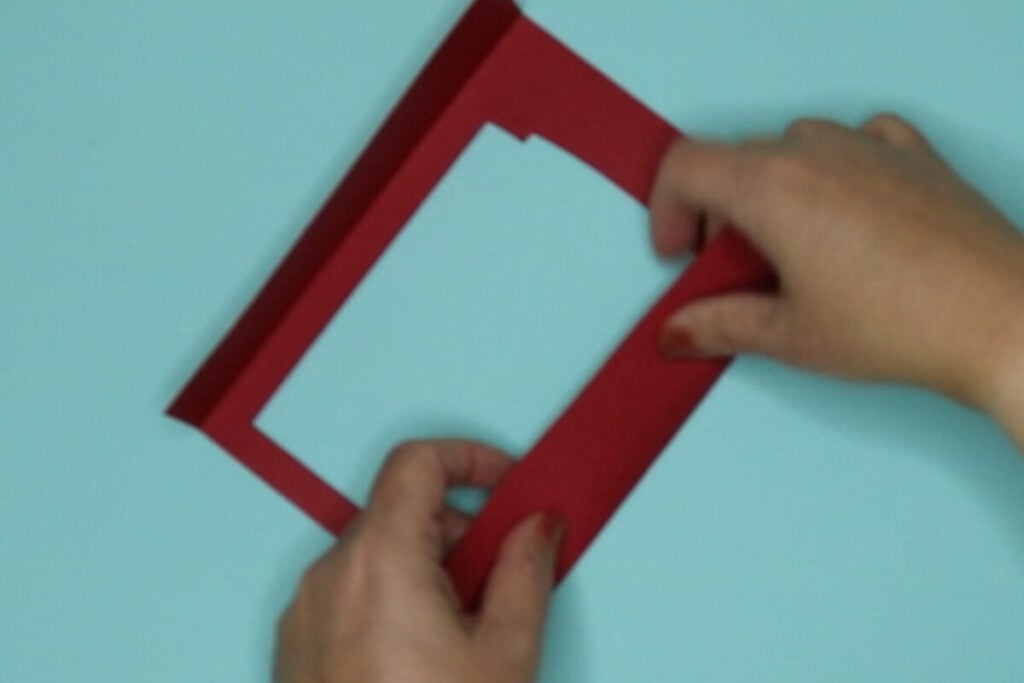
For the front piece, fold on the score lines in the opposite direction. So place the front of the card facing down and then fold towards you on the score lines.
Step 6: Glue the Card Decorations into Place
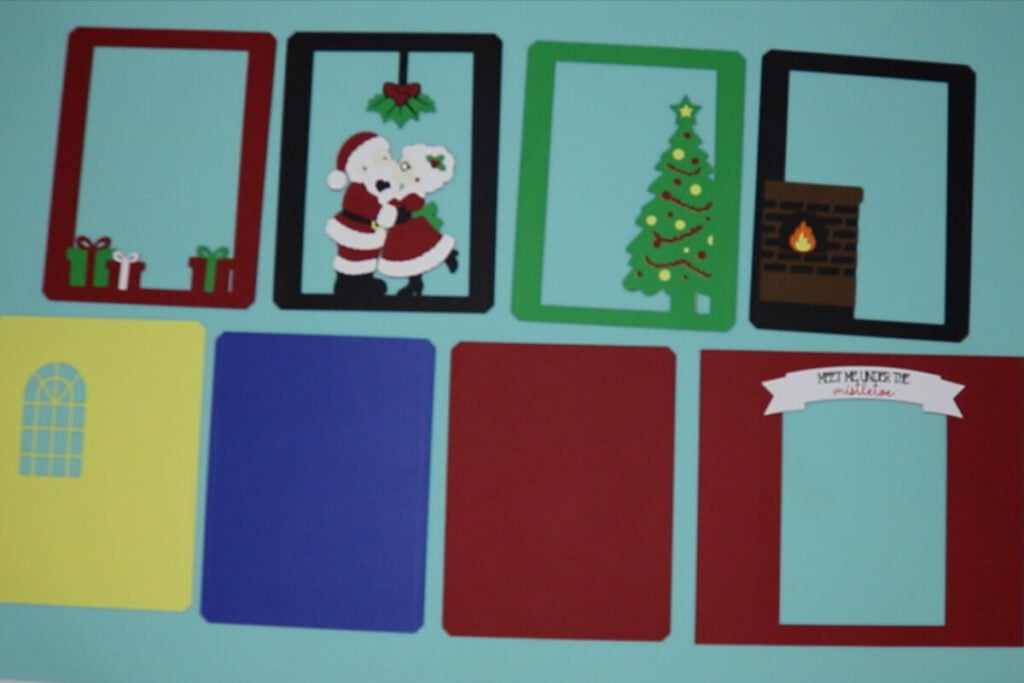
Glue the decorative pieces to the correct card layers. All designs glue on the front of the design except for the Christmas tree. The red and yellow layers for the tree glue onto the back of the tree.
These card layers should look like the pictures below when you are done gluing them together.
Step 7: Assembling the Mistletoe Pop-Up Card
When assembling all the layers together, it’s important that you take your time and continue to fold the layers as you assemble them. If you do not, the card will not lay flat for you to put in an envelope. If you are just making this as a decoration and do not need it to lay flat, then it isn’t going to matter as much.
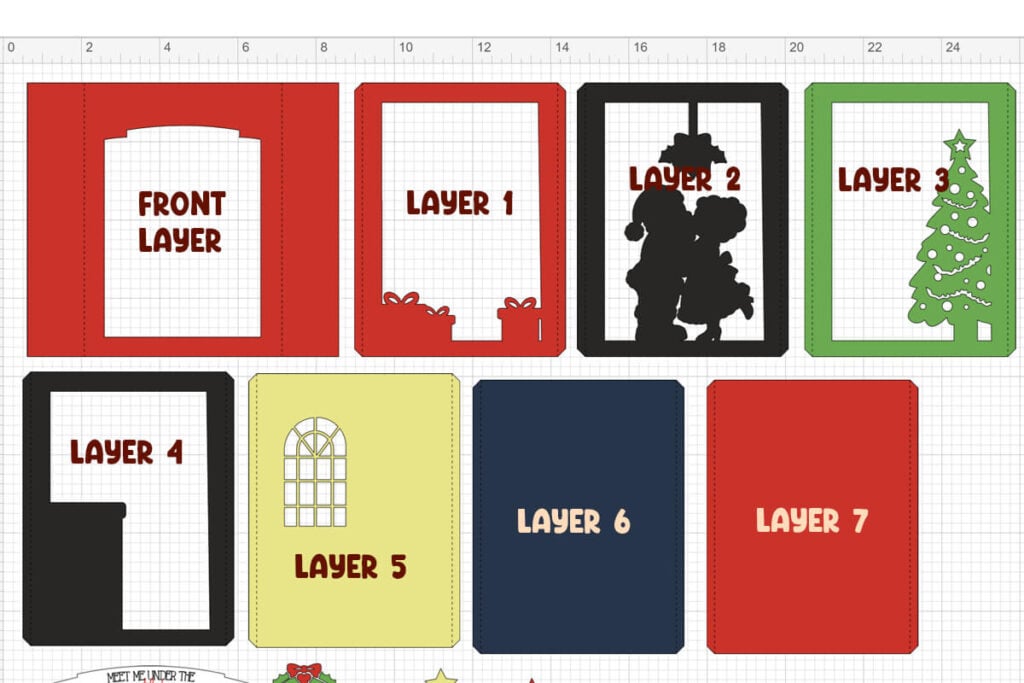
Note: The front layer is the first design (on the top left) that you see in Cricut Design Space. The designs continue to go from left to right as layer 1, layer 2, etc.
Start with the front layer wrong side up (front facing down on your work space). Then take layer 1 and face it face up. Glue the tab piece of this layer to the front layer, lining it up with the score line.
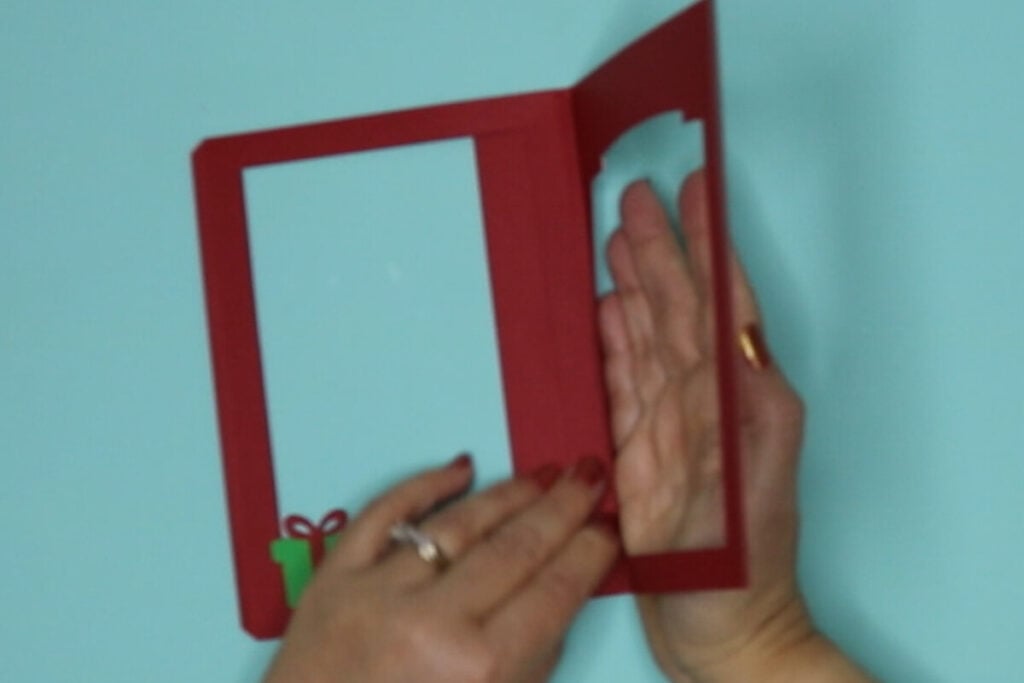
Give that a chance to set and then flip layer 1 over by folding on the score line. Push the left flap over and push this down flat. Then add glue to the tab piece on the other side.
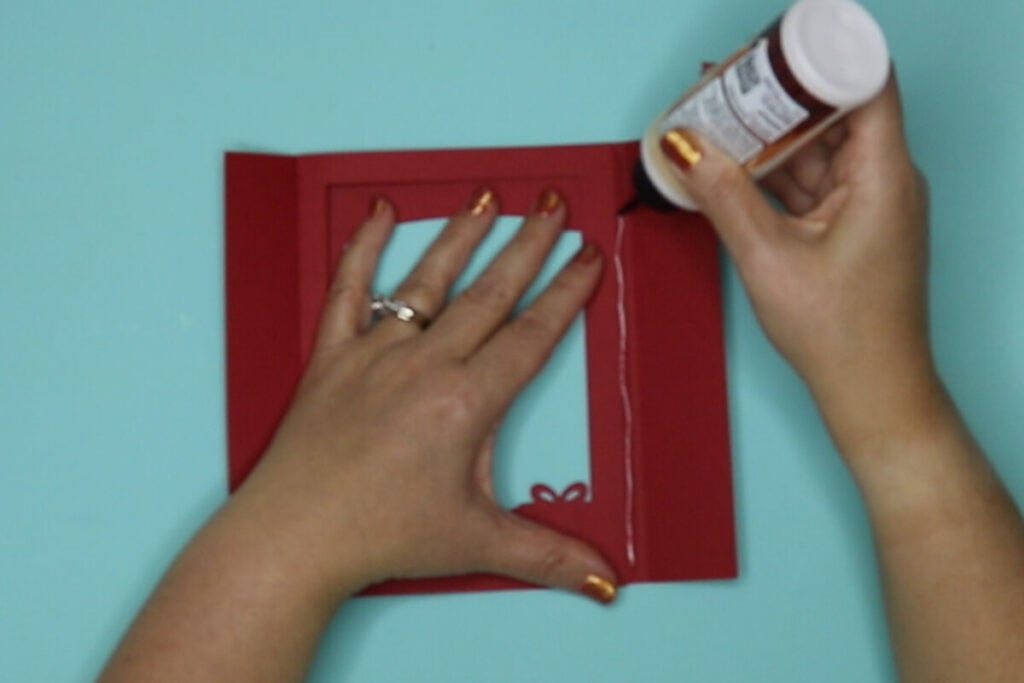
And then glue this down to the flap on the right side. Let this dry and then fold the card back the other way and start over with layer 2. Repeat these steps until all the layers are attached. While you add these layers, continue to fold the card back and forth in between each layer. This will help to make sure the card easily lays flat when it is finished.
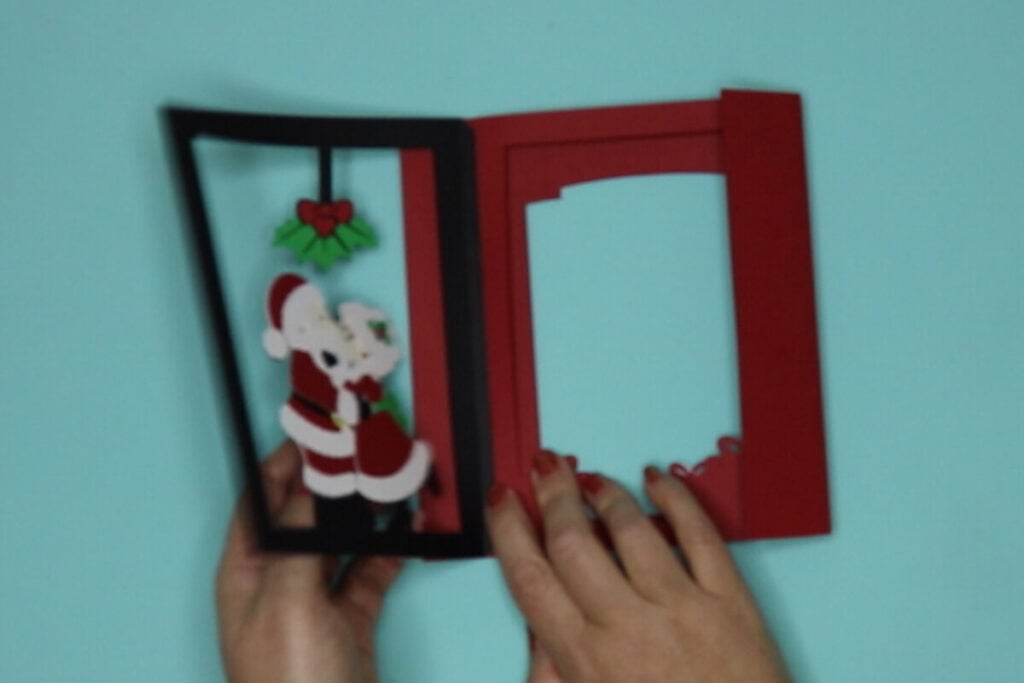
After all the layers are attached, your card is ready to go. Just lay it flat to add to the envelope if you want to send it. This mistletoe Christmas Shadow Box Cards is more than just a card, but a keepsake your sweetie will keep for years to go. Because it folds flat, it’s easy to store so you can display it each year.